Struggling with laggy MIDI controllers hindering your creative flow?
Reducing frustrating MIDI controller latency is achievable through specific software, hardware and routing adjustments.
Let’s dive into the key techniques for optimizing MIDI controller responsiveness so you can access seamless software instrument integration.
Quick Fixes to Reduce MIDI Latency
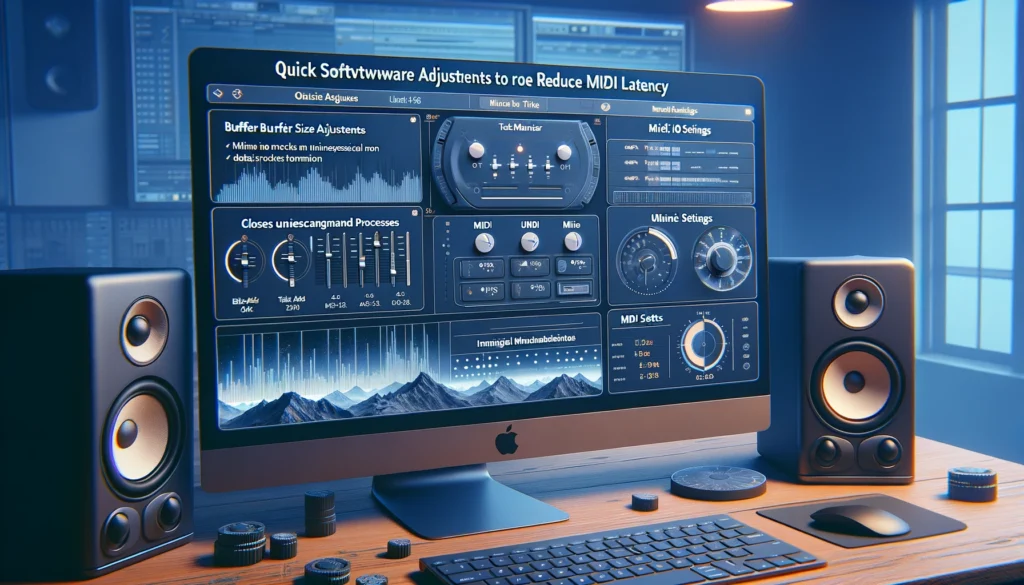
The fastest ways to reduce MIDI controller latency are to increase your audio interface’s buffer size, disable unnecessary background programs hogging CPU resources, and transmit less non-essential MIDI data.
Start with these 3 software tweaks first before exploring more advanced solutions.
Use USB MIDI Controllers
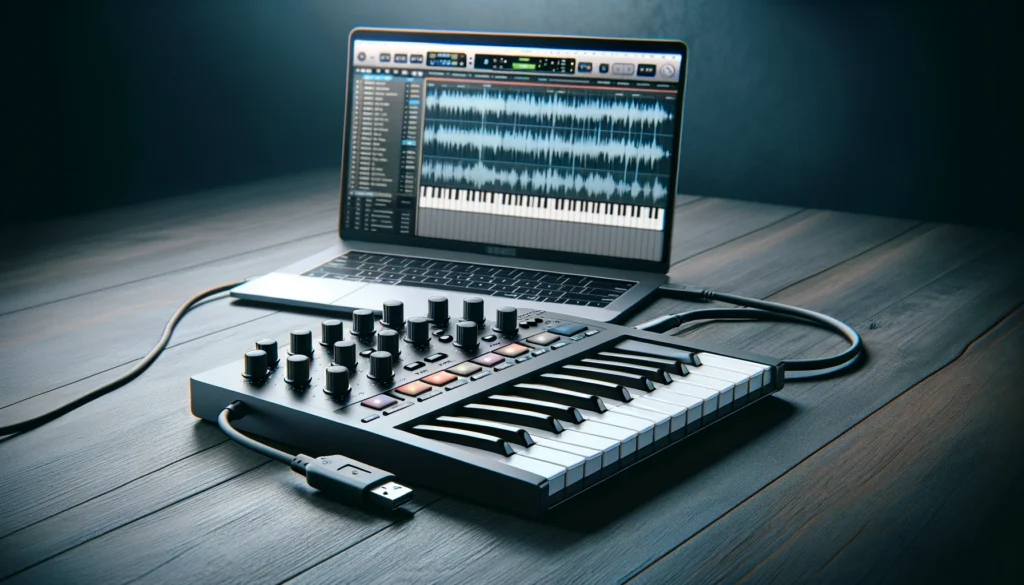
USB MIDI controllers connect directly to a computer’s USB port, reducing latency compared to traditional 5-pin MIDI that has to go through a MIDI interface.
The direct USB connection provides faster communication between the controller and music software.
The Universal Serial Bus (USB) protocol is designed for high speed two-way communication between devices and computers.
USB 3.0 and later versions can reach speeds up to 10 Gbps.
MIDI controllers that utilize a USB connection bypass the need for an additional MIDI interface since they can directly connect to a computer’s USB port.
This direct connection means MIDI data does not have to pass through multiple devices and connections, removing potential bottleneck points which streamlines communication and reduces latency.
Some USB-equipped MIDI controllers also have dedicated MIDI processing chips and optimized circuitry to further maximize speed and responsiveness when communicating with production software.
In a traditional MIDI studio setup, a MIDI controller connects to a computer via a MIDI interface cable like a 5-pin-din MIDI cable.
With this old-school method, MIDI data has to travel from the controller to the MIDI interface, then to the computer – a roundabout way with more potential failure points versus direct USB.
Multiple devices connected to the MIDI interface also means MIDI data has to queue up and wait its turn occasionally.
So for those seeking low-latency performance when playing and recording instruments and working with music production software, USB MIDI controllers are an excellent solution.
Optimize Your Computer’s Settings
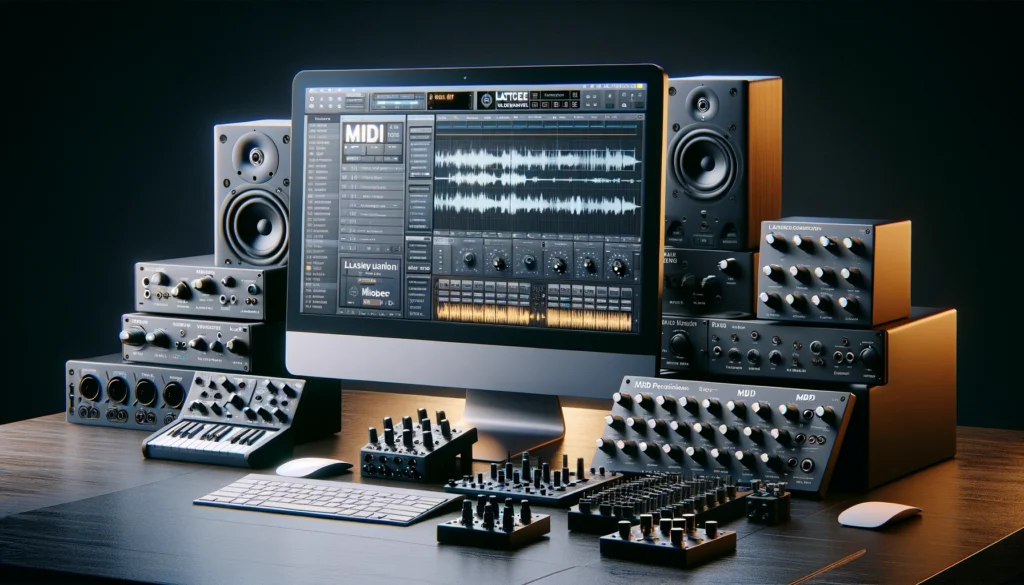
Increase your audio buffer size in your DAW – a higher buffer means less CPU strain.
Just don’t make it too high or you may notice latency when recording.
The audio buffer size setting in digital audio workstations (DAWs) determines the amount of audio that is loaded into RAM prior to processing.
When the buffer size is set high, larger chunks of audio data will load into memory and this reduces the overall processing demands of the DAW and plugins.
However, an increased buffer size also comes with a downside – it adds to the overall latency since there is more time spent loading larger blocks of audio to memory.
When recording MIDI instruments, a high buffer size can make the instrument feel less responsive.
So when reducing MIDI latency is the priority, set your DAW’s audio buffer size lower – but not too low to avoid crackles and audio dropouts.
Start at 256 or 128 samples and tweak from there to find the sweet spot of responsiveness while maintaining stable audio performance.
Setting the buffer size correctly helps lighten the load on your computer so MIDI data can be sent and received with less latency.
Disable unnecessary background processes and apps that take up CPU resources.
Many computer users are not aware of how many background tasks and processes may be running quietly on their system using up valuable CPU, RAM, and disk resources.
When using music production software and USB MIDI controllers, it’s important to free up as much of the computer’s resources as possible to prioritize the audio and MIDI data processing.
Anti-virus software, internet browser apps with multiple tabs open, wireless networking apps, background update services, and notification programs can silently hog resources without the user realizing.
Over time as more programs and processes are added to a system, they can end up installed in multiple places and load up during system startup even if you don’t actively use them.
Go through your operating system’s process/task manager and carefully disable or close out any apps that aren’t needed while using MIDI controllers.
Also check what programs and services set to auto-launch on system boot and selectively disable unnecessary ones.
Follow online optimization guides for help identifying and trimming any useless background resources specific to your OS and computer setup.
By disabling/closing unused programs, communication channels are cleared for your MIDI controller’s signals leading to less latency.
Use a audio interface and make sure you have the proper drivers installed.
Audio interfaces are external soundcards designed to greatly improve audio performance by using dedicated audio circuitry and shortcuts the limitations of generic soundcards built into computers and laptops.
Interfaces provide pristine A/D converters, low-noise preamps, multiple input/output channels, and advanced connectivity options.
Since they handle the bulk of audio processing independently, the CPU demand on your computer is lessened.
Relegating audio conversions and channel routing to capable external interfaces means less strain on USB bandwidth as well.
This frees up your operating system to better receive and transmit MIDI controller data faster through the USB pipe when an interface handles primary audio duties.
Take full advantage of your interface’s capabilities by installing its provided ASIO/Core Audio drivers which are low-latency drivers tailored for media production.
With stock or generic audio drivers, you may experience higher latency during recording and playback compared to ASIO optimized drivers coded specifically for a certain hardware interface.
Updated drivers also fix compatibility issues and unlock extra performance gains an interface model is capable of.
Upgrade Your Hardware
Get a computer or audio interface with Thunderbolt 3 connectivity
Thunderbolt has extremely high bandwidth that can handle low-latency audio.
Intel’s Thunderbolt technology has become the pinnacle connection standard for high-speed peripherals and hardware interfacing.
Thunderbolt 3, the latest iteration made available in 2016, offloads a great deal of bandwidth pressure away from the rest of your computer system.
With speed capabilities up to 40 Gbps, Thunderbolt 3 can transmit far more data faster versus USB connections.
Audio interfaces and MIDI controllers featuring Thunderbolt connectivity unleash more power for professional users seeking to eliminate latency woes.
Thunderbolt protocol also expedites communication by reducing processing steps compared to USB data transfer which is more intricate.
So if purchasing new gear for optimizing MIDI controller responsiveness – seek Thunderbolt 3 equipped hardware as the foundation for very low latency setups.
The cost is steeper, but for certain demanding professionals, Thunderbolt enabled devices are an investment for unhindered performance.
With Thunderbolt handling the lion’s share of bandwidth-hungry audio and component interfacing, USB pipes are freed up for lag-free MIDI controller connectivity.
Use a higher sample rate (96 kHz or 192 kHz) – higher samples means lower latency.
The sample rate of a digital audio workstation session has a direct impact on latency.
Sample rate refers to how many “snapshots” of audio are captured per second to represent a sound wave.
Low sample rates like 44.1 kHz provide enough fidelity for applications like CD audio.
But higher sampler rates between 96 kHz up 192 kHz result in improved resolution and also lower latency.
When more frequent audio samples happen within the same time period (high sample rate), the time interval between those samples is reduced.
This interval is the key component that decreases in higher sample rate sessions.
A smaller interval means an audio interface and computer can bounce the audio data back and forth faster to external MIDI gear since tiny slices of audio take less time to process.
However, extremely high sampler rates do demand more computing resources as there is increased buffering activity occurring.
If your system can handle it, experiment with 96 kHz or 192 kHz sessions when recording and monitoring MIDI instruments to experience the latency benefits of higher sampling.
Then the session project can be bounced down to 44.1 kHz later for distribution.
Get more RAM and processing power – a faster CPU helps process and transfer MIDI quicker.
Computer processing capacity and memory are still the backbone that impacts how quick audio software and connected MIDI gear can communicate without lag or interruptions.
An optimized USB MIDI controller setup still relies on a capable computer to convert the MIDI performance nuances into digital instrument sounds with near instant results.
Upgrading to a computer or laptop with modern, multi-core CPUs, lots of RAM, and fast storage provides more horsepower for rapid MIDI data flow.
Additional RAM beyond the base amount allows your operating system and music programs to load more sound libraries into active memory instead of relying on storage drives.
When samples and preset data can be accessed directly from fast RAM, MIDI controller actions that trigger software instruments happen quicker.
In cases where adding more RAM isn’t possible, using an external solid state drive via Thunderbolt/USB 3.0 for session storage duties can still offer a speed boost over internal hard drives.
With upgraded computational abilities, your computer can churn through MIDI signals and route the audio back to you faster for lag-free monitoring and recording.
Use MIDI Plugins or Hardware

Use MIDI plugins that feature latency compensation/delay compensation.
Certain complex plugin instruments and effect chains introduce inherent latency during monitoring because of extra digital audio processing.
The delay between playing a MIDI keyboard and hearing the software instrument sound limits creative productivity.
Advanced digital audio workstations like Ableton Live, Logic Pro, and others now integrate automatic latency compensation features.
This listens for timing variances and syncs up the monitored audio tracks to match.
Other third party MIDI plugins also advertise reduced latency operation as a key feature during live playing situations.
Raising buffer sizes moderately can cut down on timing issues but plugins promoting live latency compensation take that concept further.
By having latency measurements and monitoring delays built-into the plugins’ architecture directly, MIDI performances avoid distracting audio lag.
Less time re-adjusting settings means more creative time enhancing productions.
Use dedicated MIDI processing hardware like MIDI patchbays or mergers which optimize MIDI data flow.
Before the widespread adoption of USB connections, studios relied on specialized MIDI processing gear to handle routing and channel management for electronic instruments.
While built-in DAW MIDI editing covers many scenarios now, external hardware MIDI “patchbays” still excel at streamlining workflows.
They optimize MIDI transfer to and from computers to minimize lag between gear.
Features like MIDI channel mapping, signal boosting/regeneration over long distances, thru connections to reduce cable clutter, and merged data streams reduce excess latency points.
They act as a MIDI router/hub to properly sort and distribute data instead of the computer trying to handle everything in software.
High quality MIDI patchbays and channel managers provide both 5-pin and USB ports to integrate with any MIDI environment.
Routing MIDI controller signals via dedicated optimization hardware cuts down on the advanced channel communication jobs your DAW and computer have to juggle themselves.
This frees up their processing capability to focus on vivdly rendering your creative MIDI performances.
Optimize Your MIDI Controller
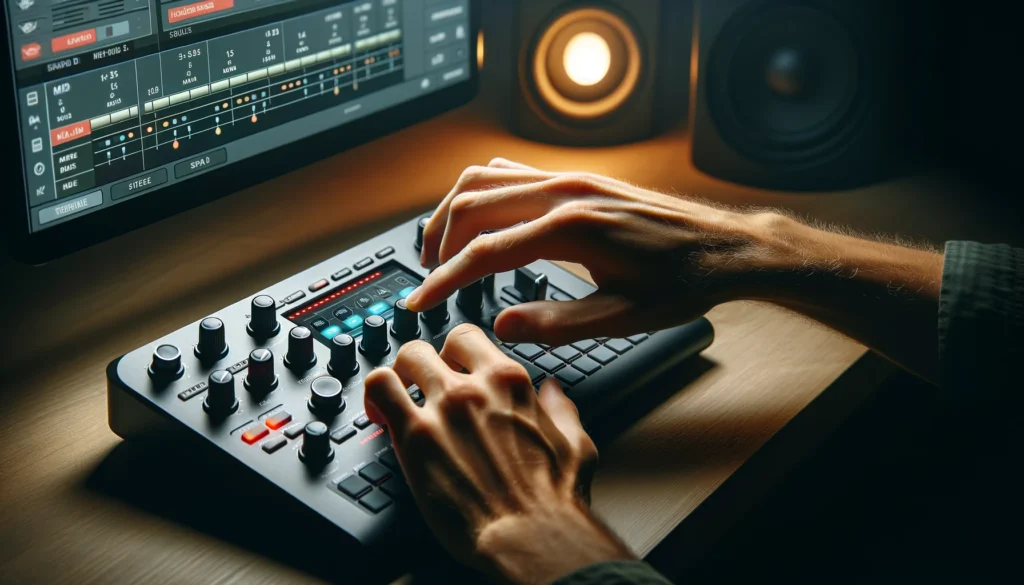
Reduce the resolution of faders, knobs and controls – higher resolution means more MIDI data to process.
Many contemporary MIDI controllers allow adjusting the sensitivity and data resolution for the various knobs, faders and other controls.
While extremely precise movements are useful for delicate mixing or automation curves, in live playing situations that precision may be overkill.
Since higher resolution equates to finer increments of MIDI continuous controller messages, it’s more taxing on the USB bandwidth.
Extremely sensitive high-resolution controls generate a constant flood of dense MIDI CC data that requires more real time processing to keep up.
Reducing resolution puts breathing room in between control gestures for the computer to catch up.
Dial back continuous controller resolution levels in the MIDI device firmware settings if noticing performance dips, glitches or latency.
Smoother playing dynamics will emerge from reducing fader and knob sensitivity range.
The difference may be subtle but even the smallest USB/MIDI bottleneck deeply impacts creative flow feeling connected to software instruments.
Reduce lighting/LED intensity which requires processor resources.
Modern MIDI gear packs all sorts of performance enhancing amenities like RGB lighting, colorful LCD displays, scrolling text and more which give an aesthetic overhaul to MIDI controllers.
However underneath all that glam are companion processor and drivers working hard to power those accoutrements.
They tax USB bandwidth and system resources in subtle ways.
To ensure MIDI data takes the performance priority, power down any unnecessary lighting frills, dim LED levels, disable animated LCD screens if possible.
Any small amount of reclaimed processing potential can boost timing of MIDI communications that eliminate latency.
Approaching USB MIDI instruments from a utilitarian perspective focuses available resources directly on translating knob twists and key presses into responsive software instrument audio.
Transmit less MIDI data from the controller if possible.
Smart advanced MIDI controllers transmit a wide range of controller messages like aftertouch, pitch bend, polyphonic pressure and more.
All that extra expressiveness certainly expands sonic options, but comes at the expense of greater bandwidth usage and MIDI processing to account for those articulations.
Determine what types of MIDI messages are non-essential for your setup and scope back the outgoing data from controllers if you can.
For example limit keyboards to just notes on/off, channel pressure and modwheel data.
Or restrict drum pad grids to simple note on/off signals.
Doing so alleviates decoding duties of complex MIDI arrangements so computer/audio interface latency is curtailed.
Conclusion
Achieving low latency MIDI controller performance involves both software and hardware considerations for computers, audio interfaces, cables and the controllers themselves.
Prioritizing MIDI timing across the entire signal chain unlocks a seamless playing experience.
With various tweaks and component upgrades, musicians can monitor software instruments through MIDI gear without delay hindering their creative musical ideas and productions.
