Stuck between a rock and a loud machine?
If rumbling compressors, howling generators, or buzzing saws have you searching for ear plugs, constructing a soundproof box may be the DIY project for you.
A custom acoustic enclosure lets you contain noise to keep the peace at home or work.
How to make a box optimized for sound dampening may seem complex, but following straightforward methods and materials results in significant noise reduction.
This guide covers proven techniques to plan, build, and test your own noise-reducing container tailored to troublesome equipment.
From assembling dense insulated walls, sealing penetrations, and isolating contact vibrations, you’ll gain expert insights for methodical sound containment.
Let’s dive into the complete step-by-step instructions for constructing a custom soundproof box to effectively control excessive noise pollution.
Why Soundproof a Box?
There are many important reasons for soundproofing noisy equipment and machinery. Excessive volume can impair hearing, health, concentration and communication.
Noise also spreads easily, infringing into neighboring spaces.
Here are some of the top motivations for implementing targeted acoustic isolation treatments:
Containing noise from loud mechanical devices is the foremost reason to utilize a soundproof box. Air compressors, generators, vacuum pumps, and various power tools create high decibel levels that become oppressive over time in a space.
Enclosing these types of disruptive machines isolates the noise so it does not propagate.
This makes the surrounding environment more comfortable whether it is your garage, workshop, basement or backyard.
A properly constructed acoustic enclosure reduces noise emissions dramatically while allowing continued equipment operation.
Soundproofing boxes around equipment are also strongly considerate for neighbors, roommates, or family members.
Even during reasonable daytime hours, noise spreading through walls and floors from machinery like compressors and saws can disrupt activities and infringe on others.
Soundproof enclosures allow noisy mechanical operations to occur without creating nuisance or tension for those you live and work with.
Containing noise makes using equipment far less intrusive.
Preserving hearing and health is another essential reason to use acoustic isolation boxes. Ongoing exposure to high decibel levels will cause long term hearing damage over time.
Why take the risk of permanently impairing hearing when a soundproofed enclosure can effectively control noise exposure?
Reducing sound levels to safer ranges preserves hearing while preventing associated health ailments like tinnitus.
Overall, implementing equipment soundproofing enhances comfort, productivity, and communication in a space.
A calmer, less noisy environment provides extensive benefits beyond hearing protection.
Noise pollution raises stress hormones which impair concentration, motivation, and cognitive function.
Soundproofing improves your ability to think clearly, be creative, communicate effectively, and enjoy your home or workplace.
Controlling noise at the source allows reclaiming a comfortable space.
In summary, reducing disruptive noise levels, being considerate of others, protecting hearing health, and optimizing space usage are all persuasive motivations for enclosing noisy equipment in a soundproof box.
If compressors, generators, pumps, saws or other noisy devices are causing excessive disturbance, constructing a tailored acoustic enclosure can effectively resolve the issues. The effort involved pays off exponentially in benefits.
1. Gather Materials
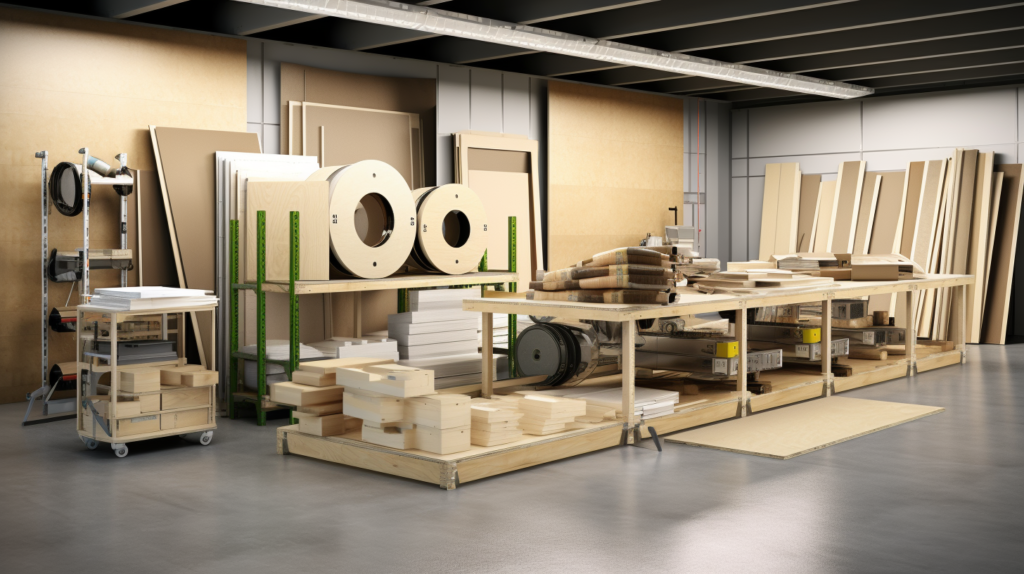
The first key step in any DIY soundproofing project is procuring the right materials. There are several components essential for effectively blocking, absorbing and isolating noise.
Begin by assessing the specific noisy equipment you aim to contain.
This will inform the necessary size, features, placement and design of the soundproof box.
Consider all operational needs including ventilation, wiring, fluid lines, controls, and accessibility.
Accounting for these factors ensures your acoustic enclosure isolates the machine fully while allowing required services.
Here are the vital materials to gather:
Rigid plywood or MDF boards will form the multilayered wall structure. High density 9-ply plywood with 0.5 to 0.75 inch thickness works very well.
Two solid layers separated by noise damping compounds provide excellent sound blocking mass.
Sturdy plywood construction prevents noise flanking and resonance. Purchase full 4×8 boards to minimize seams during assembly.
Specialized acoustic materials will line interior walls to absorb sound reverberation. Mass loaded vinyl is a limp weighted material that excels at damping echos and resonance.
Foam or fiberglass insulation also absorbs high frequencies effectively. Combining mass vinyl and porous absorbers optimizes inner noise reduction.
Green Glue is a proven noise damping compound installed between plywood layers.
Its constrained layer damping principles utilizing viscoelastic polymers and metal particles substantially improve sound isolation compared to plywood alone.
Green Glue applied correctly blocks transmission remarkably well.
Caulk rated for acoustical applications is vital for sealing cracks, gaps and edges throughout the box completely.
Perimeter seams between walls and boards must be caulked thoroughly with acoustic sealant to prevent sound leakage paths.
Caulking inner and outer joints is a critical step.
Hardware like hinges, latches, handles and corner guards add useful functionality. Hinged doors allow container access while maintaining tight closure.
High quality latches keep doors firmly compressed against seals. Handles ease opening and moving. Guards protect vulnerable corners.
Take time to source all the optimal sound blocking, absorbing, decoupling and finishing materials before starting assembly. Having the right components on hand enables smooth project progress.
Constructing layered walls, sealing them completely, damping resonance, and isolating requires quality specialty acoustical products for best results.
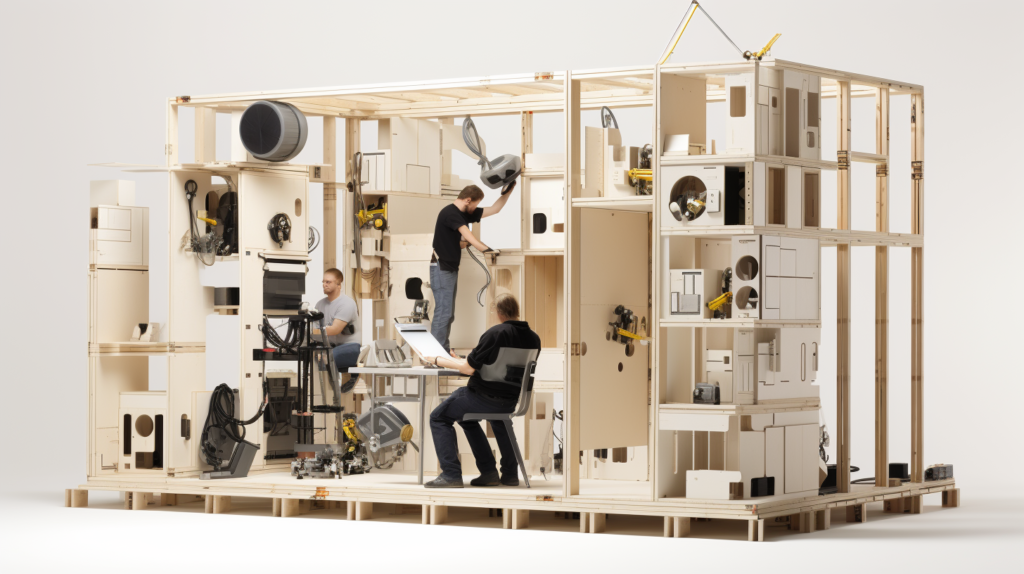
2. Construct the Box
With all materials ready, construction of the soundproof box itself can begin. Take precise interior measurements for sizing the box walls appropriately around the equipment.
Ensure sufficient access space is allowed for controls, ventilation, servicing and airflow based on the machine’s requirements.
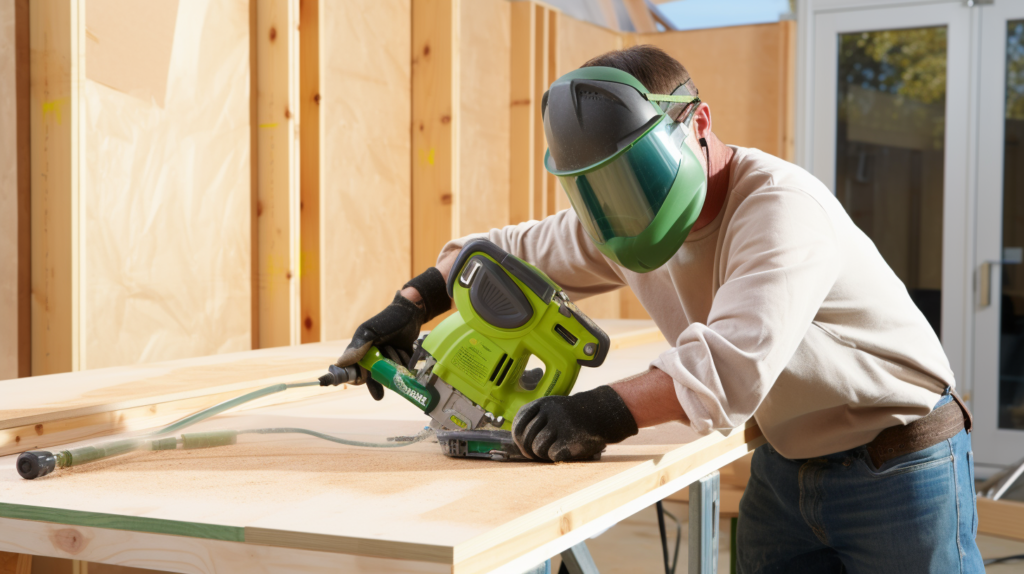
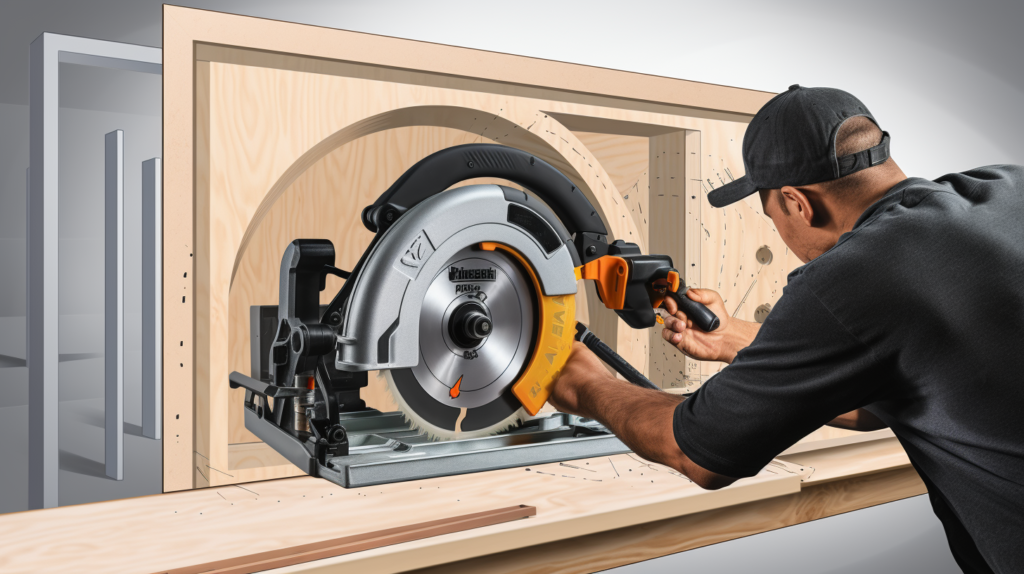
Cut rigid plywood or MDF panels oversized by one inch along all sides to enable overlapping joints during assembly.
Use a circular saw with sharp fine-tooth carbide blade to cut boards and sheets smoothly and accurately. Sandwich two plywood layers together with Green Glue applied in between.
Spread the Green Glue thoroughly across both facing surfaces using a notched trowel to coat evenly before joining.
Clamp layers tightly together and screw using exterior grade fasteners every 4 to 6 inches around the perimeter and interior panels.
Make sure interior dimensions allow containing the equipment with room for isolation, ventilation and access.
Test fit panel sections together first before permanently assembling to verify sizing.
Thoroughly caulk each inner and outer joint with acoustical sealant during assembly for airtight sealing.
The box framework is now constructed and ready for additional interior treatments.
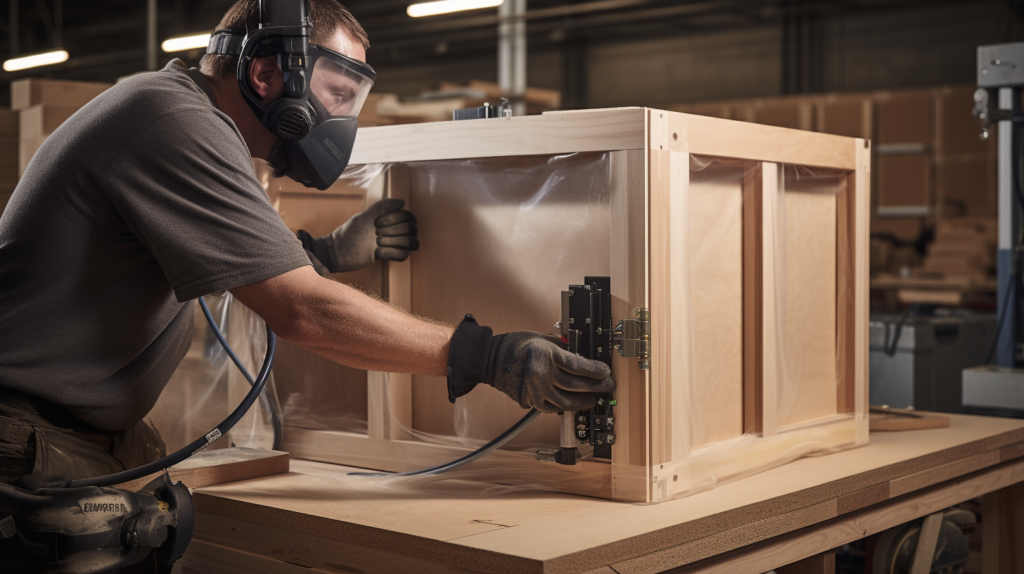
3. Add Doors and Ventilation
With the basic box structure complete, cutting access doors and ventilation ports is next while maintaining sound containment integrity.
Any gaps or leaks around penetrations will severely diminish acoustic isolation and must be avoided.
Here are best practices for adding openings successfully:
Cut one or more large access doors on the box sides. Doors should seal tightly using dense rubber seals around all edges.
Install sturdy hinges and high quality latches to compress the door against the seals when closed. A tight seal is crucial for blocking noise leakage.
Ventilation ports will likely be required for equipment cooling, exhaust or airflow.
Use circular metal ducts with acoustic silencers that do not impede airflow while preventing sound transmission.
Connect ducting using flexible sleeves to prevent vibration transfer. Vent exhaust externally when feasible.
Treat all penetrations thoroughly with acoustical materials and decoupling techniques. Putty pads tightly seal wires, cables and tubing feedthroughs.
Isolate connections passing through walls. Avoid any gaps in sealing doorways and vents. Openings must be sealed airtight for full acoustic isolation.
4. Treat and Line Interior

The interior space should be lined with sound absorbing materials to contain echoes and resonance within the box. Start by sealing every inner box joint and seam edge with acoustical caulk.
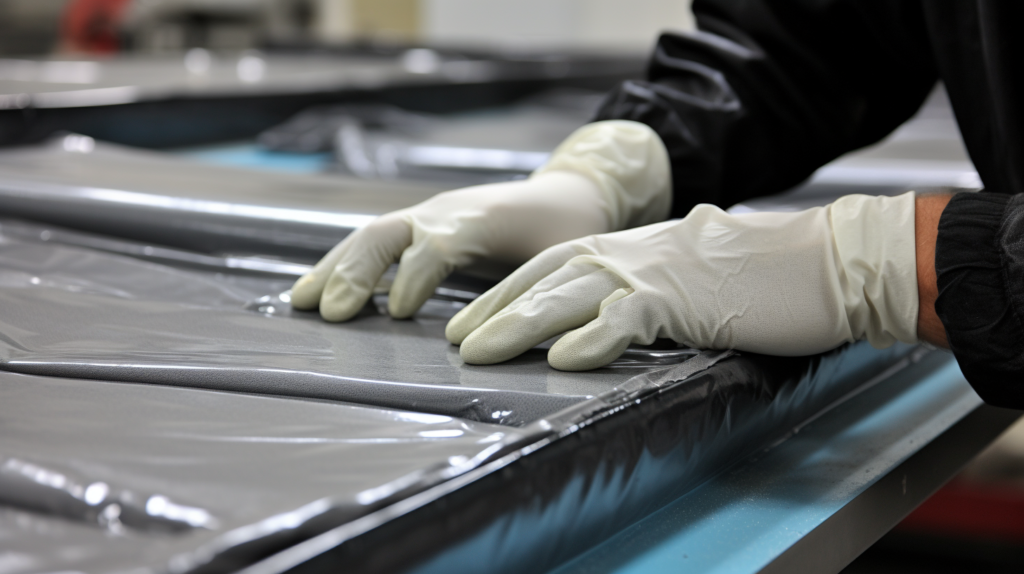
Apply mass loaded vinyl sheets using spray adhesive to cover walls, doors and panels completely. Finish by lining with 2 inch acoustic foam or fiberglass insulation.
The foam is attached with adhesive and the fiberglass can be pinned. These layers absorb sound energy rather than reflecting it.
Treat all interior surfaces facing the equipment for optimal damping.
Any penetrations into the box like wiring or tubing should be sealed with firestop putty.
This putty completely fills gaps around cables and lines entering the box.
Low density putty pads can also be used around penetrations and edges by cutting pads to fit and compressing into place.
The goal is to decouple and seal everything passing through the box walls.
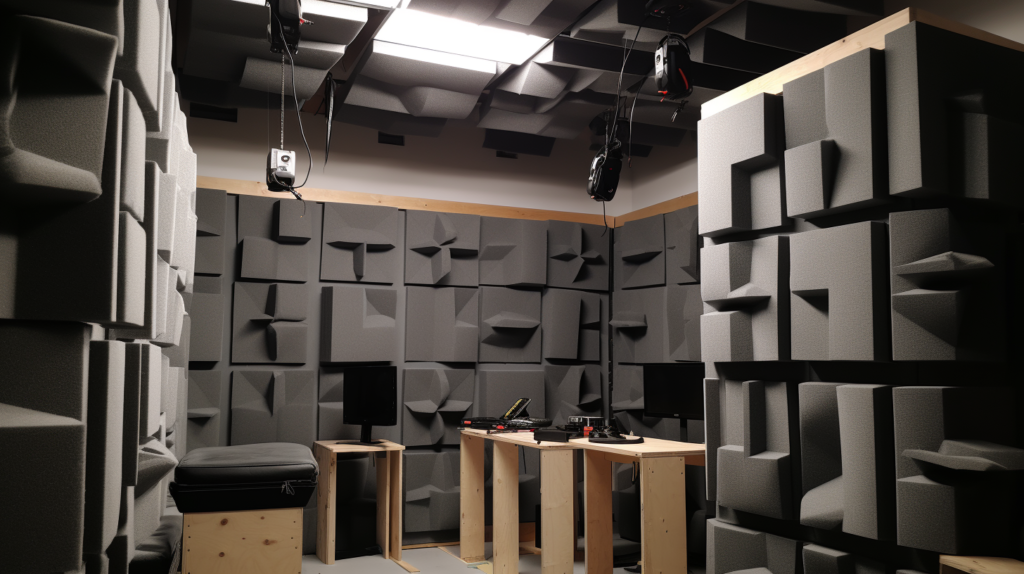
Lining the interior with dense limp mass vinyl and porous absorbing materials converts the box into an acoustic chamber that contains noise.
Sound becomes trapped rather than bouncing around and transmitting outside.
Together interior absorption and exterior sound blocking provide thorough acoustic isolation.
5. Isolate Box and Machine
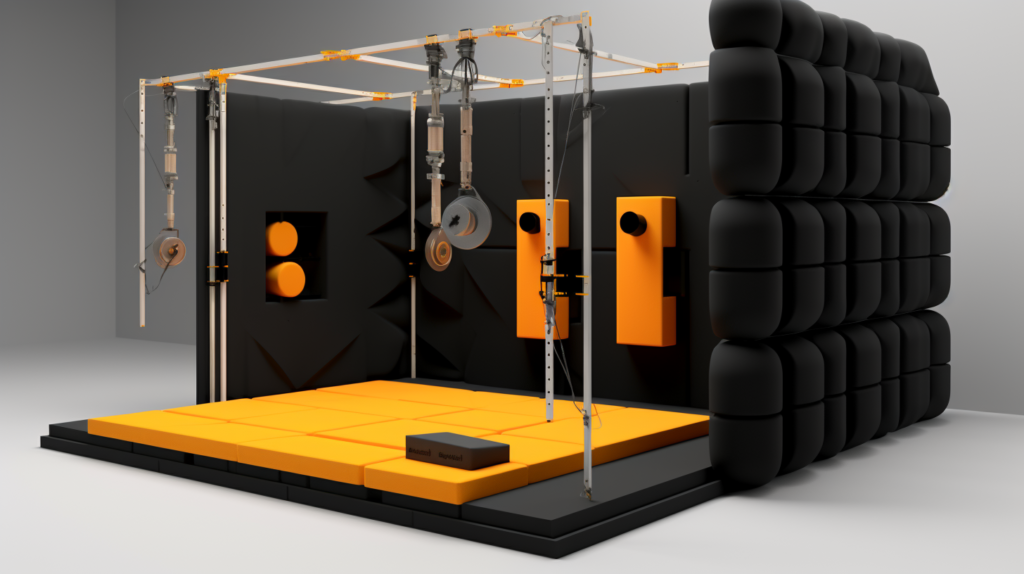
Soundproofing the box itself addresses half the solution – equally important is de-coupling it from contact with surrounding structures.
Any physical connection with floors, walls, ceilings or mounts will transmit vibrations out of the box as noise.
Effective isolation techniques are vital for preventing acoustic bridging.
Start by placing dense soundproofing isolation pads under the box during installation. Quality neoprene or felt pads will block structure-borne noise transmission down into the floor.
Use thick pads rated for significant weight to avoid settling.
The noisy machine or equipment itself should be isolated inside the box as well. Placing units on neoprene vibration pads prevents contact noise inside the enclosure.
This may require fabricating a raised platform or rails to mount pads and machine together. Isolate all sides – otherwise vibrations will transfer at contact points.
When installed on isolating pads, the soundproof box assembly remains inert. Vibration from the machine and environment is blocked through the isolation barrier rather than transmitted.
The floating system prevents noise leakage. Just remember isolating both box and equipment is key.
6. Finish Exterior
With assembly complete, add finishes by sealing, damping and protecting all exterior surfaces. Use acoustical caulk to fully seal every outer edge, seam, joint, screw hole and gap.
Go over all joints twice to ensure comprehensive sealing.
Also apply flexible mass loaded vinyl or rubber sheeting over surfaces. This adds damping and density to further enhance sound blocking.
Cosmetic handles, latches or displays can be installed if desired. Baffles around ventilation openings guide sound energy away.
Corner brackets and guards protect vulnerable edges and surfaces from scuffs and damage during use. The goal is to seal and weight all sides to contain noise optimally.
7. Initial Testing

The final step is verifying acoustic performance through initial testing before permanent installation and use.
Place the noisy equipment inside, close up tightly and run a test cycle, listening from all sides.
Use a sound level meter to check for leaks at higher frequencies.
If sealing faults are found, adjust door seals, ventilation ports, or isolation mounts until corrected. Confirm ventilation is adequate but acoustically contained.
Proper testing ensures optimal function and sound reduction before permanent use.
8. Ongoing Upgrades
Once acoustic isolation is confirmed through testing, permanently situate the soundproof box in the desired location.
Follow all safety precautions when accessing or operating equipment in the enclosed space.
Contact points, fasteners and seals may need periodic inspection and maintenance to ensure integrity over time.
Enjoy consistent noise reduction from the custom soundproofing solution tailored specifically for your equipment and needs.
Conclusion
Constructing a customized soundproof enclosure provides an effective method to contain noise from loud equipment and machinery.
Following the step-by-step guidance in this guide will enable you to successfully plan, build, install, and utilize your own noise-reducing box.
The multilayered rigid plywood construction blocks sound transmission, while inner acoustic treatments absorb noisy reverberation.
Isolating the box from contact with surrounding surfaces, along with the contained equipment inside, prevents vibration transfer that causes noise leakage.
Comprehensive sealing and damping materials enhance acoustic performance further. Initial testing verifies sufficient noise reduction before permanent use and placement.
A thoughtfully fabricated soundproof box tailored to your specific equipment will provide ongoing noise control benefits.
Your workspace, home and neighbors will appreciate the considerate containment of loud disruptions.
Achieving substantial decibel reduction is accessible and straightforward by methodically following the noise control best practices detailed here.
The improved comfort and sound environment are well worth the effort of a custom DIY acoustic isolation box project.