Is your washing machine keeping the entire house up at night with its loud rumbling?
Do you cringe every time you have to do a load of laundry, knowing the noise will disrupt your family’s activities?
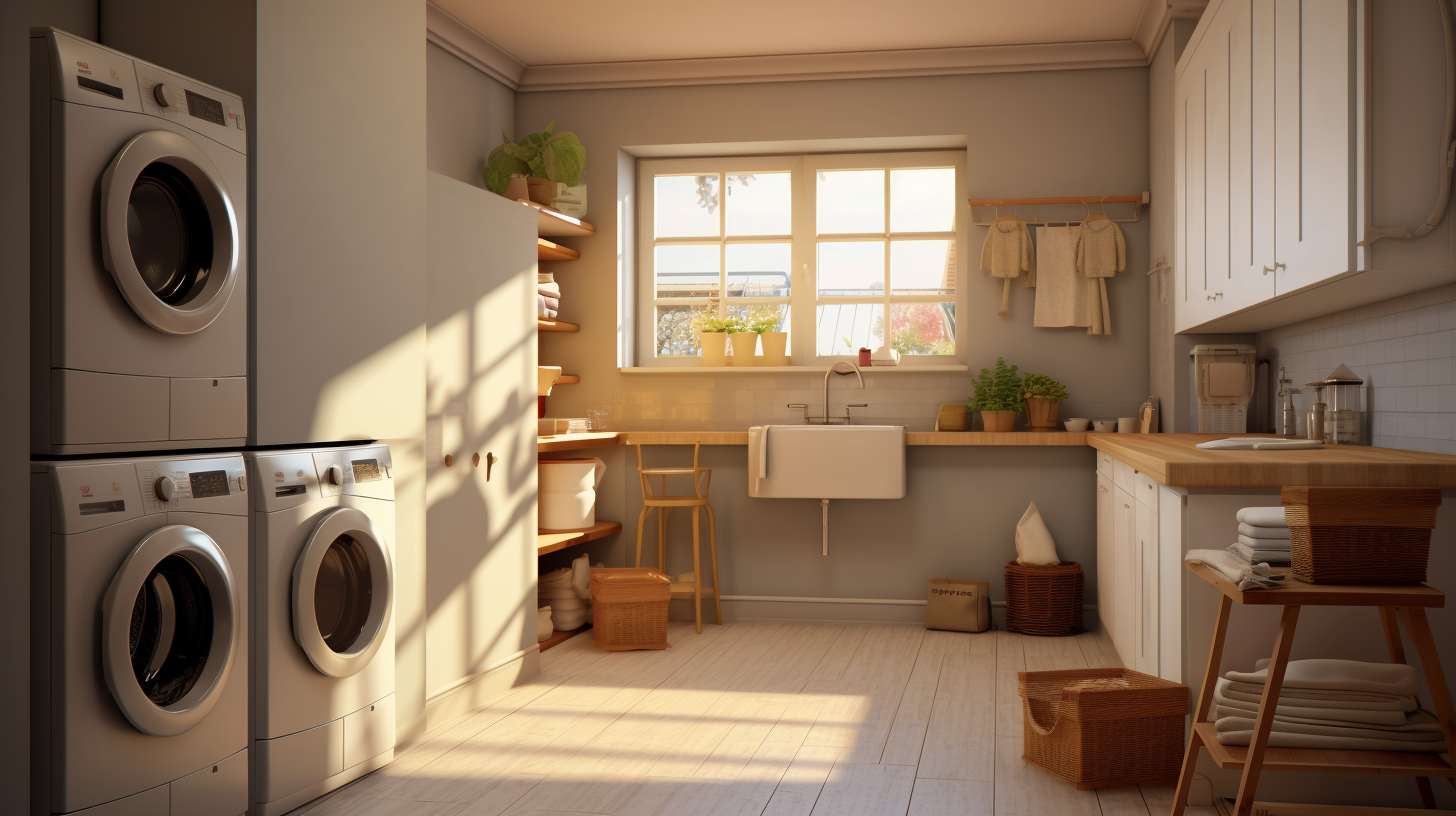
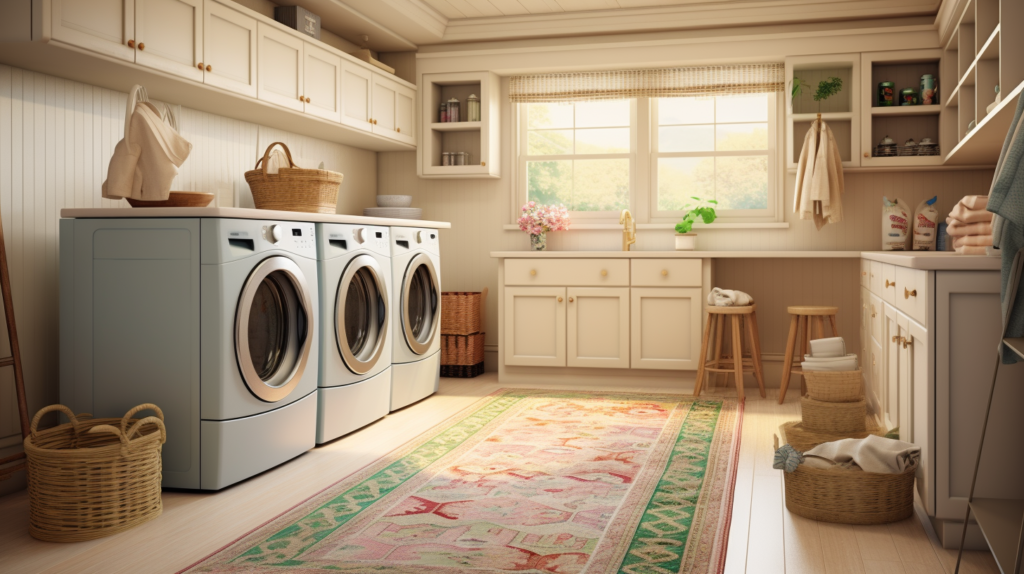
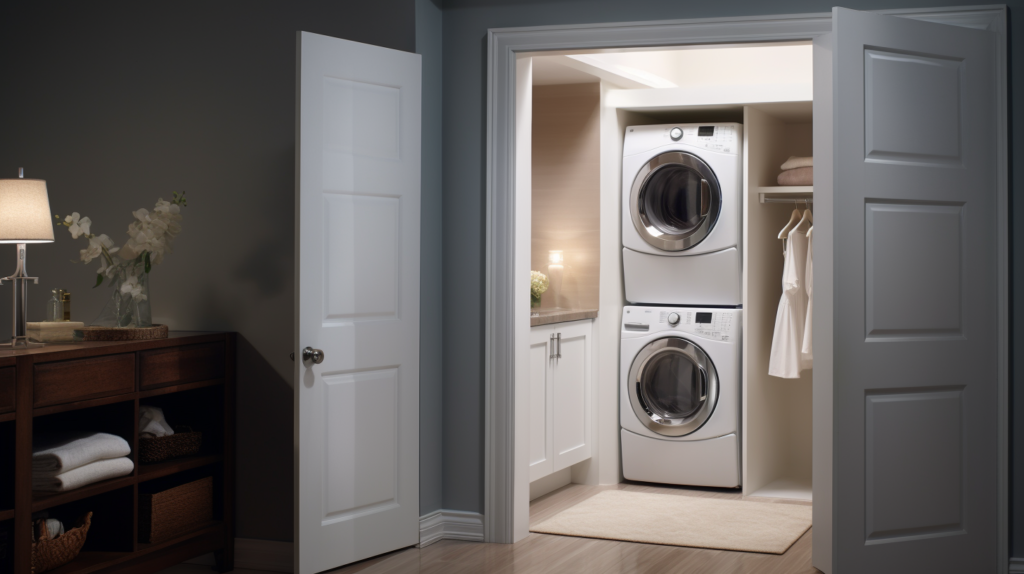
Soundproofing your laundry room is the solution to containing noise from your washer, dryer and other laundry appliances.
In this guide, we’ll dive into the methods for soundproofing laundry room walls, ceilings, floors, windows, and doors. Let’s get started!
Why Do You Need To Soundproof Laundry Room
Doing laundry is an essential household chore that most families do on a regular basis.
However, the noise from washing machines and dryers can be disruptive to other activities happening in your home. Soundproofing your laundry room is important for several reasons:
It reduces noise transferring to other rooms. The spinning and vibrations of a washer or dryer generate significant noise.
This gets amplified as it travels through walls, ceilings and floors.
By soundproofing the laundry room, you contain the noise so it does not disturb conversations, sleeping children or entertainment in nearby rooms.
Creating acoustic separation gives you more flexibility to do laundry anytime without disrupting the household.
It provides a quieter environment. The constant drone of washers and dryers is fatiguing if you have to work or relax in adjoining areas.
Soundproofing minimizes reverberation and mechanical noise so that your laundry room is a calmer, peaceful space. This can make doing laundry less stressful and more pleasant.
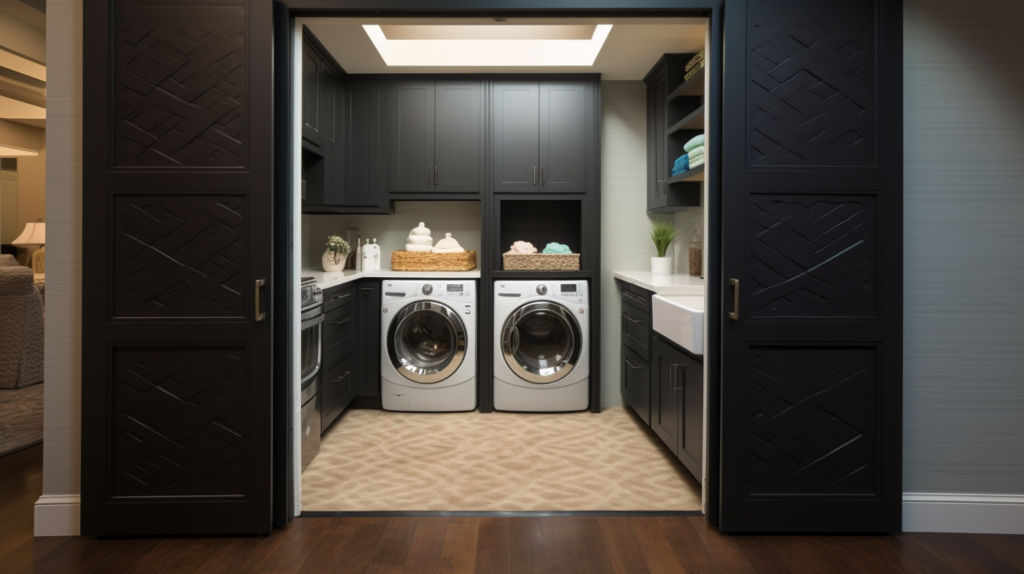
It allows you to install laundry machines anywhere. With proper soundproofing, you can situate your laundry setup in a closet, bathroom, basement or other challenging area.
Sound isolation techniques let you place washers and dryers where it works best for your floorplan rather than being limited by noise transfer issues.
Overall, soundproofing allows you to use your laundry appliances when needed without worrying about noise disruption throughout the house. It also creates a more enjoyable laundry environment.
Soundproof Walls In Laundry Room

The first step in soundproofing a laundry room is to handle noise transmitting through the walls. Airborne noise from spinning and vibrations passes easily through drywall.
To block this, you need to physically break the path of sound transmission from the room to the wall framing. Here are the key techniques:
Expose The Wall Studs If Possible, Otherwise Install New Studs On Concrete Walls. The ideal method is to remove any existing drywall or paneling to expose the wood stud framing.
This allows you to insulate the wall cavities and use isolation clips properly.
If your laundry room has concrete block walls, you will need to construct new wood or metal stud walls on the concrete to create a decoupled air gap.
Fill Cavities With Mineral Wool/Fiberglass Foam. Use semi-rigid mineral wool or fiberglass insulation batts to pack the wall cavities.
This absorbs mid and high frequency sounds. Ensure complete coverage with no gaps. Rockwool and Owens Corning 703 are top options. The insulation prevents flanking noise through the framing.
Install Resilient Channels Across Studs. Resilient channels are furring strips made of rolled sheet metal attached horizontally across studs.
They decouple the drywall from the studs, allowing each surface to vibrate independently. This dampens vibrations, reducing noise transfer.
Use self-tapping screws to attach metal channels every 16 inches on center.
Cover With Double Layer Of Drywall, Staggering Seams. Use two layers of 5/8″ drywall for maximum mass and damping.
Offset the vertical seams between layers to eliminate any direct sound paths. Staggering creates a maze that makes sound transmission more difficult.
Apply construction adhesive between layers for another damping layer.
Seal Perimeter With Acoustic Caulk. Fill all gaps around wall edges and electrical outlets with acoustic sealant.
Acoustic caulk adheres surfaces together while allowing independent movement to reduce flanking noise. Look for paintable caulks rated for air sealing and soundproofing.
Properly soundproofing walls requires robust materials and an understanding of how noise travels through surfaces. Follow these best practices for walls and you can contain laundry room noise.
Soundproof Ceiling In Laundry Room

Along with walls, ceilings require special attention when soundproofing a laundry area. Noise easily transfers overhead into rooms above, disturbing activities and sleep. Follow similar isolation principles:
Expose Joists If Possible, Otherwise Install New Joists On Concrete Ceiling. Like walls, removing ceiling finish materials allows you to insulate and install isolation clips correctly on framing.
For concrete ceilings, construct new ceiling joists to create an isolated decoupled space.
Fill Cavities With Mineral Wool/Fiberglass Foam. Pack ceiling joist bays completely with semirigid mineral wool or fiberglass to absorb airborne noise before it travels.
Eliminate any gaps where sound can flank through.
Install Resilient Channels Across Joists. Use the same resilient channel material mounted horizontally across joists every 16 inches on center.
The material will be oriented perpendicular to the channels on walls for maximum effectiveness.
Cover With Double Layer Of Drywall, Staggering Seams. Add two layers of 5/8″ drywall to the ceiling to increase mass and damping.
Staggering the vertical seams between layers provides greater soundproofing. Apply construction adhesive between layers.
Seal Perimeter With Acoustic Caulk. Caulk all perimeter ceiling edges and gaps around fixtures, lights and vents. Acoustic caulk containing damping polymers is essential for preventing flanking noise.
Isolating the ceiling seals overhead sound transmission paths between rooms. This protects house occupants from being disturbed by washing machine and dryer noise.
Soundproof Floor In Laundry Room
Floors represent another potential area for disruptive noise and vibration transfer from laundry rooms. Here are techniques to address floors:
Install Acoustic Underlay Like MLV Or Cork Sheets. Acoustic underlay adds a sound blocking cushion under finished flooring.
Materials like mass loaded vinyl (MLV) or cork effectively dampen impact noise and airborne noise. MLV is denser for maximum sound blocking.
Install Floating Floors Over Underlay. Floating floors like laminate, engineered hardwood and vinyl plank detach from the subfloor to “float”.
Underlay creates isolation from subfloor noise. The flooring only contacts the underlayment, not the subfloor.
Use Thick Rugs Where Needed To Absorb Footsteps. Strategically place dense rugs in laundry room doorways or other high impact areas.
The cushioning and density help muffle footsteps and appliance dolly noise vibrating through floors. Large rugs work better than small ones.
Install Wall-To-Wall Carpet For Maximum Effectiveness. For whole-room floor soundproofing, install wall-to-wall carpet over an acoustic underlay.
The carpet and pad provide sound damping and absorption while decoupling from the subfloor. This addresses both airborne and impact noise.
Isolating floors requires underlayment and/or floor coverings that physically decouple from the main structure. This technique prevents vibration transmission to rooms below the laundry space.
Soundproof Windows In Laundry Room

Laundry room windows often become weak points for noise leakage. Sound travels easily through glass and unsealed frames. Here are cost-effective ways to improve windows:
Install Double Or Triple Pane Windows If Possible. Multi-pane insulated windows greatly reduce noise transmission through glass.
The air gaps between glass panels diffract and reflect sound. Triple pane are optimal, but double pane also helps considerably.
Caulk Cracks Around Frames With Acoustic Caulk. Check window frames for any gaps or cracks, especially where the frame meets the wall.
Fill these voids with acoustic sealant to prevent sound flanking around the edges.
Use Window Inserts If Replacing Windows Is Not An Option. Affordable window inserts made of acrylic or laminated glass can be added to existing windows for sound blocking.
Some also have air pockets for further noise reduction. These are an easy retrofit solution.
Sealing and improving window assemblies limits the weakest flanking paths for laundry room noise. Even DIY acoustic treatments can make a meaningful difference.
Soundproof Doors In Laundry Room
Doors should be a top priority when soundproofing a laundry space. They contain high levels of noise each time they open and close. Here are door soundproofing tips:
Install Solid Core Doors. Replace hollow core doors with solid wood or steel core doors. Solid doors have much higher sound blocking capacity thanks to greater mass, stiffness and sealing.
Weatherstrip Around Door Frames.
Use adhesive foam weatherstripping to seal the door perimeter and cover gaps letting noise leak through. Quality seals compress when doors close to block airflow and noise.
Add Door Bottoms/Sweeps. Door bottoms and sweeps seal the gap between the bottom of the door and threshold. Noise leaks out through this area easily.
Choose heavy vinyl, brush or gasket sweeps to help muffle sound.
Use Soundproofing Panels If Door Replacement Is Not Possible. For doors that cannot be replaced, soundproofing panels and gaskets provide a retrofit option.
These dense panels adhere to doors with adhesive and mechanically block noise through the door slab.
Of all the building components, doors create the most opportunities for noise flanking between rooms. Sealing them properly is vital for effective laundry room soundproofing.
Isolate Machines
In addition to room soundproofing, also use isolation techniques directly on laundry appliances
Use Vibration Pads Under Washing Machine And Dryer. Vibration absorbing pads decouple machines from the floor to reduce noise transfer.
Neoprene, rubber or spring isolators effectively dampen vibrations caused by spinning and motion.
Keep Machines Away From Walls. Position washers, dryers and laundry sinks away from walls whenever possible. This prevents mechanical and drum vibrations from transferring directly into wall framing. Creating an air gap allows noise to dissipate.
Machines produce significant structure-borne noise from shaking, spinning and vibrations. Isolating them from surrounding surfaces is key for a peaceful laundry room.
Conclusion
Soundproofing a laundry room using the right materials and techniques makes a substantial difference in noise reduction.
The goal is to physically detach your washing machine, dryer and laundry area from the surrounding structure. This contains noise and prevents it from disturbing your household. Address all flanking paths the noise could potentially travel through – walls, ceilings, floors, doors and windows. With diligence and proper installation, you can create an oasis of peaceful quiet during laundry time. The investment is well worth it for a calmer home.