
If your old house amplifies every creak, bang and neighbor’s bark, you may feel like you’re losing your mind and peace of living.
Luckily, there are ways to dramatically reduce noise in your antiquated abode.
Let’s dive into a complete guide on how to soundproof an old house from top to bottom.
Identify Problem Areas First
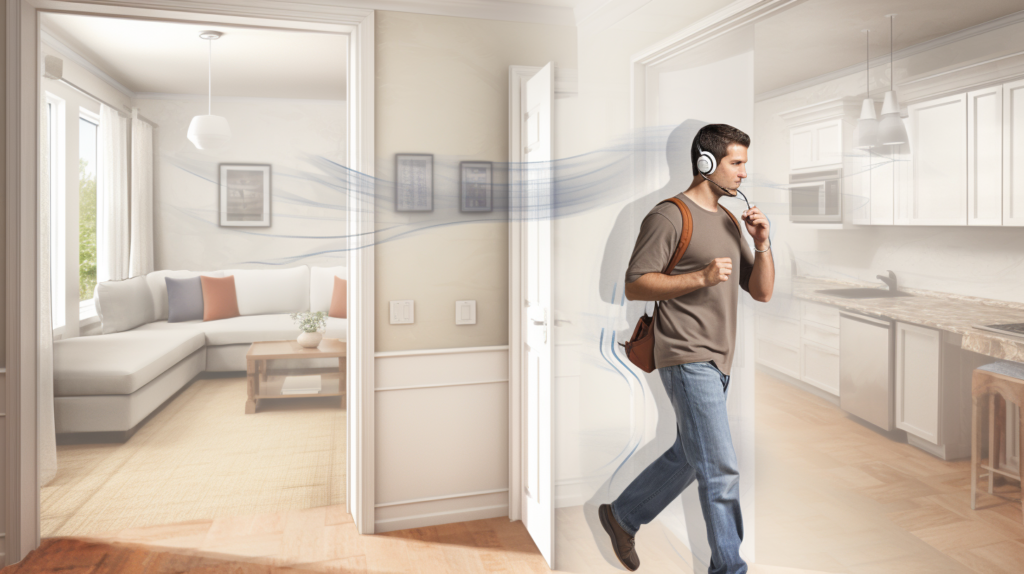
When beginning a soundproofing project, the first step is to walk through your home and identify major problem areas.
Make notes of any rooms or spots where you regularly hear external noise coming into the home. This may be near windows or doors, or on certain walls that face the street or a noisy neighbor.
Also note any areas where interior noise travels easily between rooms or floors. Pay attention for noises like voices, footsteps, or closing doors that you can hear clearly through walls or ceilings.
Finally, make sure to document any rooms that are particularly echoey or prone to reverberation. Hard, reflective surfaces like tile floors or bare windows can create problematic echoes that carry noise.
Focus your soundproofing efforts first in the loudest areas to get the most bang for your buck.
Thoroughly Seal Air Leaks
Before adding substantial insulation or soundproofing materials, an important first step is sealing air leaks throughout the home.
Even small cracks and gaps around windows, doors, pipes, wires, vents and more can allow noise to easily travel through.
Carefully inspect each room for potential air leaks and document problem spots. Pay special attention around common offenders like window and door frames, electrical outlets, attic hatches, and vents.
Once identified, seal air leaks using high quality acoustic caulk and weatherstripping. For larger gaps, use spray foam or expandable foam sealant.
Be diligent and meticulous – air leaks can render other soundproofing efforts ineffective if not properly sealed.
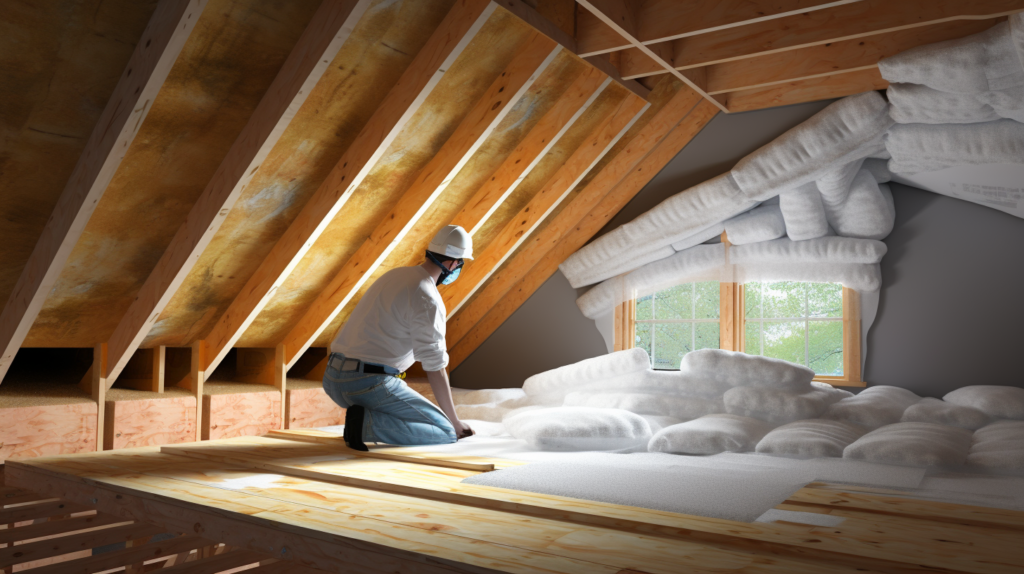
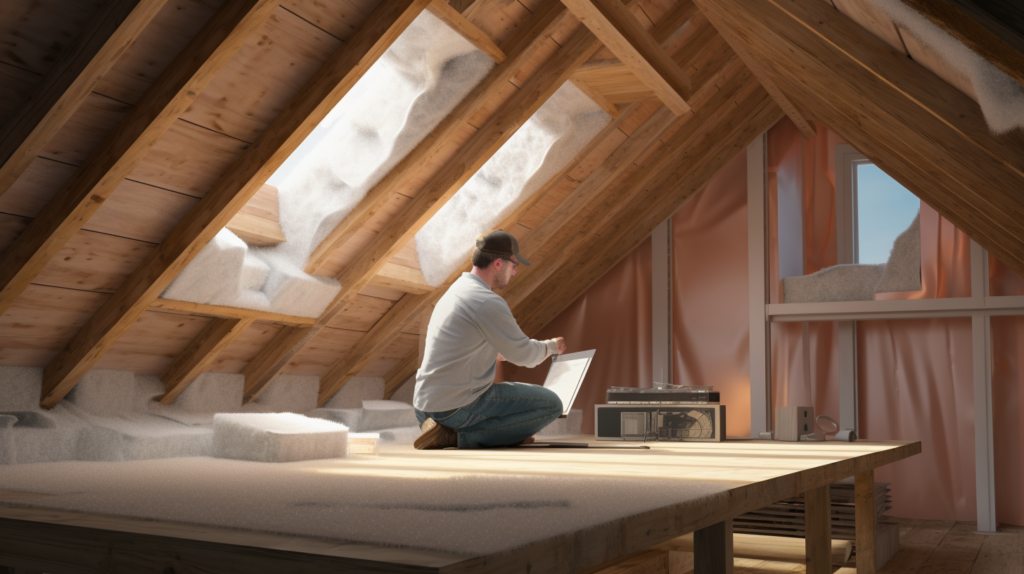
Insulate the Attic to Absorb Noise

While attic insulation may not seem directly related to soundproofing, it does play an important role.
Upgrading the attic insulation helps absorb noises like traffic, neighbors, and bad weather from transmitting through the roof and ceiling.
If the attic has little or no insulation, adding blown-in cellulose or fiberglass insulation can make a significant difference in absorbing noise.
Target an R-value of R-30 or higher for optimal results. Make sure insulation evenly fills the space without gaps and covers joists and rafters.
Also be diligent about sealing any remaining air leaks between the attic and living space, such as around attic doors, hatches, ducting, and vents.
Caulk and weatherstrip these areas thoroughly so noise cannot enter through cracks. Installing soundproofing materials in the attic can further reduce noise infiltration down into the home.
Replacing Windows for Better Soundproofing
Windows are one of the biggest areas for noise intrusion in old homes. Single pane windows offer almost no protection from outside sounds.
Replacing old windows with new double or triple paned windows can drastically reduce noise. Multi-pane windows have improved insulation thanks to the air gaps between panes.
This buffers noise and prevents vibrations from entering the home. If your budget allows, change out any single pane windows for new double or triple pane ones.
Make sure the new windows form an airtight seal when closed. After installation, inspect frames and use acoustic caulk to seal any remaining cracks.
For additional soundproofing, consider adding secondary glazing layers on the interior or exterior. You can also install temporary window plugs to block noise when needed.
Replacing ineffective old windows with better insulated models is one of the most impactful upgrades for preventing outdoor noise from bothering interior spaces.
Soundproof Doors Block Noise Intrusion
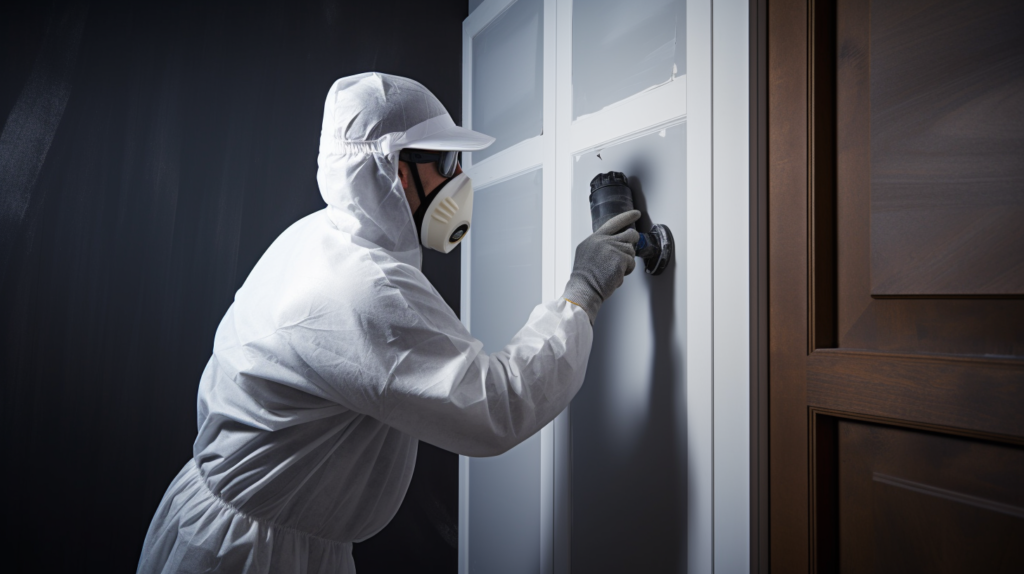
Doors are another primary pathway for noise to enter a home, especially exterior doors.
Replacing hollow core interior and exterior doors with solid core doors is a great way to block noise transmission through walls adjacent to doors.
Solid core doors contain dense, heavy material that does not reverberate noise. Make sure new exterior doors have weatherstripping around the full perimeter to seal gaps when closed.
For extra protection, install door sweeps and thresholds at the base of the door. Acoustic automatic door bottoms are a great choice as they seal off the gap when the door is closed.
For interior doors between rooms, simply adding door sweeps and replacing hollow cores with solid cores can make a difference.
Door gaskets and jamb seals will further block sound leakage around the edges.
Sealing air leaks around existing doors with caulk and weatherstripping can help, but replacing old doors with well-insulated models is much more effective for stopping noise transfer.
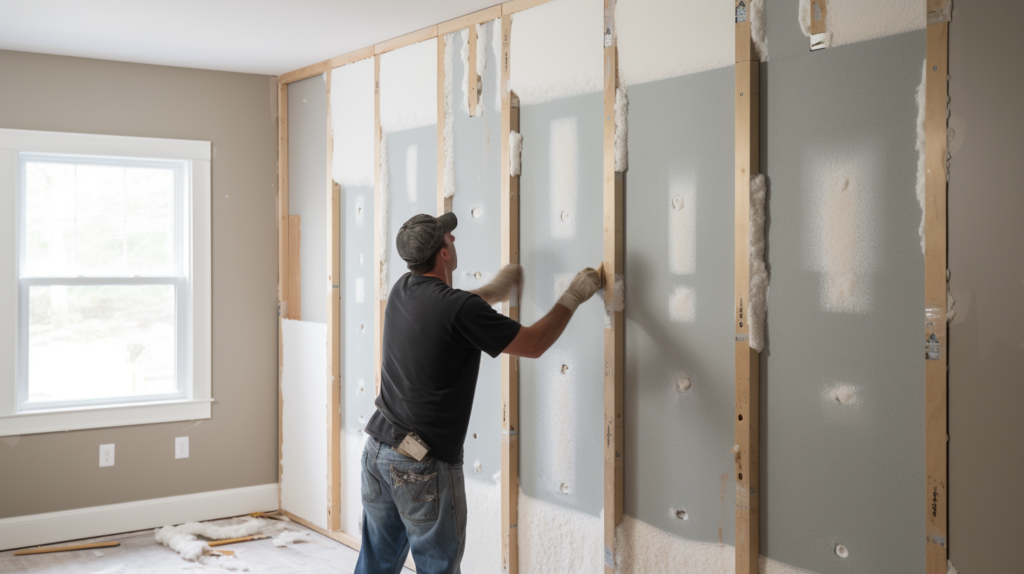
Soundproof Walls using Resilient Channels
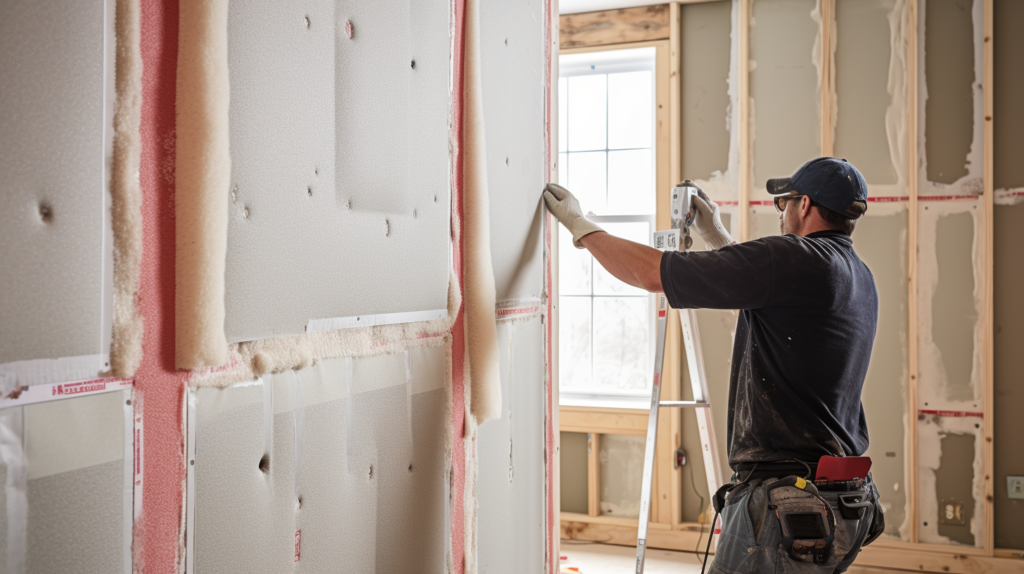
Exterior and interior walls are common pathways for noise to travel throughout a home. Luckily, walls can be retrofitted to significantly reduce noise transmission.
To soundproof existing walls, start by exposing the wall studs by removing drywall or paneling.
Check for insulation between studs and fill any empty cavities with sound-absorbing insulation like Roxul Safe’n’Sound.
Next, install resilient channels horizontally across studs. Resilient channels are then attached to the existing wall using acoustic isolation clips.
These clips decouple the drywall from studs, eliminating vibration transfer. Once channels are installed, attach new drywall over the channels.
Be sure to seal all edges with acoustic caulk. This creates an extra layer separated by isolated channels that prevent noise transfer.
If removing drywall is not an option, adding mass loaded vinyl sheets followed by extra layers of drywall can also improve sound insulation without accessing studs.
However for best results, installing channels, insulation and new drywall is ideal for blocking noise through interior and exterior walls.
Soundproof Ceilings Reduce Overhead Noise
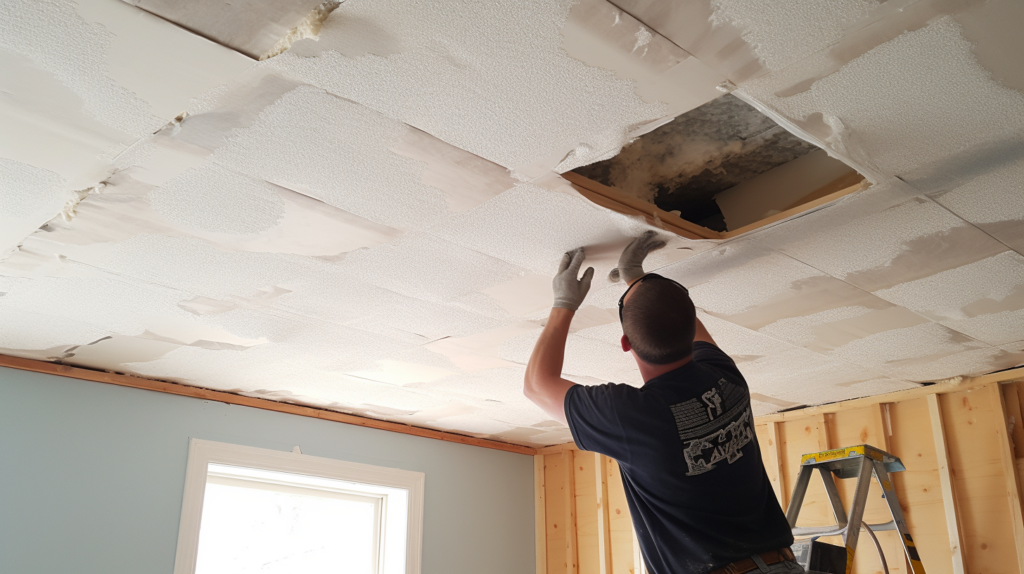
Floors and ceilings often transmit very noticeable noise like footsteps and furniture shuffling from level to level.
To better insulate ceilings, start by removing any existing drywall or paneling to expose the ceiling joists.
Check for existing insulation and install sound absorbing insulation like Roxul to fill joist cavities. Next, install resilient channels perpendicular to the joists using acoustic isolation clips.
Then attach one or more layers of 5⁄8” drywall to the ceiling using screws long enough to secure the drywall to the joists through the channels.
Just like walls, channels create an isolated space that prevents noise transfer. Make sure to seal edges with acoustic caulk for an airtight installation.
If removing drywall is not possible, adding mass loaded vinyl followed by multiple layers of new drywall can add mass to help block overhead noise.
Soundproofing overhead ceilings is key for reducing noise transfer between floors within a home.
Use Underlayments to Soundproof Floors
Hard flooring materials like wood and tile can amplify noise in old homes. Even carpeted floors often transmit noise and vibrations due to lack of proper underlayment.
An easy solution is to install a sound dampening underlayment prior to installing new flooring or carpet. Look for products like mass loaded vinyl (MLV) that have dense properties ideal for blocking noise.
Add MLV underlayment below carpet, laminate flooring, or other types of floating floor systems.
If budget allows, removing old flooring and installing a new acoustic subfloor topped with underlayment and flooring is best.
However, in many cases applying an underlayment right on top of existing floors can still make notable improvements.
Appropriate underlayment installation is also important for minimizing footfall noise and other impacts. Combine with thick carpet and area rugs to absorb excess noise on insulated floors.
Seal Electrical Outlets and Vents
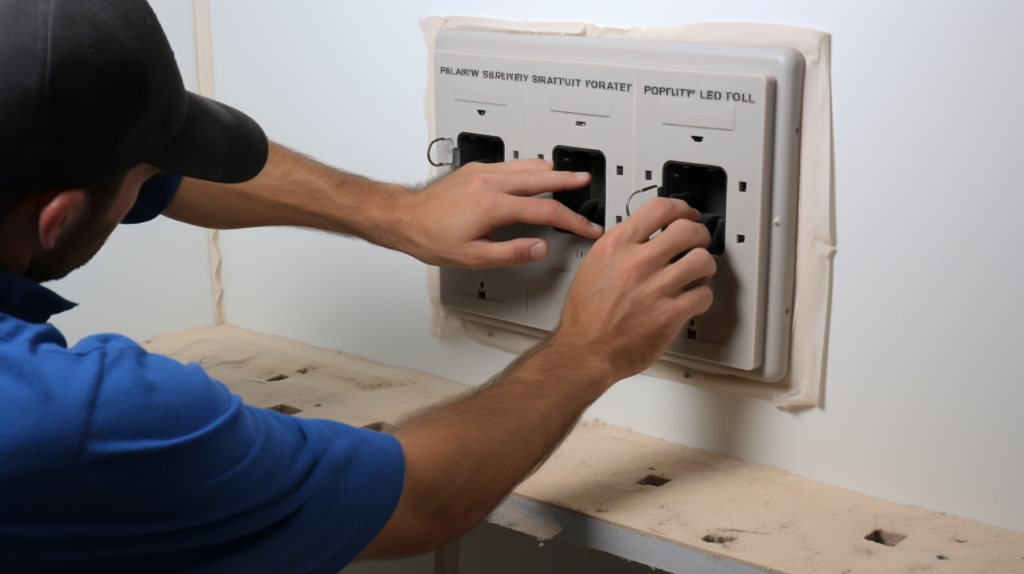
In an unfinished basement or attic space, you may notice exterior noise and HVAC sounds entering through electrical outlets and vents.
This occurs as noise travels easily through openings in the wall. To block this noise infiltration, install acoustic putty pads underneath outlets and switches in problem areas.
The pads stick to the backside of the outlet box and expand to seal gaps. For vents, install acoustic vent covers and register boots to prevent noise entering through the duct system.
These covers have sound-absorbing insulation that dampens noise. Make sure covers form an airtight seal against the wall or ceiling.
Any remaining gaps around outlets, vents or fixtures should be caulked or foamed for the best soundproofing.
Sealing these areas can prevent echoed voices and equipment noise from transmitting where you don’t want it.
Insulate Pipes to Prevent Vibrations

Plumbing pipes and ductwork that pass through walls, floors and ceilings can also transfer noise if uninsulated.
As water or air flows through pipes, vibrations pass into the structures, creating audible rumbling or rattling noises.
To prevent this, wrap accessible pipes with acoustic pipe insulation. Look for insulation lined with mass loaded vinyl or a similar noise-blocking material.
The insulation prevents vibrations from transferring into the surrounding surfaces. Make sure to seal any gaps or collars around pipes with caulk or spray foam as well.
For ductwork, use acoustic duct lining or place duct insulation on the exterior to absorb vibrations.
Properly insulating noisy plumbing and HVAC systems reduces annoying rattles and vibrations that intrude through walls and ceilings.
Weatherstrip Interior Doors to Lessen Noise Transfer Between Rooms
While exterior doors and windows may seem like the main culprits for noise infiltration, interior doors can also transmit lots of noise between rooms.
Noise from conversations, music, TVs and more can travel through walls, but interior doors often create the easiest path between spaces.
Luckily, reducing sound transmission through interior doors is straightforward. Start by weatherstripping around the door perimeter to seal gaps between the door and jamb.
Next, install door sweeps on the bottom of the door to cover the gap between the door bottom and threshold.
For even better insulation, add automatic door bottoms or gaskets to interior doors. When possible, replace hollow core doors with solid core doors containing noise damping mass.
Any upgrades to improve insulation between interior spaces can make a noticeable reduction in everyday noise bothering you at home.
Use Acoustic Treatments to Absorb Excess Noise

In addition to blocking noise transfer between rooms, it is also helpful to absorb noise within problem rooms. Look for areas with echo and reverberation caused by excessive hard and reflective surfaces.
This often occurs in rooms with tile, concrete, glass or bare drywall surfaces. To reduce problematic echoes, strategically place acoustic panels, acoustic blankets, heavy curtains and carpet on surfaces.
Acoustic panels and blankets absorb echo, rather than reflecting it across the space. Mass loaded vinyl sheets or noise damping drywall are other good options for noise-prone room surfaces.
Hanging acoustic panels and blankets helps absorb problematic reflections and flutter echo. You can also install foam or insulation in wall cavities or ceilings to absorb noise and reduce reverberation.
Controlling echo and absorbing within noisy rooms prevents noises from amplifying and traveling further throughout the home.
Consider Exterior Soundproofing Solutions

When excessive outdoor noise is bothering interior spaces, some exterior soundproofing solutions may help.
Outdoor noise from traffic, construction, machinery, or loud neighbors can easily intrude through old windows and doors.
If interior soundproofing still allows too much exterior noise in, adding an extra barrier outside may be beneficial.
Installing exterior soundproofing panels or a secondary siding layer with a noise blocking core adds mass to deflect sound.
Soundproof fence panels also help block neighbor noise from entering your yard and windows. Planted trees, bushes, shrubs and strategic fencing can also absorb and provide visual barriers.
For very noisy locations, specialized soundproof windows with triple thick glass provide the highest noise reduction.
While exterior fixes are more costly, they stop noise before it enters interior walls and windows.
Conclusion
Completely eliminating noise transmission in an old drafty house is challenging. However strategic soundproofing upgrades focused on primary problem areas can make a major difference in comfort.
Prioritize blocking exterior noise from intruding by sealing leaks, adding insulation, replacing windows and doors, and installing underlayments and acoustic treatments.
Also focus on reducing noise transfer between interior rooms by weatherizing floors, walls, ceilings and pipes.
With diligent air sealing, key surface upgrades and absorbing echo, even difficult old homes can become oases of peace and quiet.
Implementing at least some of these soundproofing best practices can help resolve issues with loud neighbors, noisy roads, privacy between rooms and other unwanted clamor invading your hearing.
Do not resign yourself to noisy living – take steps today to soundproof your old house and gain renewed peace within your own walls.