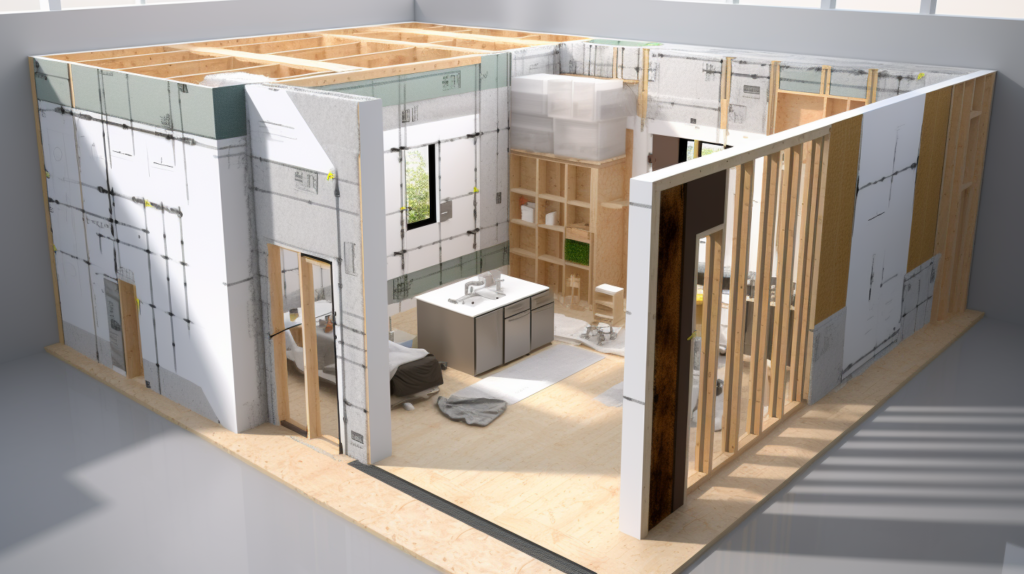
If you’re tired of hearing everything going on throughout your home due to inadequate soundproofing, learning how to upgrade your interior stud walls is the solution.
Soundproofing the stud cavities in your walls blocks noise transfer far more effectively than an untreated assembly.
Let’s dive into the complete process for soundproofing existing stud walls to stop unwanted noise transmission between rooms in your home.
Why Soundproofing Stud Walls is Important

Soundproofing the stud walls in your home is an extremely important process that can make a substantial difference in noise reduction between rooms.
When walls are not properly soundproofed, noise from televisions, music, voices, and other sources can easily transfer through to adjoining spaces.
This lack of acoustic privacy is an issue that many homeowners face regularly. Sound flanking through open stud cavities in walls is one of the primary ways that noise travels between rooms in a home.
Treating the stud bays by filling them with sound dampening materials can drastically reduce the amount of noise transmission that occurs.
There are several compelling reasons why you should strongly consider soundproofing the stud walls in your home:
Reduces Noise Transmission Between Rooms. Unwanted noise transferring between rooms can be very annoying and disruptive to homeowners.
Whether it is loud music from a home theater system, kids playing in their bedroom, or conversations carrying through walls, soundproofing stud walls will contain the noise in one room and prevent it from leaking into other areas of the home.
This prevents disturbances to others throughout the home who are trying to sleep, work, or enjoy peace and quiet. Containing noise in its source room is crucial for harmony in a home.
Provides More Privacy. Being able to contain sounds in their original source room gives household members more privacy and acoustic isolation.
Family members can enjoy listening to loud music or television without worrying about bothering others in the home.
acoustic isolation
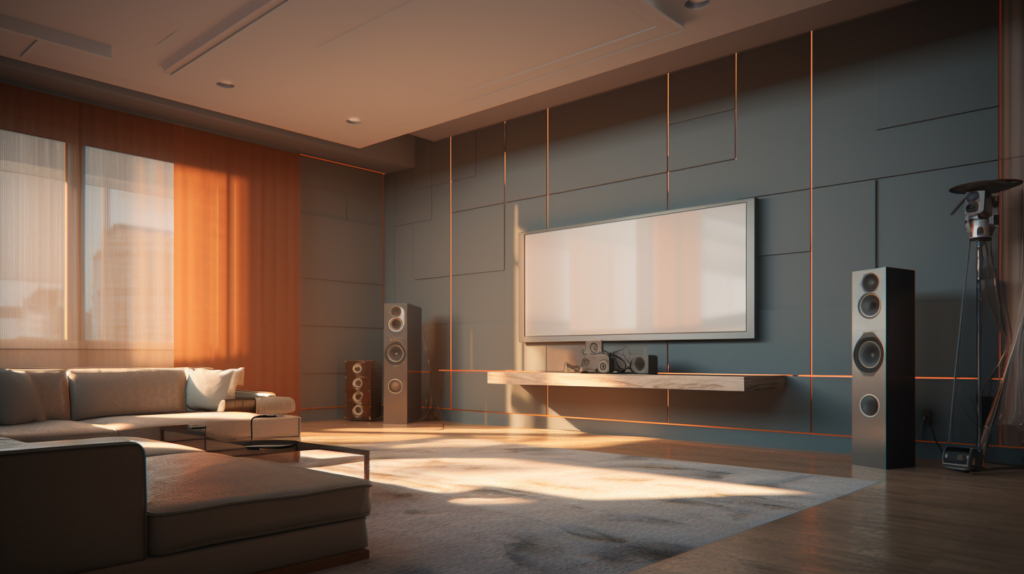
Allows You to Play Music/TV Loudly Without Disturbing Others.
An entertainment room or bedroom can be used for enjoying loud music, movies, or video games without any reservations when properly soundproofed.
The reinforced stud walls will greatly limit how much of that volume transfers to other rooms, containing it in the source space.
You do not have to worry about disturbing someone else in the home when soundproofing is installed – a very liberating benefit for many homeowners and their families.
Overall, soundproofing existing stud wall cavities is one of the most impactful and effective DIY acoustic treatments you can do in your home.
Containing noise transfer between rooms offers many advantages as detailed above.
The following sections outline the complete process and best practices for soundproofing stud walls in an existing home.
Materials Needed for Soundproofing
There are several important materials that should be gathered and on hand before starting a stud wall soundproofing project.
Having these supplies ready ahead of time will make the project much easier and faster. Be sure to get the following materials:
Soundproofing Insulation. Specialized insulations like rock wool or fiberglass work best for stopping noise transfer because of their density and acoustic properties.
These types of insulation are designed to block sound transmission much better than standard thermal fiberglass insulation.
Look for insulation products advertised as soundproofing, acoustical, or noise-reducing insulation. The denser material will dampen noise and vibrations much better.
Sound Isolation Clips. These small metal clips are designed to decouple wall layers in order to reduce noise caused by vibration transfer.
The clips mount horizontally across wall studs and prevent flanking noise that tries to travel through the open cavities. Use clips that are specifically rated for sound isolation and acoustic applications.
Acoustic Caulk. Caulking gaps and openings with an acoustic-rated sealant is very important for preventing noise leaks.
Look for caulks that are designed and marketed for maximum sound blocking. Apply acoustic caulk generously around electrical boxes, headers, and perimeter edges wherever drywall meets framing.
Green Glue. This unique viscoelastic material is applied in between wall layers to dampen and de-couple vibration transmission that causes noise.
Green glue works best when sandwiched between two rigid drywall layers. It constrains vibrational noise effectively.
Mass Loaded Vinyl. This specialty heavy vinyl sheet contains weighted pellets that improve sound blocking capabilities when installed in wall assemblies.
The added mass impedes noise vibrations as they attempt to transfer through walls.
Double Drywall. Using two layers of drywall with offset seams and sound damping materials installed between them is an ideal way to build soundproof stud wall assemblies.
The extra mass and isolation principals seals noise in a room effectively.
Gathering all of these specific materials ahead of time will make the soundproofing project go much quicker and easier. Having the right supplies on hand before starting is absolutely essential.
Steps for Soundproofing a Stud Wall
Once you have collected all of the necessary materials, you are ready to start soundproofing the actual stud cavity. Follow these steps very closely for proper installation and maximum noise reduction:
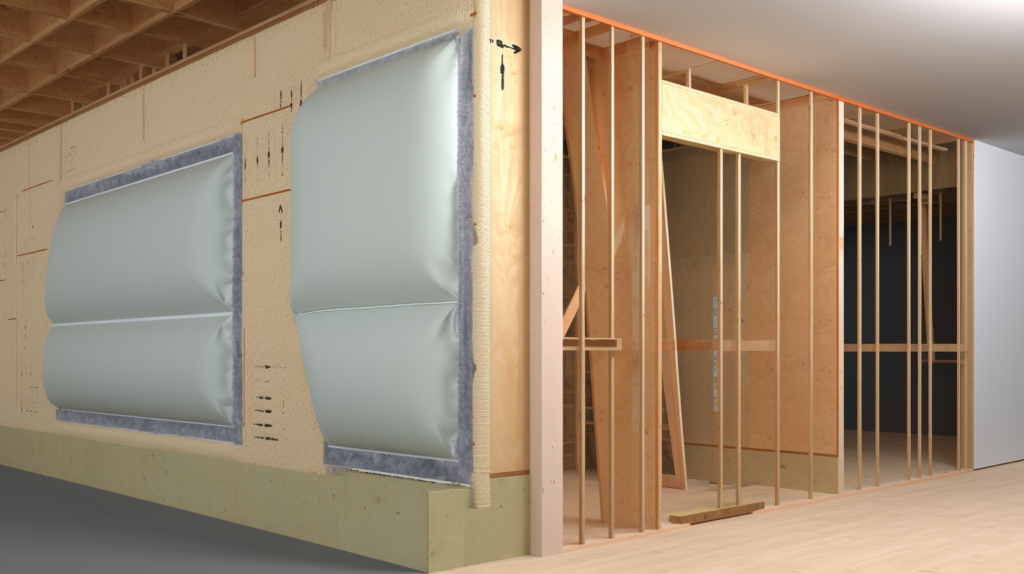
1. Insulate Between the Studs
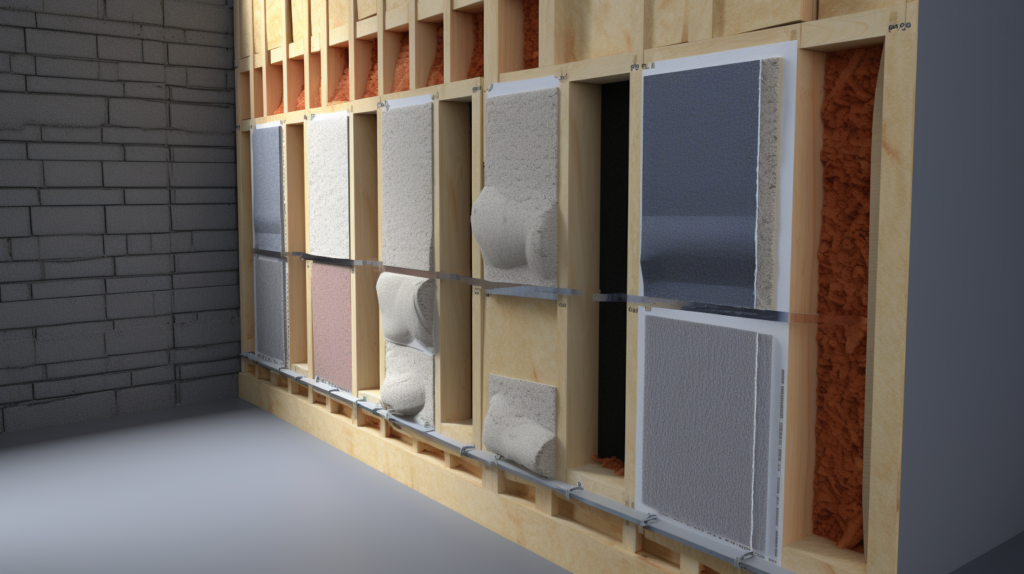
Filling the empty cavities in between wall studs with soundproofing insulation is crucial. This blocks a major flanking noise path that tries to travel through the open stud bays. Follow these tips when installing the insulation:
- Use soundproofing specific insulation like rockwool or fiberglass to fill the cavity. The denser material will dampen noise and vibrations much better than standard insulation.
- Fill the entire cavity between each set of studs carefully. Take time to compress and pack the insulation so there are no gaps or air pockets left in the stud bay. Any voids or spaces will allow noise to flank through the cavity.
- Only use insulation that is specifically rated for soundproofing or acoustical applications.
- Pack insulation to completely fill every stud cavity in the entire wall for best results.
Installing a good quality soundproofing insulation completely and correctly in the stud bays is the first critical step to stopping noise transfer through walls.
Tightly packing the insulation into the cavities seals up this major flanking path.
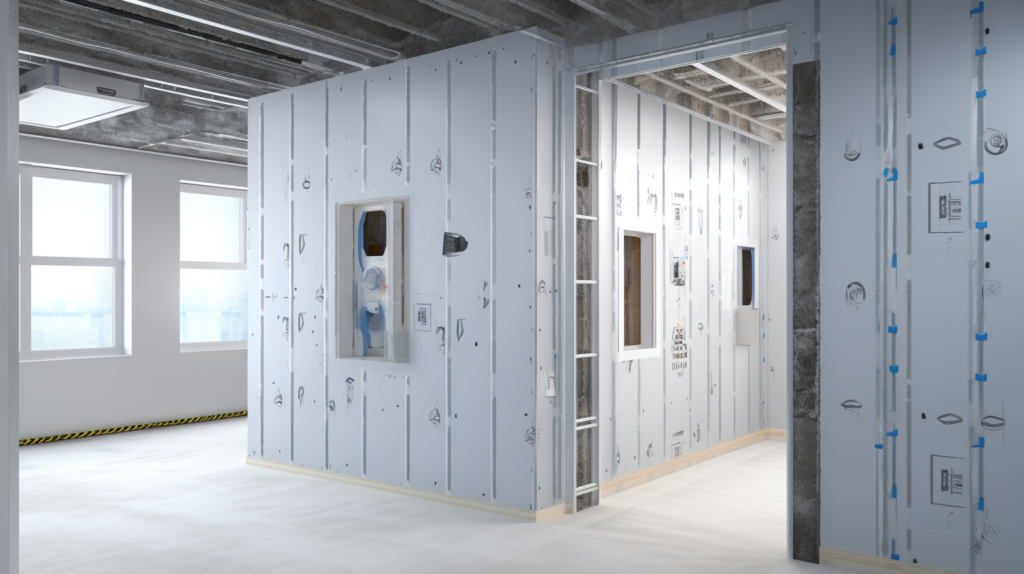
2. Install Resilient Channels
Attaching rows of horizontal resilient channels onto the wall studs is an essential step. The channels help decouple the drywall layers from the actual wall studs.
This forms a floating wall system that greatly reduces noise caused by vibration transfer through the framing. Note these tips when installing the channels:
- Attach the small metal resilient channels horizontally across each stud in the wall using drywall screws. Channels should be evenly spaced vertically, usually 16 inches on center.
- The channels create an inner drywall wall that is decoupled and isolated from the actual structural wall framing. This prevents noise inducing vibrations from transmitting easily.
- Only use resilient channels that are specifically designed and rated for sound isolation applications. The channels must be able to impede noise transfer when installed properly.
- Apply channels carefully according to manufacturer specifications for proper decoupling and noise reduction.
Resilient channels are a vital component of reducing noise flanking in a soundproofed stud wall assembly.
Correctly installing the channels decouples and isolates the inner drywall to effectively stop excess vibration transmission through the framing.
3. Apply Sound Damping Compounds

Sealing up any tiny gaps or openings and also damping between drywall layers is very important for containing noise. Use these steps when applying various soundproofing compounds:
- Acoustic caulk is used to seal up any cracks, gaps, or openings that are found in the wall assembly. Meticulously caulk around all edges and junctions to prevent noise leaks.
- Green glue works optimally when installed between two layers of drywall. The viscoelastic dampens sound causing vibrations between the rigid layers.
- Carefully follow the manufacturer instructions for proper application and install of all sound damping compounds. Proper use is key.
Applying acoustic caulk thoroughly and using green glue between drywall layers will optimize the noise containment capabilities in a soundproofed stud wall system.
Sealing and damping are imperative steps for maximum performance.
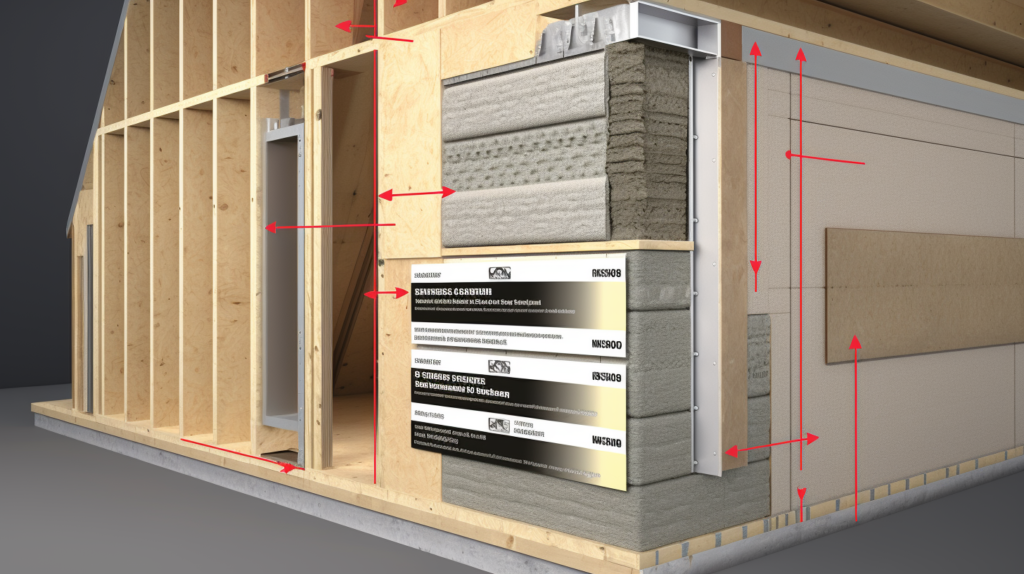
4. Install Double Drywall Layers
Using double drywall layers is ideal for greatly enhancing the sound blocking capabilities in a wall.
The increased mass provided by two layers and the staggered seams contain sound much better than a single layer. Follow these guidelines:
- Use double 5/8″ Type X drywall for improved sound proofing performance. The denser Type X provides more mass to impede noise vibrations.
- Stagger the drywall seams between layers so that no seams line up. This eliminates direct noise flanking paths.
- Consider using special acoustical drywall like QuietRock or mounting mass loaded vinyl between standard drywall for even better soundproofing.
- Take steps to decouple the drywall from framing using resilient channels and/or isolation clips.
The double drywall technique is a proven way to build a very effective soundproof wall assembly. The increased mass and isolation effect make it much more difficult for noise to transfer out of a room.
Using those techniques properly to soundproof existing stud walls in a home will contain noise in rooms remarkably well.
Correctly installing soundproofing insulation, resilient channels, effective sound damping, and double drywall is a comprehensive system that will stop unwanted sound transmission between rooms.
Carefully executing these steps will lead to stud walls that can effectively block interior noise.
Check Work and Test Soundproofing
After completing the soundproofing work on your stud walls, it is critical to then verify proper installation and test real world noise reduction performance.
This important process confirms that the desired noise containment has been achieved and identifies any potential weak points or problem areas:
- Thoroughly inspect the finished wall assembly from top to bottom. Carefully check for any overlooked gaps, cracks, or air leaks that could let noise through. Seal any discovered gaps or openings completely.
- Play loud music or turn the television volume up high in the room that has the new soundproofed wall installation. Make sure to test various bass heavy and treble heavy audio tracks.
- Go into the room on the other side of the wall and carefully listen for any noise that may be transferring through from the loud audio source. Move around and check several areas along the adjoining wall to detect noise leaks.
- If you still hear any noticeable noise coming through the wall, there may be overlooked flanking paths or leakage points in the assembly. Inspect very closely again and meticulously seal any found gaps or cracks.
- Consider additional soundproofing techniques like sealing electrical outlets and treating windows on the walls for complete acoustic isolation if required.
Actually testing the finished soundproofed wall by playing loud music and verifying little to no noise transfer is the only way to determine if it was installed correctly.
Catching any flanking paths or leakage early allows fixing them properly before finishing the job. Do not assume the installation was done right without verifying through loud volume tests.
The time and effort spent properly soundproofing existing stud walls in your home is well worth it.
Containing noise transfer between rooms provides much more privacy, less distractions, and greater flexibility in how spaces are used.
Using the outlined steps and materials will lead to stud walls that can block interior noise effectively.
Be diligent during the project and carefully seal up any potential flanking paths or leaks found during testing.
Investing in quality soundproofing pays off with happier household members and a more peaceful living environment.
Conclusion
Soundproofing existing stud walls is a worthwhile project that makes a real difference in reducing noise transfer between rooms.
Following the outlined steps to insulate cavities, install channels and clips, apply damping compounds, and utilize double drywall will lead to significantly improved acoustic isolation.
Be thorough in sealing all gaps and flanking paths during installation and testing.
The investment of time and money to properly soundproof stud walls pays dividends through increased privacy, reduced distractions, and more flexibility in how living spaces are utilized.
With some diligent planning and care, you can successfully transform the stud walls in your home into effective sound barriers.