

Imagine lying on your bed after a long day, only to be jolted awake by blaring car horns or your neighbor’s booming bass. You crave peace and quiet but think that soundproofing is a luxury you can’t afford.
What if I told you that achieving a quieter room doesn’t have to drain your bank account?
You don’t need to break the bank to find solace in your own home. With a little ingenuity and resourcefulness, you can soundproof a room cheaply and effectively, making your living space a sanctuary from the clamor of the outside world.
Ready to turn down the volume on your life’s distractions? Let’s dive into budget-friendly strategies that can make a world of difference in your living environment.
Identifying the Primary Sources of Noise

Before embarking on any soundproofing project, especially one on a budget, it’s crucial to identify where the majority of the intrusive noise is coming from. The importance of this initial step cannot be overstated.
Without understanding the root of the problem, you could end up spending your limited budget on solutions that offer little to no relief.
How to Determine Where Sound is Coming From
Identifying the main sources of noise pollution requires a systematic approach. Simply sitting in a room and listening can be a good starting point, but for more accurate results, you can employ a more structured technique.
For instance, you can use your smartphone to record ambient noise in the room, then play it back to better pinpoint the sources of noise. There are also free apps available that act as basic decibel meters, giving you a quantitative measure of sound levels in different areas of the room.
Another useful method is the ‘partner test.’ In this technique, you can have a partner go outside the room and make noise near potential weak spots like windows, doors, and walls. Standing inside, you can then gauge how much noise is coming through each area.
This is an effective way to identify not just the direction of the noise but also the intensity.
Prioritizing Areas for Maximum Impact
After identifying the primary sources of noise, the next step is to prioritize these areas. This is particularly important when you’re working on a budget, as it enables you to allocate your limited resources wisely.
Create a detailed list of the areas you need to focus on, ranked from the noisiest to the least noisy. This list will be your road map, guiding you through your soundproofing journey.
By focusing on the most problematic areas first, you’ll gain the benefit of immediate noise reduction, which can be both comforting and motivating.
If the Noise is Coming from the Walls

Walls can be significant conduits for external noise, especially in older buildings where the walls may be thin or poorly insulated. Sound waves are notorious for finding the path of least resistance, which often means penetrating through walls.
When dealing with wall-generated noise, the first step is to understand the type of noise you’re dealing with. Is it airborne noise like voices and music, or impact noise like banging and footsteps?
This distinction is important because different types of noise require different soundproofing strategies.
Installing Polyester Acoustic Panels
Polyester acoustic panels are a highly effective yet budget-friendly solution for wall-generated noise, particularly for airborne noise like conversations or TV sounds. These panels are made from dense polyester fibers that absorb sound waves upon impact.
When installed on walls, they can significantly reduce the amount of noise that penetrates into a room. One of the advantages of using Polyester acoustic panels is that they are lightweight and often come with adhesive backs, making installation a breeze.
Furthermore, they are available in a variety of designs and colors, allowing you to enhance your room’s aesthetics while improving its acoustics.
Using Blankets and Carpets
When you’re on a strict budget, sometimes the best solutions are those that don’t require additional spending. Blankets, quilts, and even carpets can serve as makeshift sound absorbers when hung on walls.
The thicker and denser the material, the more effective it will be at trapping sound waves. For best results, use heavy-duty hooks or nails to hang these materials on your walls.
If aesthetics are a concern, you can get creative by using colorful quilts or decorative rugs, turning your soundproofing project into a design upgrade for your room.
DIY Wall Hangings and Decor
Sometimes, the most effective solutions are those born out of creativity and resourcefulness. If you’re the crafty type, consider making your own wall hangings specifically designed to absorb sound.
These can be as simple as a wooden frame covered with layers of dense fabric or as complex as a custom-crafted panel filled with sound-absorbing materials like foam or polyester fill. The principle here is simple: the more mass you add to your walls, the less sound will get through.
Plus, DIY wall hangings offer the added benefit of being entirely customizable, allowing you to create something that not only serves a practical purpose but also adds to the room’s decor.
Materials like cork, foam boards, and even recycled rubber can be highly effective at dampening sound. When selecting materials, consider their density and thickness, as these factors will determine their soundproofing effectiveness.
Once your DIY wall hanging is complete, you can attach it to the wall using brackets or heavy-duty adhesive strips. The satisfaction of creating something with your own hands that also serves a functional purpose can be incredibly rewarding.
If the Noise is Coming from the Door
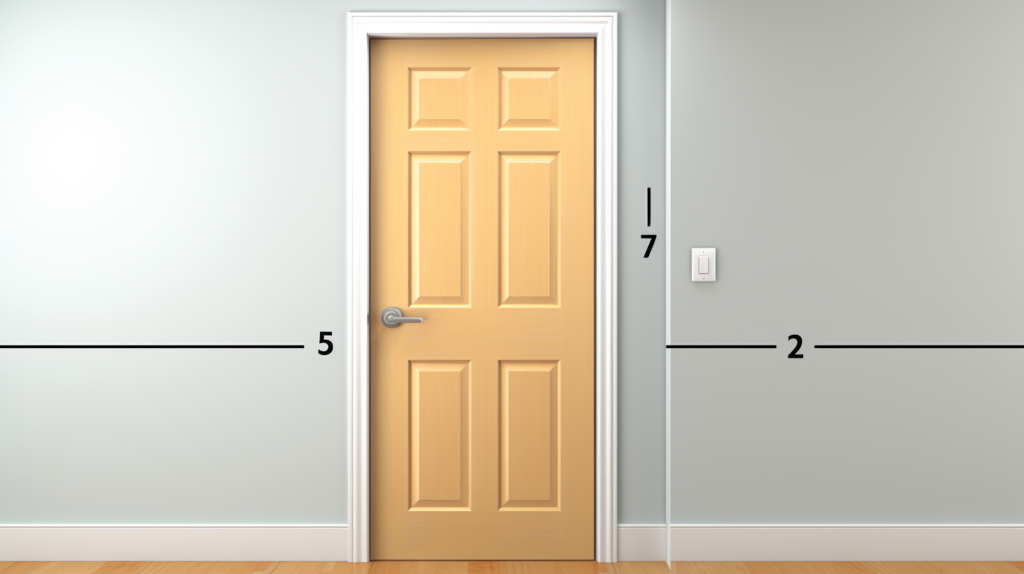
Doors, particularly those that are hollow or made from thin materials, can be significant culprits in allowing unwanted noise into a room. While replacing the door with a solid-core version would be the most effective solution, that’s not always feasible on a budget.
However, there are several other affordable ways to reduce noise coming through doors.
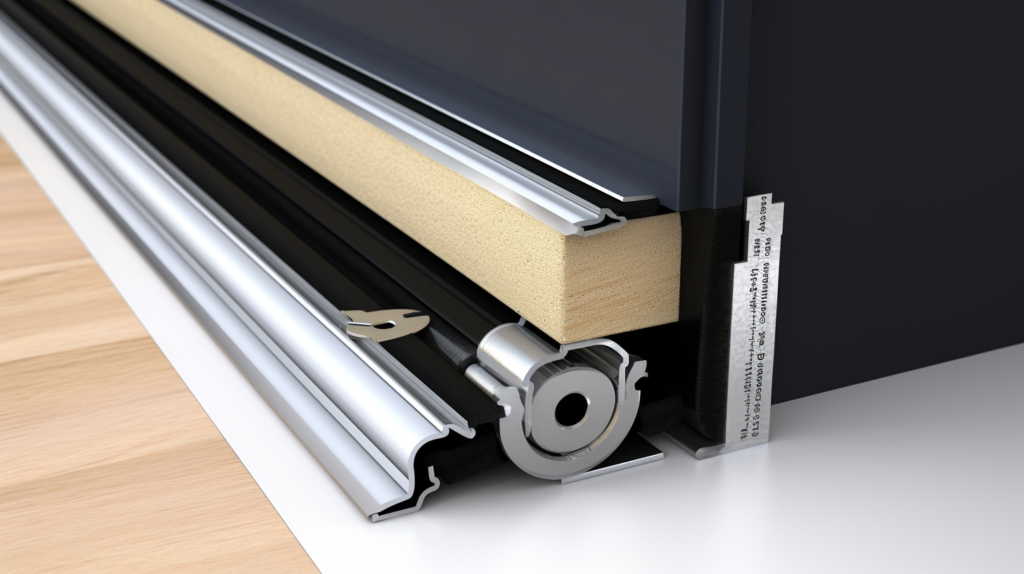
Weatherstripping for Gaps
Weatherstripping is a versatile material that can be used in a variety of soundproofing applications. When applied to doors, it serves to seal the gap between the door and the frame, preventing sound from passing through.
But not all weatherstripping is created equal. For the best results, look for adhesive-backed foam tape Weatherstripping, as foam is excellent at absorbing sound.
Installing weatherstripping is a simple process that involves cutting the tape to length, peeling off the backing, and pressing it into place. Within an hour, you can have a more soundproof door without breaking the bank.
Door Sweeps
A door sweep is a long strip of material attached to the bottom edge of a door, designed to seal the gap between the door and the floor. This is an often-overlooked area that can let in a surprising amount of noise.
Door sweeps are typically made from rubber or silicone and can be easily installed with a few screws. When shopping for a door sweep, look for one that has a dense brush or rubber flap, as these types are most effective at blocking out sound.
The installation process is straightforward, usually requiring nothing more than a screwdriver and a few minutes of your time.
DIY Door Blankets
If you’re in a pinch and need a quick and easy solution, a heavy blanket can serve as a makeshift door sweep. Simply drape the blanket over the door so that it hangs down on both sides, then use clips or heavy-duty tape to secure it in place.
While not as effective as purpose-built soundproofing solutions, a DIY door blanket can still provide a noticeable reduction in noise. For added effectiveness, consider using a moving blanket, as these are designed to be particularly thick and dense.
If the Noise is Coming from the Windows
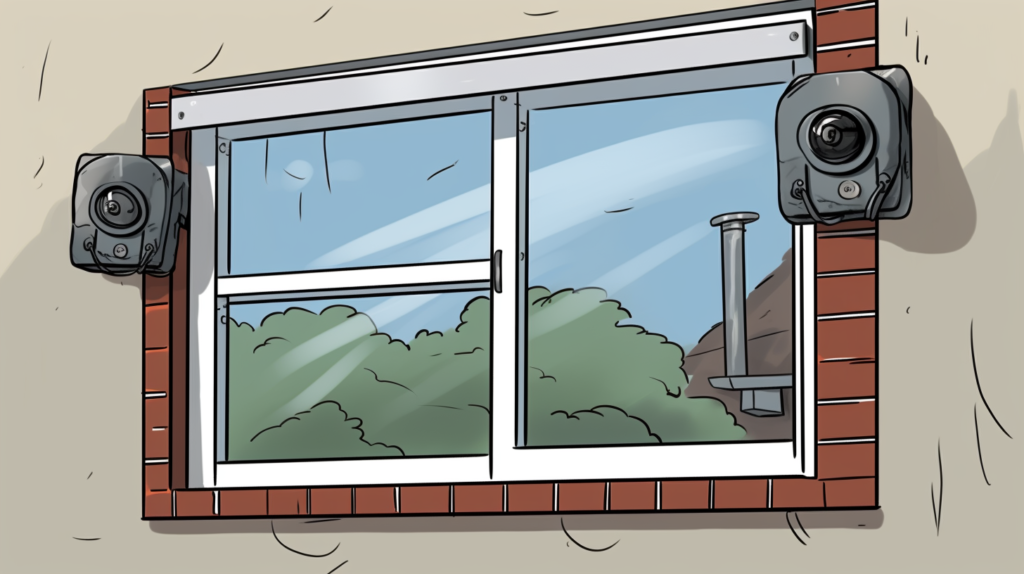
Windows can often be the weakest link in your soundproofing chain, especially if they’re single-pane or poorly sealed. They can let in a variety of noises, from traffic and sirens to chattering pedestrians and barking dogs.
Here’s how to tackle window-related noise on a budget.
DIY Window Plugs
If you’re experiencing high levels of noise coming through your Windows, one of the most effective budget solutions is to create a DIY window plug.
This is essentially a removable piece of board, covered with sound-absorbing material like foam or acoustic panels, that you can place into your window frame when needed.
When measuring and cutting the board, accuracy is key; the plug needs to fit snugly into the window frame to be effective. For added soundproofing, consider adding multiple layers of material and sealing the edges with acoustic caulk.
Acoustic Caulk
Acoustic caulk is a specialized type of sealant designed to remain flexible over time, thereby maintaining its sound-dampening properties. While it’s more expensive than regular caulk, a single tube goes a long way and can be used to seal gaps around both windows and doors.
To apply, you’ll need a caulk gun and possibly a putty knife to smooth out the bead. This small investment of time and money can yield significant reductions in noise levels, making it a cost-effective addition to your soundproofing arsenal.
Using Heavy Drapes or Blankets
If you’re looking for a quick and easily reversible solution, heavy drapes can be surprisingly effective. The key is to select drapes made from dense, thick material and to ensure they cover the entire window, extending a few inches on each side and at the bottom.
For maximum sound absorption, consider using double-sided drapes with a layer of mass-loaded vinyl sandwiched in between. Alternatively, you can repurpose heavy blankets as temporary window coverings.
While not as effective as other methods, this approach can still yield a noticeable improvement.
If the Noise is Coming from the Floor or Ceiling
While walls, doors, and windows are the most common culprits for letting in noise, don’t overlook the floor and ceiling. Sound can easily travel through these surfaces, especially in multi-story buildings.
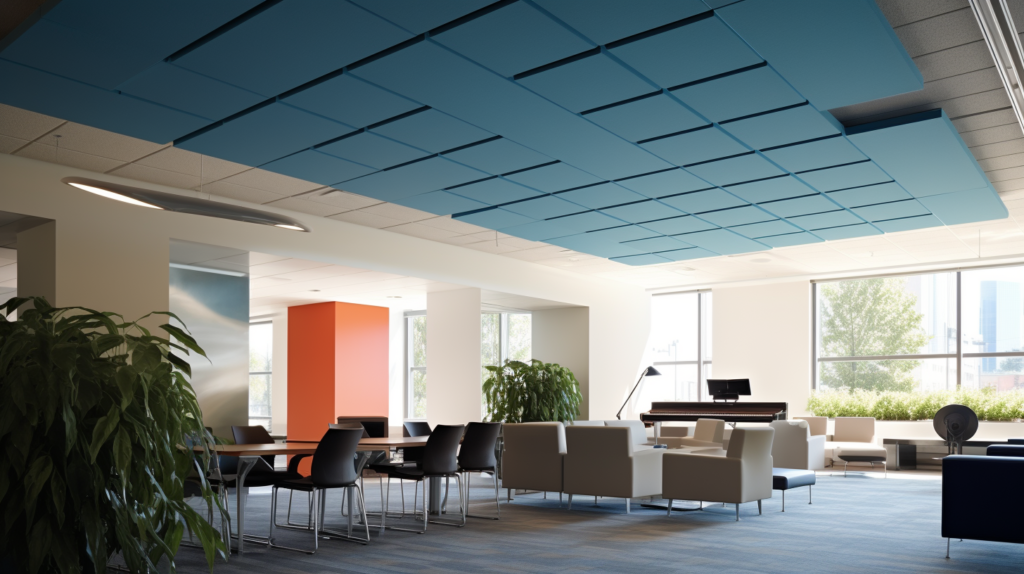
Foam Panels for Ceilings
When it comes to ceilings, polyester acoustic panels offer an affordable and effective solution. These can be particularly useful if you’re dealing with airborne noise from an upper floor, such as voices or music.
Installation is straightforward.
Carpets and Area Rugs for Floors
For floors, the simplest solution is often the most effective: lay down some carpets or rugs. These can significantly reduce impact noise, such as footsteps or items being dropped.
For the best results, opt for thick, plush rugs with a dense weave. If you’re willing to spend a little more, invest in a rug pad to go underneath, doubling the sound-absorbing effect.
While carpets and area rugs are generally effective for reducing impact noise, their effectiveness for airborne noise is limited.
If you’re dealing with a significant amount of airborne noise coming through the floor, you might consider layering additional soundproofing materials beneath the carpet or rug. Some people opt for mass-loaded vinyl or even layers of drywall as a DIY underlayment.
Although these options involve a bit more effort and expense, they can be well worth it for those in need of a more peaceful living environment.
Drop Ceilings and Ceiling Baffles
For those who are a bit more hands-on, installing a drop ceiling or ceiling baffles can be an effective, albeit more labor-intensive, option. A drop ceiling involves suspending a second ceiling below the existing one, creating an air gap that helps to dampen sound.
Ceiling baffles are usually made from foam or fiberglass and hang vertically from the ceiling, disrupting the flow of sound waves. These options can be more costly and time-consuming but offer excellent soundproofing results.
However, they may not be suitable for those who are renting or have low ceilings to begin with.
Utilizing Furniture for Additional Soundproofing

Believe it or not, the furniture you already own can play a significant role in your soundproofing efforts. By strategically placing certain pieces around the room, you can create additional barriers that help to absorb and diffuse sound.
Arranging Bookshelves Strategically
Bookshelves can serve as more than just a place to store your favorite reads; they can also act as effective sound barriers. The principle is simple: a filled bookshelf adds mass to your walls, which helps to reduce the amount of sound that can pass through.
Moreover, the varied shapes and sizes of the books create an uneven surface that can help to diffuse sound waves, reducing echoes and reverberations. For maximum effectiveness, place bookshelves along walls that face the primary sources of noise.
Using Upholstered Furniture
Upholstered furniture like sofas, armchairs, and even beds can absorb a considerable amount of sound, particularly in the higher frequencies. To make the most of this, place upholstered furniture close to windows, doors, or any other areas where sound tends to enter the room.
If you have the option, choose furniture with a high back and sides, as these features will increase the surface area available for absorbing sound.
Placing Large Plants
While plants won’t provide a dramatic reduction in noise levels, they can contribute to a quieter and more serene living space. Broad-leafed plants like the peace lily or rubber plant can absorb and diffuse a small amount of sound.
Moreover, they can improve indoor air quality, adding another layer of comfort to your home.
Other Cost-Effective Additions
Even after tackling the major culprits like walls, doors, windows, floors, and ceilings, there might still be some residual noise. Here are some additional, smaller-scale methods to further improve your room’s acoustics without straining your budget.
Installing Door Seals and Door Bottoms
We’ve touched on door sweeps, but door seals and door bottoms deserve their own mention. These products are specifically designed to address the small gaps that are commonly found around the perimeter of doors.
They come in a variety of materials, including rubber, silicone, and foam, and many are adhesive-backed for easy installation. By sealing these gaps, you reduce the avenues through which sound can enter, making your room noticeably quieter.
Sealing Cracks and Gaps in Walls and Windows
Even the smallest cracks can let in a surprising amount of noise. These can be around windows, in the walls, or even in the floor.
A tube of acoustic caulk can go a long way in sealing these small openings. For larger gaps or cracks, you might consider using a foam sealant.
These products expand after application, filling in larger spaces and providing a solid barrier against both air and sound.
Setting Realistic Expectations

While budget-friendly methods can make a noticeable difference in your living environment, it’s important to manage your expectations.
Limitations of Budget Soundproofing
Budget soundproofing methods are typically less effective than professional-grade solutions. They may not block out all frequencies of sound or provide a complete sound barrier.
However, they can still result in a significant reduction in most types of household noise, making your space more comfortable and peaceful.
When to Consider Professional Help
If you’ve tried multiple budget methods and still aren’t achieving the results you desire, it may be time to consult a professional. Expert soundproofing services can offer more permanent and effective solutions but at a considerably higher cost.
Before taking this step, weigh the severity of your noise problem against the potential expense to determine if professional intervention is warranted.
Conclusion
While this guide is comprehensive, the field of soundproofing is vast, and there’s always more to learn. The key takeaway is that even on a budget, there are effective ways to significantly reduce unwanted noise in your living environment.
You may not be able to achieve complete silence, but you can come close, making your home a more peaceful and enjoyable place to live.
Budget soundproofing is as much about creativity and resourcefulness as it is about specific materials and techniques. Don’t be afraid to experiment and adapt these methods to fit your unique needs and constraints.
Remember, the goal is not just to make your space quieter but to improve your quality of life. And often, even modest improvements can make a world of difference.