
Do echoes and loud footsteps from your staircase keep reverberating throughout your home and disrupting your peace?
Installing specialized soundproofing materials on your stairs can help massively reduce annoying noise transfer between floors.
Let’s dive into exactly how to soundproof your stairs for a quieter home.
Why Should You Soundproof Stairs?
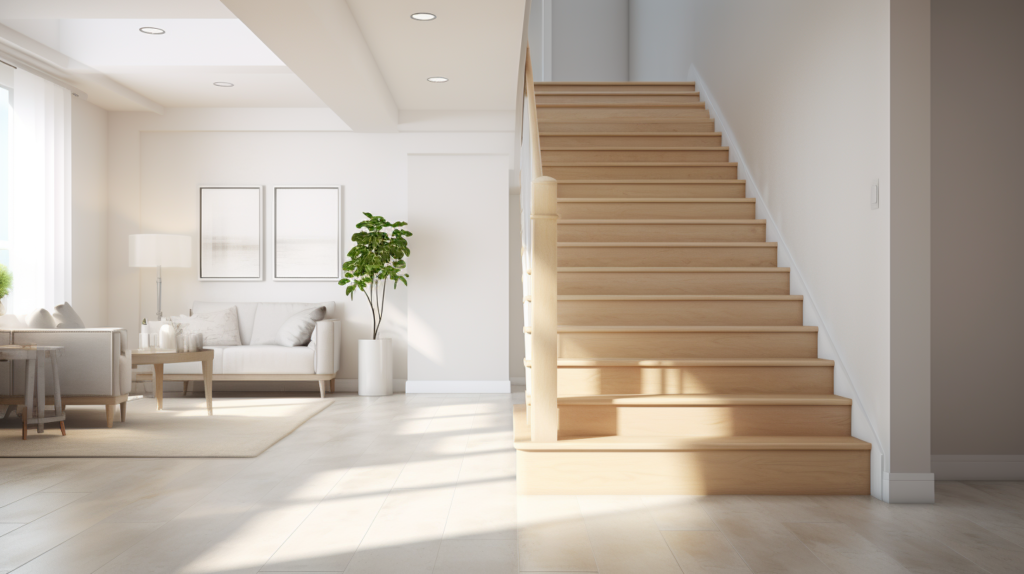
Having stairs inside your home that transmit noise can be a real nuisance.
Footsteps and other impacts going up and down the stairs can generate quite a bit of sound that travels relatively easily between floors.
This can make it difficult to have conversations, concentrate on tasks, or get adequate rest when others are using the stairwell.
Therefore, implementing soundproofing techniques for your staircase can provide some major benefits for your living space.
The main reason you may want to soundproof your stairs is to reduce the transfer of noise between floors caused by footsteps and other impacts on the stairs.
Even with carpet, an untreated staircase will do little to block sounds, allowing noises to radiate above and below.
By adding sound-absorbing and barrier materials, you can drastically cut down on how much audible sound gets through.
This helps limit disturbances to others throughout the house when someone is ascending or descending the stairs.
Another key motivation for soundproofing stairs is to improve privacy within the home.
With an un-insulated stairwell, conversations can be easily overheard from other floors, which reduces privacy.
Implementing acoustic treatments cuts down on how voices, music, media, and other sounds transmit between levels. This allows for more private conversations and less eavesdropping.
lessening distractions can also be a good reason to consider stair soundproofing. Noises coming from the stairs can interfere with activities like reading, working, or relaxing.
Dampening the sounds from foot traffic and other stair noise sources helps minimize disruptions, making it easier to focus and concentrate.
Overall, reducing inter-floor noise transfer, increasing privacy, and decreasing distractions are the main goals behind soundproofing indoor stairs.
With some strategic acoustic treatments, you can drastically reduce the amount of sound transmission happening through this key structure.
Materials Needed To Soundproof Stairs
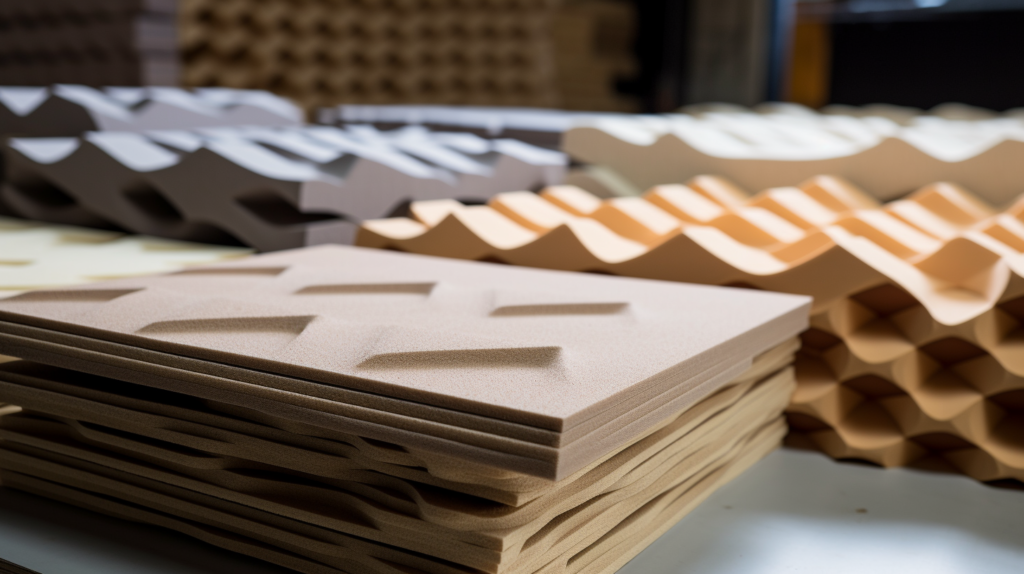
To properly soundproof a standard staircase from one floor to the next, you will need several important materials to create an effective noise barrier and absorption system. Key products needed include:
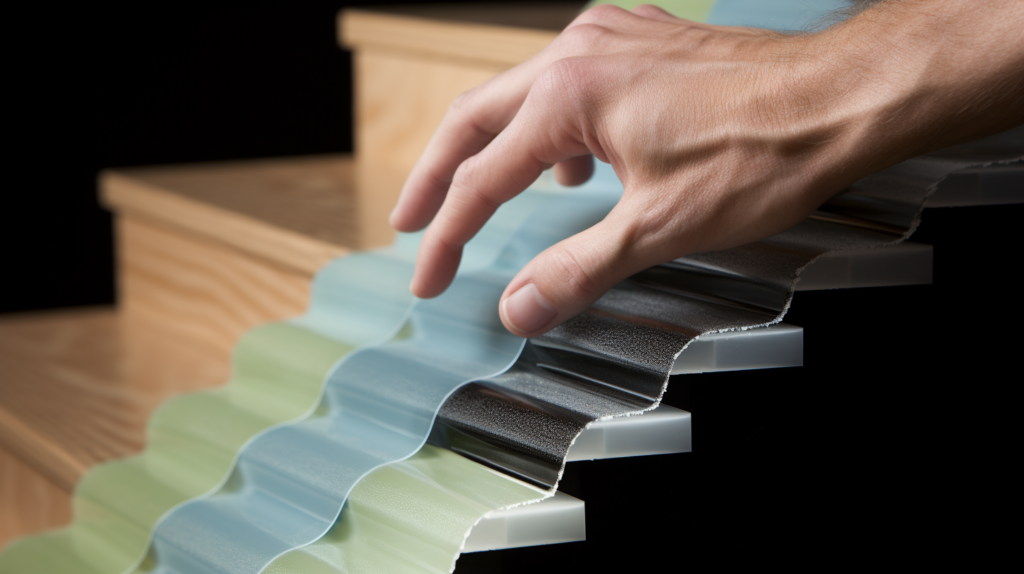
Mass loaded vinyl (MLV) is a laminated vinyl product with very dense materials embedded in it to add mass. This mass is key for blocking airborne noise transmission.
MLV designed for soundproofing weighs 1 to 2 pounds per square foot.
Lead vinyl sheeting is another noise barrier option made of flexible vinyl embedded with lead to provide mass and density. Lead vinyl can be easier to work with than rigid MLV on uneven surfaces.
Mineral wool, fiberglass, and other insulations work as excellent sound absorbers. They are porous and trap sound vibrations rather than reflecting them.
Absorbers placed over mass barriers reduce echo and reverberation.
Green glue noiseproofing compound is a viscoelastic material placed between layers that dampens vibrations and converts sound energy to low levels of heat.
This enhances the performance of mass loaded barriers.
Acoustic caulk is a specialized caulking that seals gaps and creates an airtight sound barrier. Flexible when cured, it allows materials to expand and contract.
Soundproof underlayment, such as cork, rubber, or foam, can be installed under floor coverings as a soundproofing layer.
With these types of products, you can build an effective system involving both mass-based noise blocking and sound absorption.
Using the right combination of materials is key for the best stair soundproofing results.
How To Soundproof Stairs
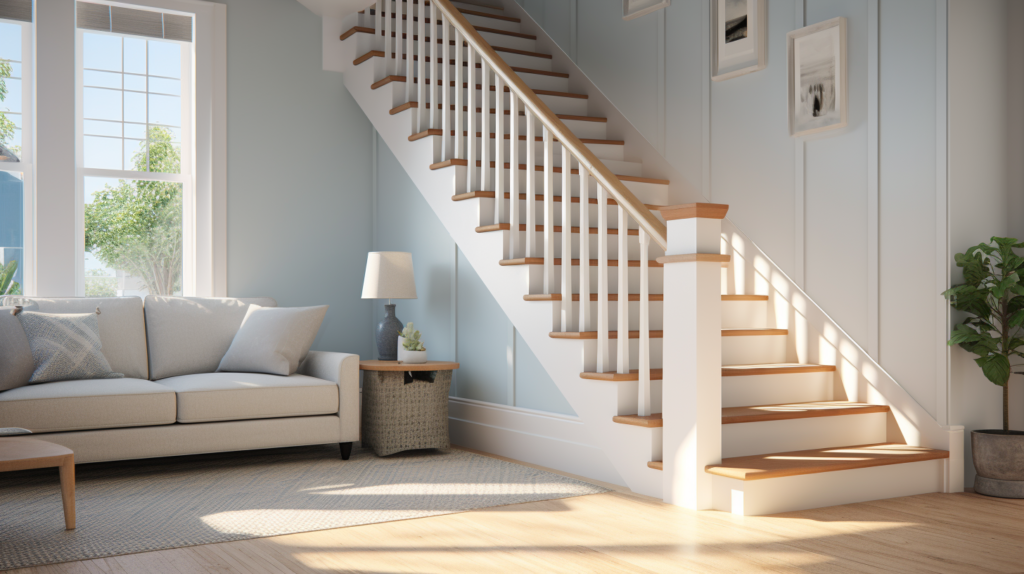
Having a staircase that loudly transmits noise between floors can be incredibly disruptive.
Luckily, with the right materials and techniques, you can drastically reduce sound transmission through your stairs for a peaceful home.
1. Prep the Stairs
Once you have gathered the necessary acoustic materials, there are some preparatory steps to take before installing your soundproofing system. Proper preparation of the underlying structure helps ensure the treatments can perform optimally.
First, remove all existing floor coverings like carpet, pad, underlayment, treads, or other finished materials. This exposes the underlying staircase framing and risers.
Next, use acoustic sealant to fill any cracks, gaps, or irregularities in the stair framing and risers. This helps seal sound leaks and creates a smooth surface.
Also, vacuum and clean the stairs thoroughly to remove any dirt, debris, or dust. This allows the soundproofing materials to adhere properly.
Inspect the stairs for any other structural issues like loose joints, creaking, or broken components, and repair them prior to adding soundproofing for best results.
If the surfaces are very rough or porous, apply a thin coat of primer to create a more uniform surface for the soundproofing materials to stick to.
Finally, allow proper drying time for any sealants, repairs, or primers before installing the soundproofing system.
Proper prep ensures you have a solid, clean foundation for the acoustic treatments and a tight seal with no gaps or air leaks.
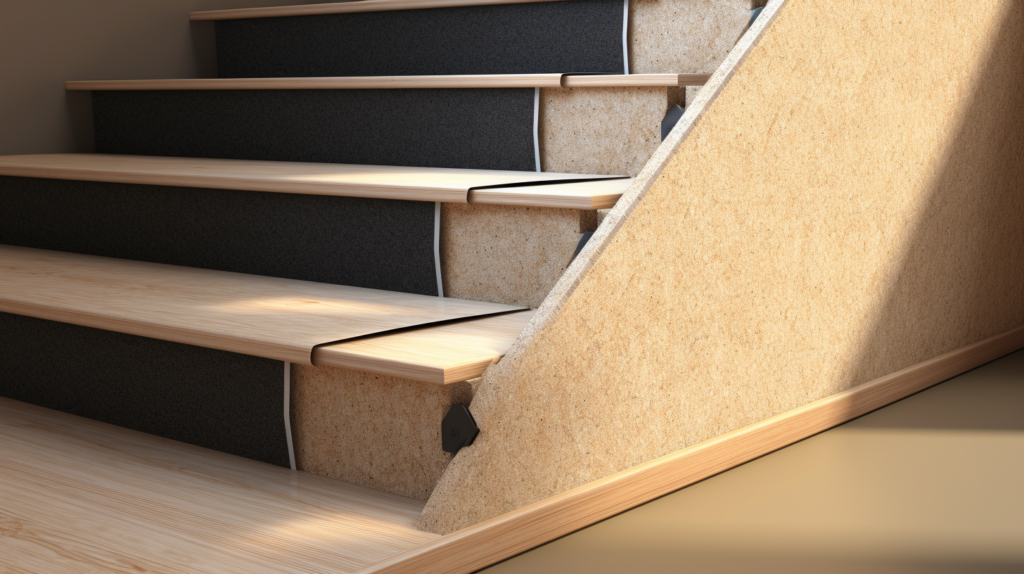
2. Add Sound Deadening Materials
With the prep work complete, you can begin installing the sound blocking and absorbing materials.
First, measure and cut pieces of mass loaded vinyl or lead vinyl sheeting to fit each stair riser and the underside of the stairs. Be sure to leave excess to wrap up under the treads.
Next, apply a layer of acoustic glue or adhesive to the back of the vinyl and the stair surfaces. This couples the layers together.
Then, press and smooth the vinyl sheeting onto each riser, starting at the bottom and working upward. Smooth out any air bubbles.
Do the same for the horizontal underside areas, letting the vinyl wrap up over the bullnose.
After that, cut and place pieces of mineral wool or fiberglass insulation over the vinyl on the risers and undersides. This adds sound absorption.
Finally, use acoustic caulk to seal all seams, edges, and gaps thoroughly. This prevents sound leaks.
The noise blocking vinyl and sound absorbing insulation work together to significantly reduce noise transmission through the stairs.
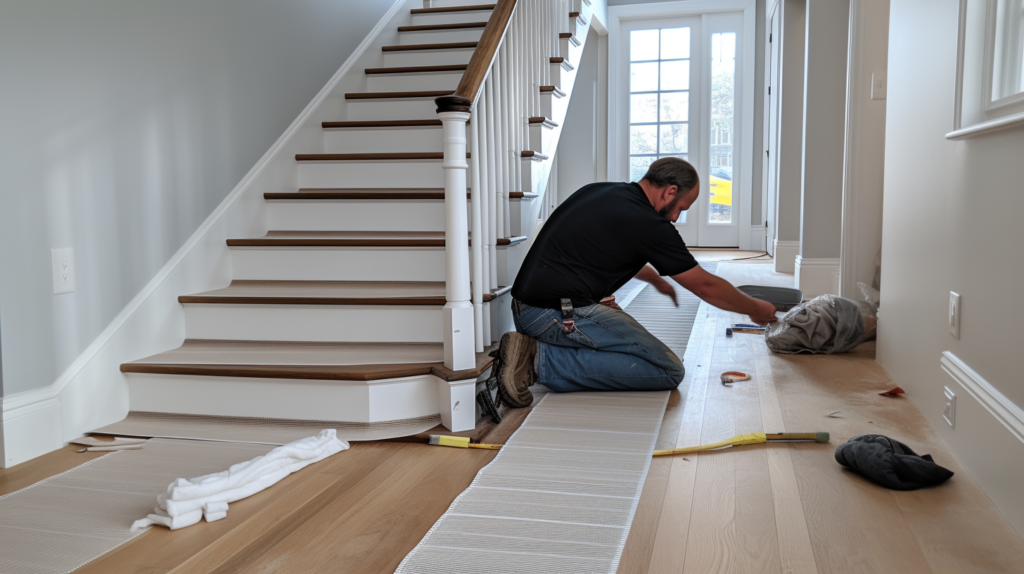
3. Install Soundproof Underlayment
In addition to treating the risers and stringers, you also want to install soundproofing underlayment on each step tread.
Make sure to clean each tread first to remove any dust or debris for proper underlayment adhesion.
Measure and cut pieces of underlayment like cork, rubber, or foam to fit each tread snugly.
Follow manufacturer instructions to adhere the underlayment to the treads, using acoustic caulk at seams and edges.
Allow full curing time before replacing carpet or other stair tread coverings.
The underlayment helps reduce the transfer of noise from footfalls through the treads into the structure.
4. Finish and Maintain
The final steps are replacing any stair coverings and maintaining the soundproofing over time.
Install carpet, treads, railings and other finishes back onto the stairs following proper instructions.
Inspect periodically and re-adhere or replace soundproofing materials if any wear or lifting occurs.
Use acoustic caulk to reseal edges or gaps if needed to maintain noise containment.
With proper installation and maintenance, your soundproofed stairs will provide noise reduction for many years before needing renovation.
Conclusion
Properly installing acoustic treatments like mass loaded vinyl, insulation, and soundproofing underlayment’s on your stairs can make a dramatic difference in preventing noise transfer between floors.
While it requires an investment in special materials and diligent installation, the resulting soundproofing provides worthwhile benefits like improved comfort, focus, and privacy.
If uncontrolled stair noise is an issue in your multi-level home, applying these noise blocking and absorbing techniques can prove an extremely effective solution.
With proper preparation, high-quality products, and regular maintenance, you can transform noisy, echoing stairs into a peaceful, sound-insulated stairwell.