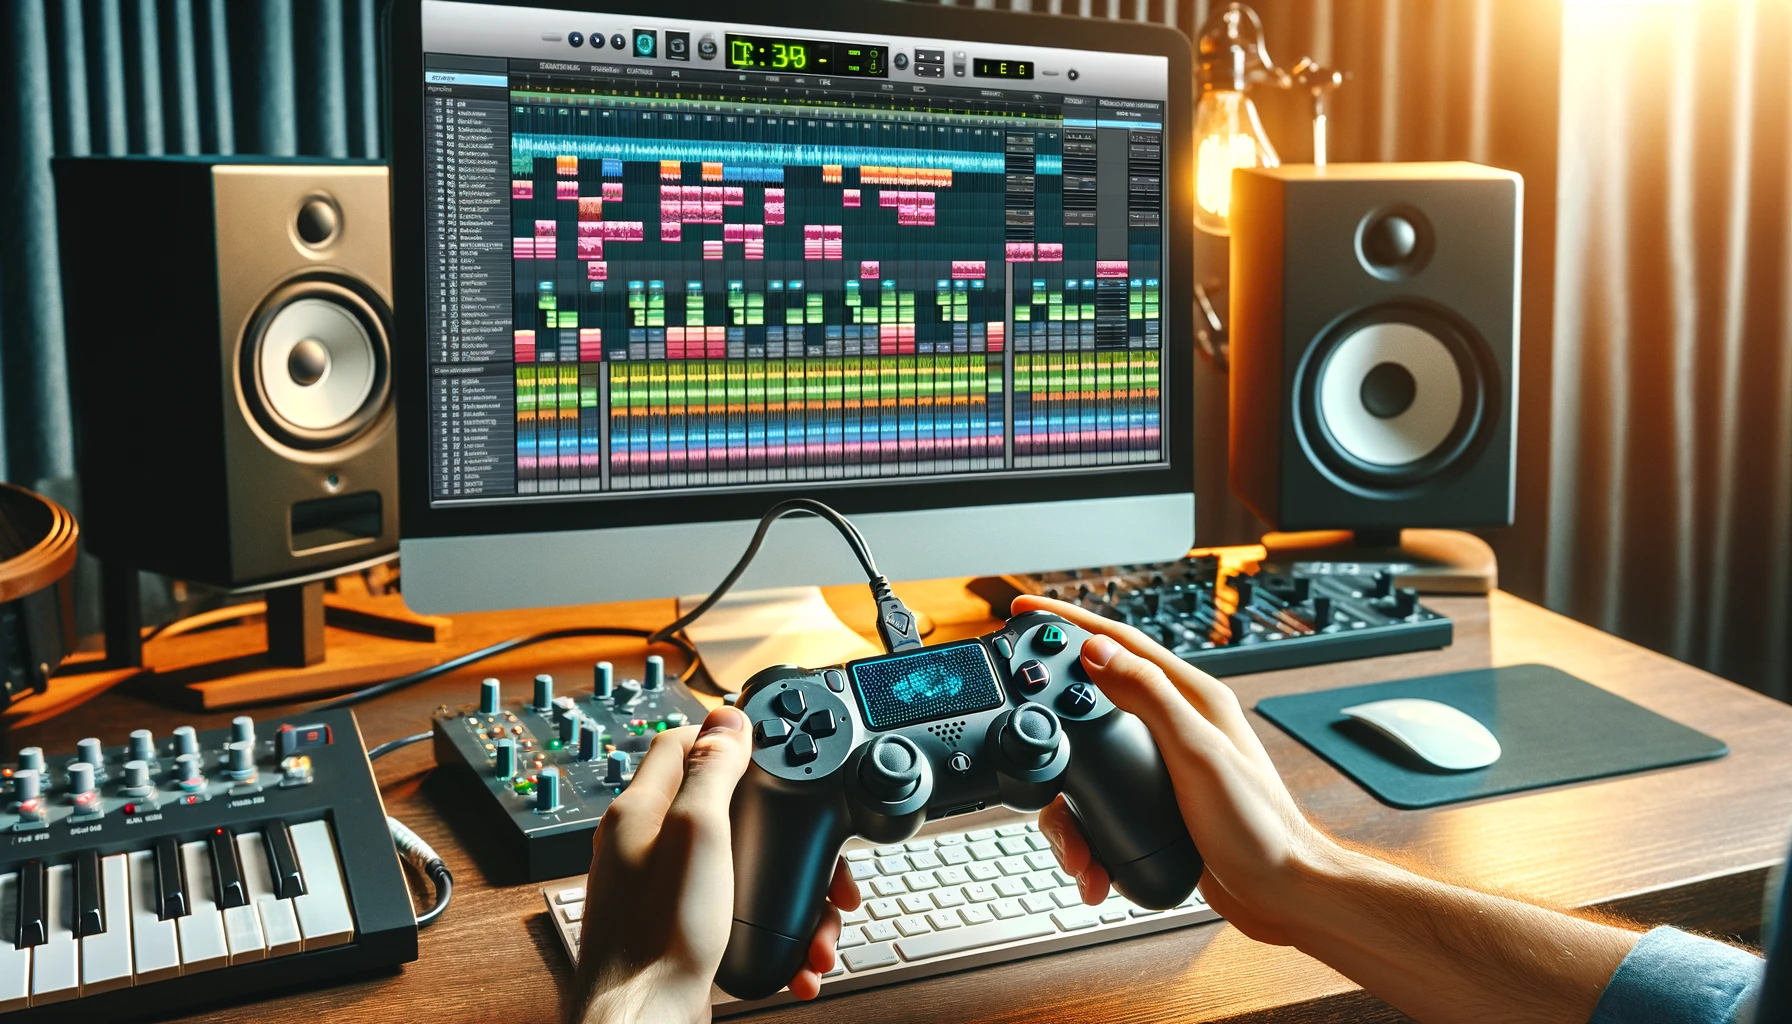
Struggling with clumsy MIDI keyboard controllers or tiny laptop trackpads for music production?
Game controllers like PlayStation and Xbox pads offer intuitive, tactile MIDI interfaces perfect for manipulating software instruments and DJing performances.
Let’s dive in to see how to set up these gaming devices for dynamic software control.
Why Use a Game Controller as a MIDI Controller?
Using familiar game controllers as MIDI controllers brings many perks for music production thanks to their ergonomic designs focused on playability.
Gamepads feature large arrays of tactile buttons conveniently positioned under thumbs and fingers that beat out tapping on keyboards.
Analog sticks, directional pads and pressure sensitive triggers afford nuanced, tactile parameter tweaks.
And gaming gear is affordably priced compared to specialty MIDI gear.
We’ll explore all the benefits in detail below.
But first, let’s run through the quick steps for setup.
What You Need to Use a Game Controller as a MIDI Controller
In order to use a game controller as a MIDI controller, you will need a few key pieces of equipment.
First, you will need a game controller itself.
Some popular options that work well for this application include Xbox controllers, PlayStation controllers, Nintendo Switch controllers, and more.
These typically connect to a computer via USB or wireless Bluetooth connection.
Next, you will need a computer with a MIDI interface.
Most modern Windows PCs, Macs, laptops, and other computers have built-in MIDI ports and interfaces that allow them to send, receive, and interpret MIDI data.
This allows the computer to understand the signal coming from the game controller and convert it into digital MIDI data that can control software instruments and parameters.
Finally, you need MIDI mapping software.
This special software provides the critical link between the game controller’s buttons, joysticks, triggers, and other controls and MIDI commands.
It intercepts the input coming from the game controller and converts those signals into corresponding MIDI data such as note on/off messages, Control Change messages, Program Change messages that MIDI instruments and DAWs understand.
Popular options for MIDI mapping software include Bome MIDI Translator, XPadder, and Sensor2MIDI.
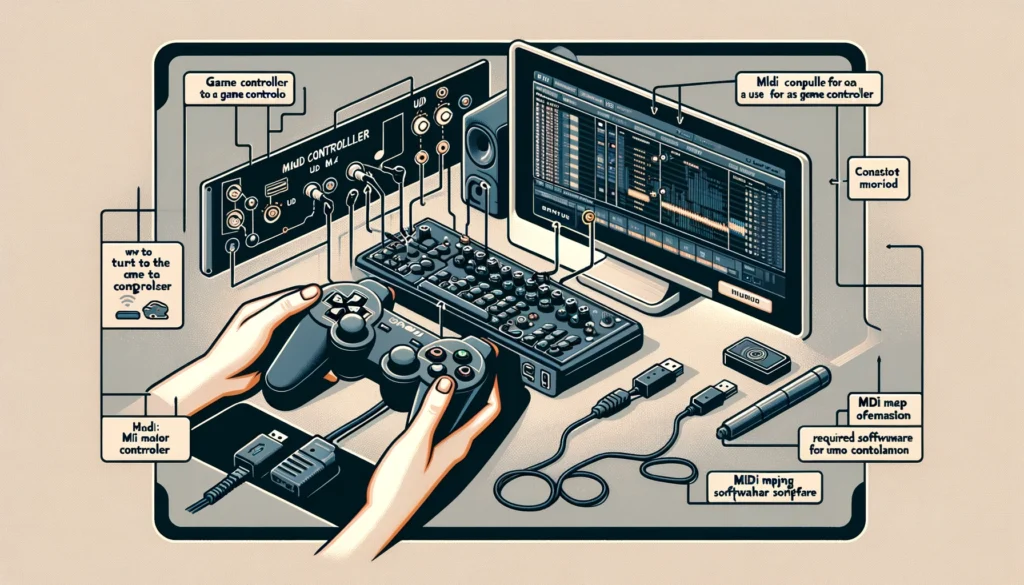
With these three things—a game controller, a MIDI interface equipped computer, and mapping software—you have the basic hardware and software components needed to set up a game controller as a MIDI controller.
Setting Up the Hardware
Once you have gathered the necessary equipment listed in the previous section, you can then set up the hardware components and connections.
Start by plugging your game controller into your computer via the USB cable or connect it via Bluetooth if using a wireless controller.
Most modern computer operating systems will automatically detect the game controller and install any necessary drivers.
However, you may need to install custom drivers or remap the buttons manually later in the setup process depending on your system.
After connecting the game controller, check your operating system settings, MIDI software, or another input testing tool to ensure that your computer is properly recognizing the game controller and responding to button presses or joystick movements.
All of the buttons, triggers, thumbsticks, and any other controls should show activity and input values when moved.
If certain inputs are not being registered correctly by the computer, you may need to open the system settings and adjust which device or profile is active for the game controller.
Consult your game controller and operating system documentation to ensure hardware recognition is working properly across every control surface and axis before moving on to the MIDI mapping stage.
Proper hardware setup is crucial for allowing nuanced and versatile MIDI control later on.
Mapping Controller Inputs to MIDI Controls
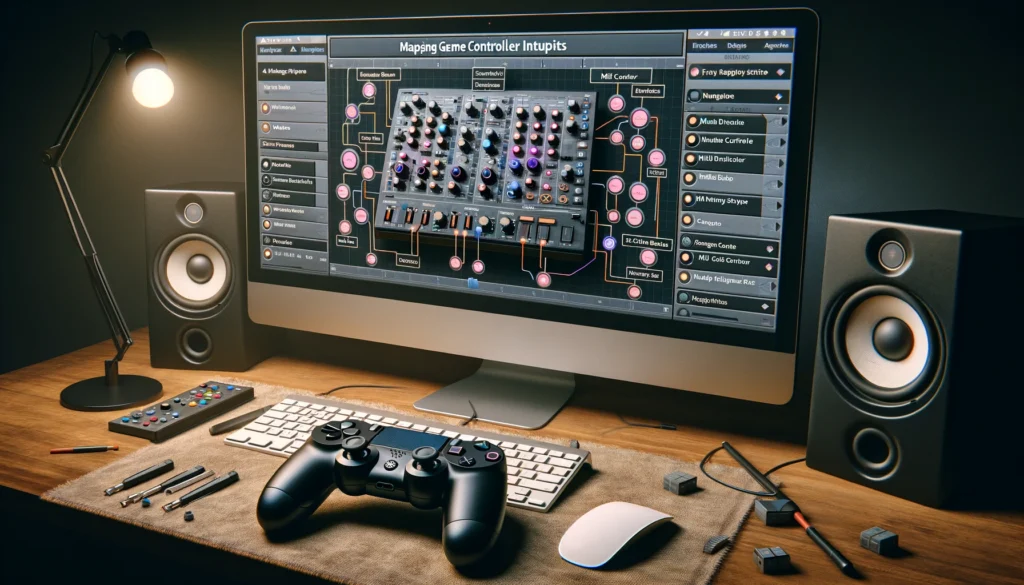
Once your game controller is correctly communicating with your computer as a hardware input device, the next step is mapping each of those control inputs to MIDI commands.
This mapping process tells the computer how to translate hardware signals like button presses into digital MIDI signals that can trigger actions in plugins, DAWs, and other MIDI software.
To handle this mapping, you need to use a dedicated MIDI mapping program like Bome MIDI Translator, XPadder, or similar software.
Configure the settings in your mapping software to recognize your game controller as an input device.
Then you can proceed to map buttons, thumbsticks, triggers, and other controls to various MIDI messages types.
For example, you may map the A button to send a MIDI note-on/note-off message that could trigger drum hits and other percussive sounds.
The thumbsticks and directional pads can send MIDI CC messages to adjust parameters like volume levels or distortion intensity on instruments and effects.
Triggers can operate as pitch or mod wheels for bending note pitches or adding expression.
And the shoulder buttons can toggle between enabling different Instrument tracks or send program change messages to switch between software synth patches while performing live.
The key is making the mappings intuitive and ergonomic for your MIDI performance workflow so arrange the mappings in a way that feels comfortable rather than relying on arbitrary default preset mappings.
Allow yourself sufficient time to experiment with different mapping configurations until controlling your software becomes second nature.
Using Your Game Controller with DAWs and MIDI Software
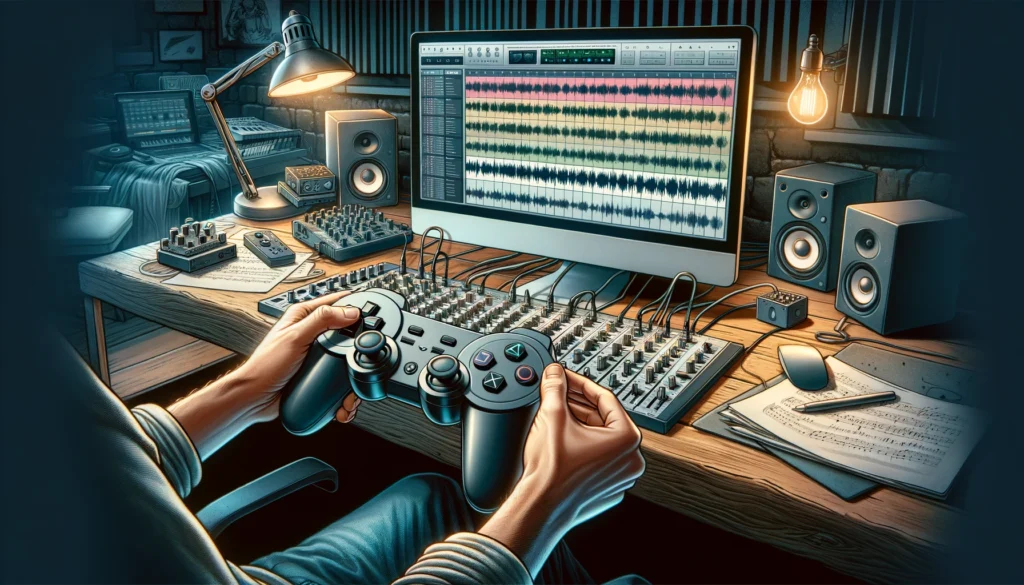
Once your controller is properly set up with MIDI mapping, the next step is to integrate it with your music software such as digital audio workstations (DAWs like Ableton Live or FL Studio) or MIDI production apps.
Open your software and locate the settings for MIDI input devices—your mapping software and game controller should appear as options to choose from in this list of devices.
Select your game controller mapping driver as the MIDI input device to direct all MIDI messages from the controller into the software.
With those settings configured, you can then start using the buttons, joysticks, pads, and other controls on your game controller to manipulate the parameters of instruments and effects within your music software via the MIDI mapping you set up earlier.
For example, move the pitch wheel up on your controller to bend a synth lead up in pitch or press a thumbstick left or right to increase modulation.
Hit drum trigger pads mapped to MIDI note messages to program beats or twist a joystick to blend between filters.
The options are endless when it comes to mapping game controller actions to MIDI functions—this opens up dynamic hands-on control of music software that goes far beyond what mouse and keyboard allow.
With practice, you can operate almost all parts of your virtual studio in real-time performance by customizing your ideal controller layout tailored for your needs.
Advanced Usage Concepts and Customization
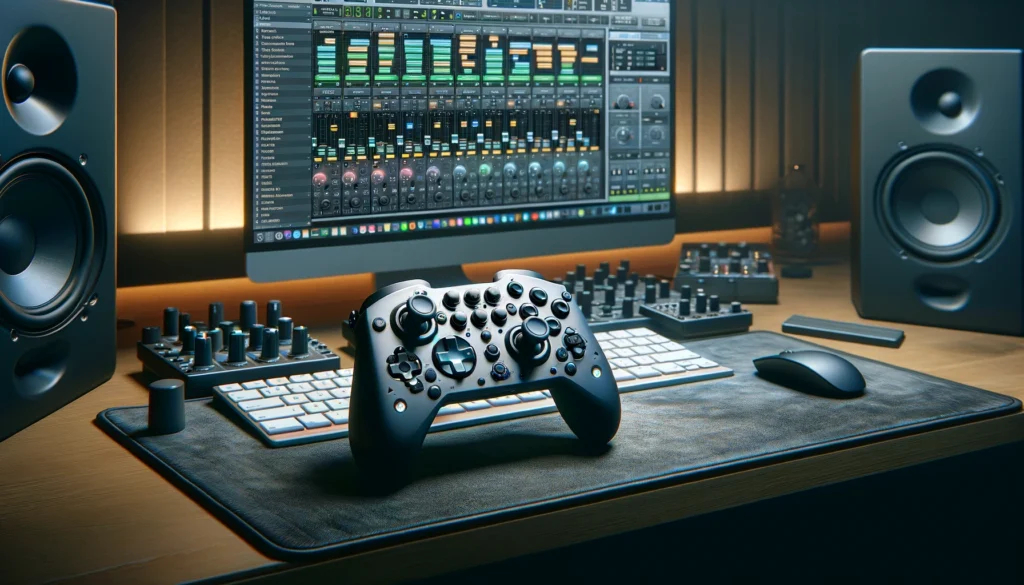
As you become more experienced using a game controller as a MIDI controller, you can explore more advanced techniques for streamlining your production duties.
For example, create custom presets within your MIDI mapping software tailored for different MIDI instruments, software synthesizers, and effects.
By optimizing control schemes for specific plugins rather than relying on a generic all-purpose controller layout, you can work faster by only exposing the most useful buttons and parameters for individual solutions while hiding unused functions that might cause confusion in each preset.
You may also want to configure multiple modes or shift states that alter the MIDI mapping to access secondary functions and controller layouts.
Much like keyboard shortcuts to rapidly trigger commands, these modes enable quick access to multiple controller configurations—simply hold a Mode Shift button to activate a different set of MIDI mappings for enabling track arming, quantizing notes, changing tool selection or accessing transport controls for punch ins/outs.
In addition, many modern game controllers feature pressure/force sensitive buttons, multidimensional touch pads, accelerometers, gyroscopes and other sensors that offer nuanced continuous control far beyond simple on/off switches.
Adjusting the sensitivity response curves of these controllers provides finer resolution for translating subtle gestural variations into expressive MIDI modulation messages for vibrato, pitch bends and adding analog-style dynamics to performances.
And by creating layered macros that chain together multiple MIDI messages into a single button press, you can trigger chords and arpeggios or switch between chain presets involving dozens of parameter changes needed per patch.
The creative possibilities are endless for customizing game controllers tailored into the perfect instrument for your unique MIDI performance and production style—much more intuitive to play than clicking a mouse!
Conclusion
Setting up a game controller as a MIDI controller unlocks dynamic real-time control of a vast array of music software functions far beyond what mouse and keyboard arrangements allow.
After connecting the necessary hardware components including the game controller and configuring MIDI mapping associations between controller inputs and MIDI messages, producers and performers gain precise hands-on command of tools and instrument parameters quickly through intuitive, ergonomic interfaces purpose-built for music manipulation.
The benefits cascade into every area of MIDI composition and production workflow—from capturing inspired performances by playing software instruments to controlling mixer functions with the finesse of tactile feedback.
And the capacity for customizing mappings and controller modes provides unlimited potential for advanced users to build uniquely tailored rigs streamlining their personal sound design process.
Game controllers truly embody playable instruments in the digital production era no traditional MIDI keyboard or pad controller can rival.
Once familiar with the initial setup process, music creators of all skill ranges can tap into these devices to unlock their creative possibilities through a direct, responsive, and fun performance interface elevating their MIDI productions to the next level.
