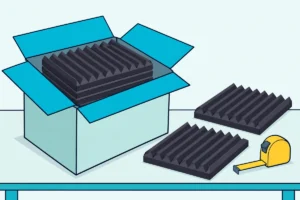
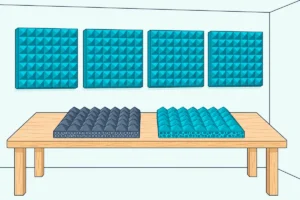
Start with 4-6 panels at first reflection points and add more only after testing.
Can you put too much acoustic foam? Yes, and an over-treated room can end up sounding worse than it did before you started.
Products in this guide
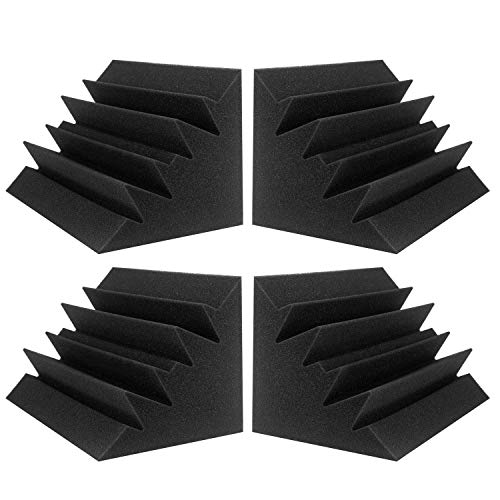
- One block for each corner
- Fits corners without frames
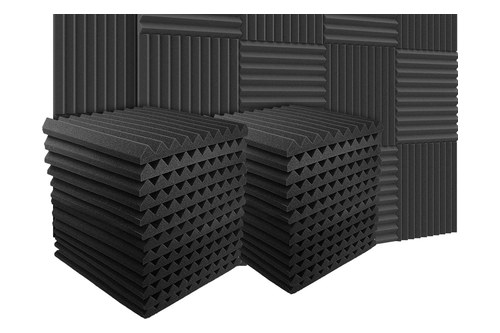
- 50 tiles of 12 x 12 x 1-inch foam
- Easy to cut and place
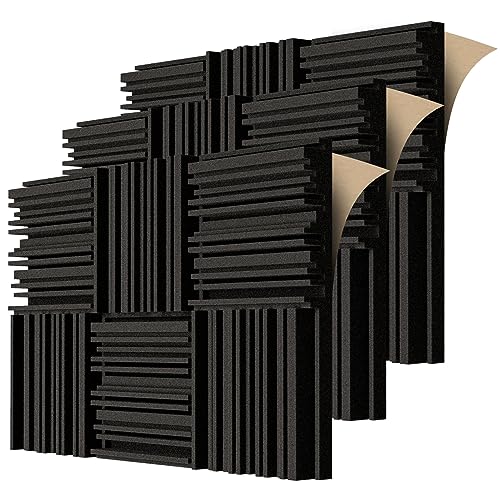
- 12 x 12-inch tiles
- Self-adhesive for easy repositioning
If your room sounds hollow and muddy and music sounds lifeless through your monitors, too much absorption may be the cause. More foam doesn’t always mean better sound.
Below you’ll find what over-treatment does to your acoustics, how to spot it, how many panels to start with, and how to fix a room that has too many. For foundational understanding, see how acoustic foam works.

If speech sounds muffled, music lifeless or recordings unnaturally dry, the room may be over-treated. The fix is removing panels from low-priority areas (far walls, low positions) until the room sounds natural again, while keeping treatment at first reflection points.
What Happens When You Over-Treat a Room?
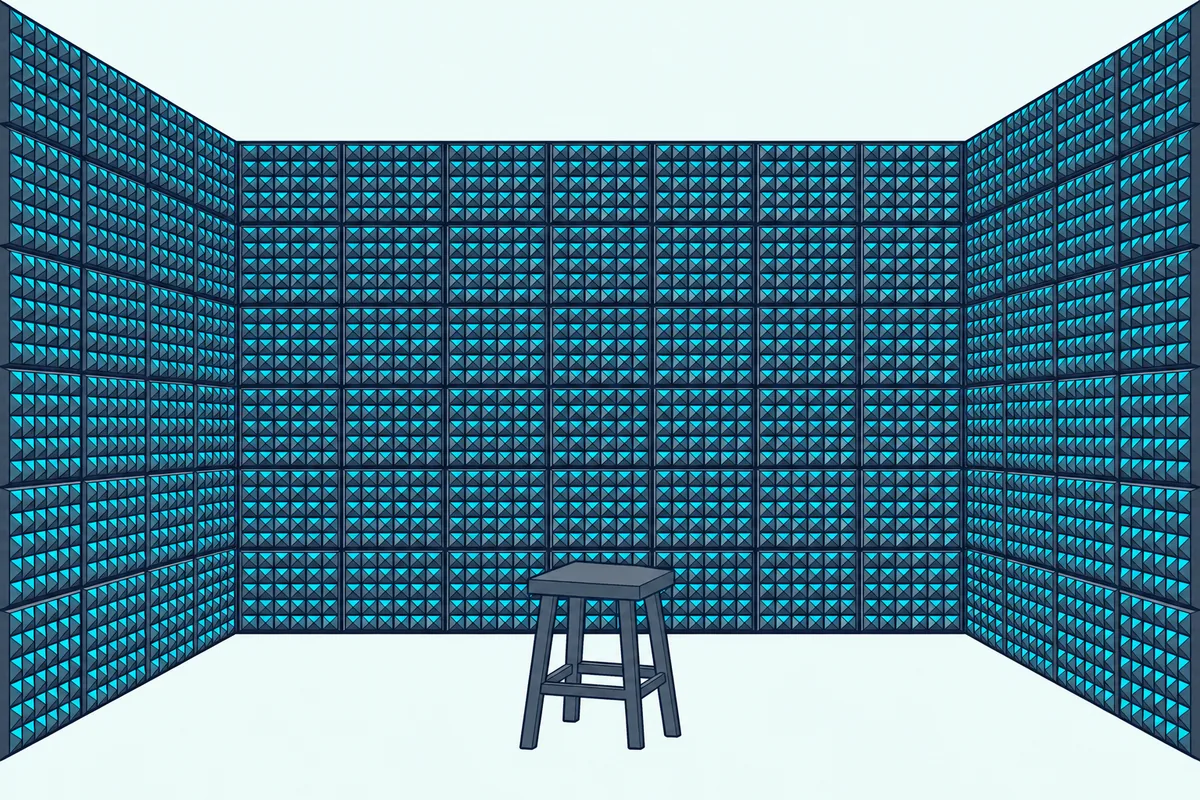
Over-treatment creates specific acoustic problems of its own.
The “Dead Room” Effect
When too much absorption covers your walls, sound has nowhere to reflect. Every wave that leaves your mouth or speakers gets absorbed almost immediately.
The result is an acoustically “dead” space.
Remove Early Reflections, Keep the Rest
Absorption can go too far: Vicoustic, a diffuser maker, says diffusion is often used on the rear wall in cases where back-wall absorption would render the room too dead.
The goal is removing problematic reflections while preserving the rest: in its stereo mix room, Auralex’s Acoustics 101 kills early reflections at the front and spreads out the sound energy at the rear without killing it.
Uneven Frequency Response
Here’s a technical problem: foam absorbs mid and high frequencies far more than bass. Auralex’s published test of its 2-inch Studiofoam Wedges gives 0.97 at 1,000 Hz but 0.21 at 125 Hz.
With excessive foam, you absorb most mid/high energy while bass remains largely unaffected.
This imbalance misleads a mix: you may add too much high end to compensate for what the room absorbs, and the mix can then sound harsh elsewhere.
Comfort Over Long Sessions
The Comfort Test below checks how the room feels to you after an hour of work in it.
How Much Coverage Do You Need?

The right amount of treatment depends on your room and goals, so start small and test.
Start With 4-6 Panels
Start with 4-6 panels at first reflection points and behind your speakers, and test the room before adding more.
In a 10×12 room with 8-foot ceilings, total wall area is about 352 square feet. Six standard 2×2 panels, at 4 square feet each, cover 24 square feet of it.
That’s far less than covering every wall. Those panels go at first reflection points and behind the speakers, not at random.
Strategic vs Random Placement
Auralex’s home-studio guide says the first reflection points are exactly where acoustic treatment should go.
First reflection points, the wall behind your speakers, and corner bass traps address specific acoustic problems.
For effective placement strategies, see how to arrange acoustic foam.
If you’ve treated the priority positions and problems persist, look at different treatment (bass traps, diffusion) or the specific remaining issue before adding more foam.
Room Size Considerations
A larger room has more wall, so the same 4-6 panels cover less of it. Start with them in any size of room and add a few at a time.
Adjust based on how the room sounds, not arbitrary targets.
How Do You Know If You’ve Over-Treated Your Room?

Recognizing over-treatment helps you correct it.
The Clap Test
Clap your hands sharply and listen. In a well-treated room, you hear a short, controlled decay—the sound dies quickly but naturally.
In an over-treated room, the clap sounds “thuddy” with almost no decay at all.
There’s no ring, no tail, just immediate silence.
If your clap produces zero audible reflection, you’ve absorbed too much.
The Voice Test
Speak normally and listen to how your voice sounds.
If your voice sounds unnaturally close and muffled, the room may be over-treated.
If you find yourself speaking louder to compensate for the deadness, that’s a sign of over-treatment.
The Comfort Test
Work in your treated room for an hour. How do you feel?
If the room feels oppressive or tiring, take a few panels down and test again.
The Music Test
Play familiar music through your speakers. Does it sound engaging and alive, or flat and lifeless?
If your favorite tracks sound boring in your room, over-treatment may be the cause.
Compare to how the same music sounds in your car or on headphones. If the room version sounds noticeably worse—not just different—you’ve likely over-absorbed.
How Do You Fix an Over-Treated Room?
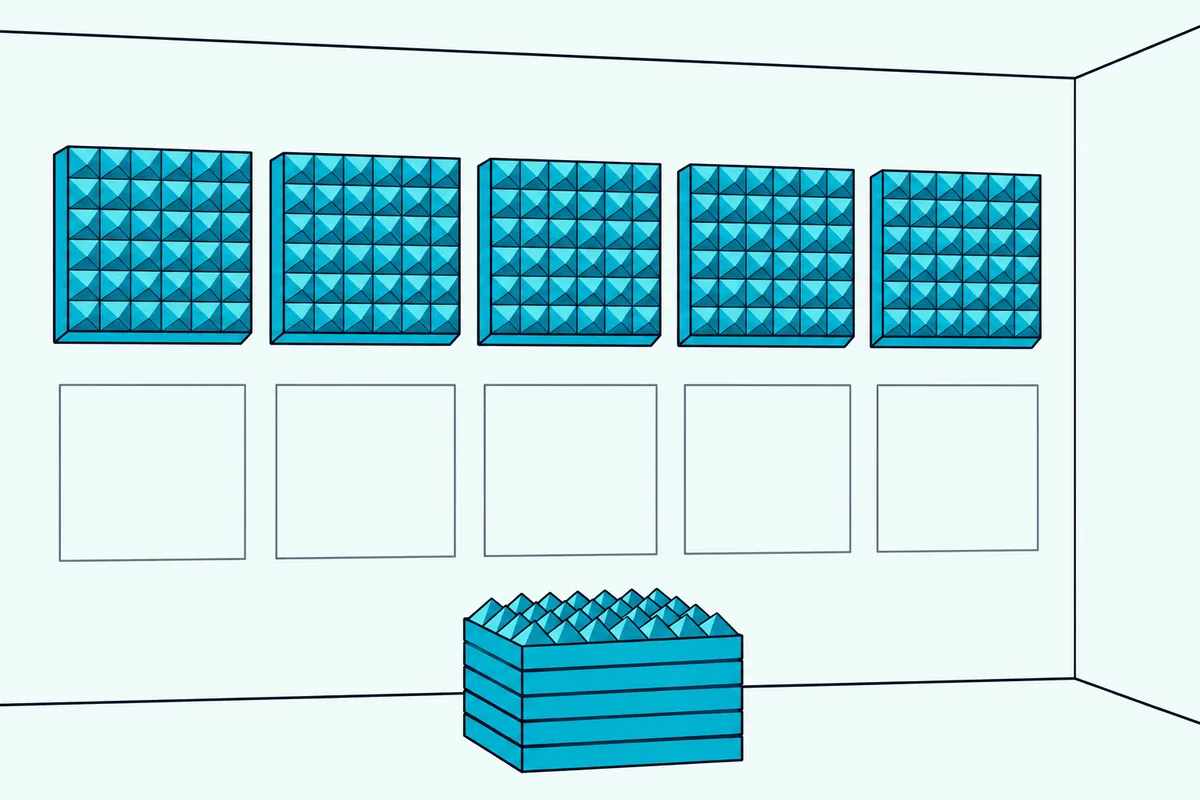
If you’ve over-treated, the fix is simple: remove panels until the room sounds natural again.
Start With Low-Priority Areas
Remove foam from locations that matter least first:
- Far walls away from your listening/recording position
- Low positions below ear level
- Areas behind you (if you’re mixing/listening)
- Excess coverage beyond first reflection points
Keep treatment at first reflection points and behind your speakers—these high-impact locations should stay treated.
Remove Incrementally
Don’t strip everything at once. Remove a few panels, then test.
Repeat until the room sounds balanced.
The goal is finding the minimum effective treatment—enough to control problems without killing the room.
Consider Replacing With Diffusion
If removing absorption brings back problems (flutter echo, harsh reflections), consider replacing some foam with diffusers.
Diffusers scatter sound instead of absorbing it. They control reflections while maintaining room liveliness.
Auralex’s Acoustics 101 combines the two in its stereo mix room: absorption at the front to kill early reflections, and broadband diffusion on the rear wall to spread out the sound energy without killing it.
For more on this approach, see acoustic foam vs diffusers.
Rebalance for Bass
An over-treated room can be left bass-heavy, because foam absorbs far less bass than mids and highs: Auralex’s 2-inch Studiofoam Wedges test at 0.21 at 125 Hz against 0.97 at 1,000 Hz. If your room sounds boomy after removing some foam, you may need bass traps rather than more wall panels.
Bass traps in corners address low-frequency buildup without affecting mid/high frequencies. This rebalances the room’s frequency response.
A set like the JBER 4-pack of foam corner blocks puts one block in each corner without adding more wall coverage. For more on this topic, see bass traps vs acoustic foam.
JBER 4-pack of foam corner blocks
How Much Treatment Does Each Room Type Need?
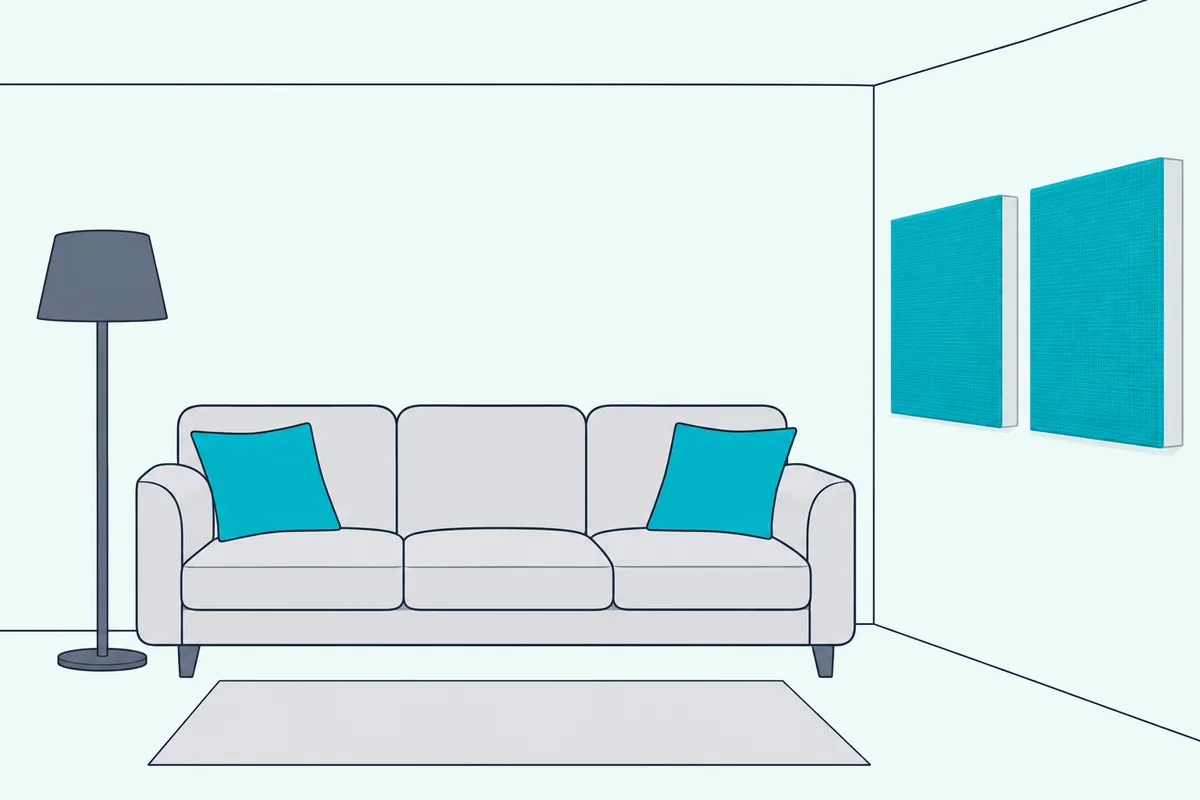
Here’s where to treat in each type of room.
Recording Studios
Vicoustic lists recording studios among the spaces that use diffusers, which break up sound waves and redirect them in various directions.
Where to treat: around the recording position. The area immediately around microphones can be heavily treated while the rest of the room maintains some life.
Professional vocal booths are an exception: small, purpose-built spaces meant to capture the voice with as little room sound as possible, not general-purpose rooms.
Mixing/Mastering Rooms
A mixing room should let you hear what’s in your mix, not what the room adds. Vicoustic says diffusers in studio control rooms reduce room coloration, so the audio heard there accurately represents the recorded material.
Where to treat: the first reflection points, plus bass traps in the corners. In its stereo mix room, Auralex’s Acoustics 101 puts broadband diffusion on the rear wall to spread out the sound energy without killing it. For studio-specific guidance, see where to place acoustic foam in home studios.
Home Offices (Video Calls)
Home offices need enough treatment for clear video calls.
Where to treat: the wall behind your camera and the side walls near your desk. This treats the reflections that reach your microphone and leaves the rest of the room untreated.
Living Rooms / Media Rooms
Where to treat: the first reflection points for your primary seating position.
In living spaces, the goal is reducing obvious problems (flutter echo, harsh reflections), not removing all reverb.
For aesthetic options, see how to make acoustic foam look good.
Which Over-Treatment Mistakes Should You Avoid?

Avoid these patterns that lead to over-treatment.
Covering Every Wall Completely
Walls don’t need to be fully covered.
Treat the priority positions instead: the first reflection points and the wall behind the speakers.
Full wall coverage absorbs far more mid/high frequency energy than bass: Auralex’s 2-inch Studiofoam Wedges test at 0.97 at 1,000 Hz but 0.21 at 125 Hz.
Treating Floors and Ceilings Excessively
Some treatment on ceilings (clouds above listening positions) helps. Carpet on floors helps.
But covering every horizontal surface creates the same over-treatment problems as excessive wall coverage.
Floors and ceilings contribute to room acoustics, but they’re lower priority than wall first reflection points. Treat them moderately, if at all.
Ignoring Room Purpose
Match treatment level to how you’ll use the room. Don’t apply recording-studio levels of treatment to a home office or living room.
Adding More When Problems Persist
When acoustic problems persist after initial treatment, more foam may not be the fix.
Check for wrong placement, the wrong type of treatment (foam when you need bass traps), or issues foam can’t solve (noise transmission, HVAC rumble).
Diagnose the specific problem before adding treatment. The guide on how to stop echo with acoustic foam helps identify what’s causing issues.
What Treatment Level Suits Your Room?

Here’s how to find the treatment level that suits your room.
Start Minimal
Begin with the minimum treatment that might solve your problems: 4-6 panels at first reflection points. Test and evaluate before adding more. A pack like the Burdurry 50 Pack Acoustic Panels covers several first-reflection spots.
Burdurry 50 Pack Acoustic Panels
You can add panels later, a few at a time.
If you need thicker coverage for voice recording, the TroyStudio 2-inch Self-Adhesive Panels are 2 inches thick, 18 to a pack, and Auralex’s Acoustics 101 says thicker acoustic foam is better at absorbing low frequency sounds. For shape selection, see best acoustic foam shape.
TroyStudio 2-inch Self-Adhesive Panels
Test After Each Addition
After adding panels, do the clap test, voice test, and music test. Has the problem improved?
Does the room still sound natural?
If problems persist, identify what’s wrong before adding more treatment. Is it flutter echo? Add panels at parallel walls.
Bass boom? Add corner traps.
Different problems need different solutions.
Trust Your Ears
Acoustic measurements can help, and so can the clap, voice and music tests above, which check the room by ear.
Leave Room to Adjust
Don’t permanently mount every panel immediately. Use removable mounting (Command strips, Velcro) for at least some panels.
That way you can experiment with placement and quantity. For mounting options, see how to put acoustic foam on walls.
Auralex’s home-studio guide gives the same advice: try different placements yourself and listen to the results.
The Bottom Line
Yes, you can put too much acoustic foam in a room. Too much absorption can leave it too dead, as Vicoustic notes of back-wall absorption.
The goal is controlled acoustics, not maximum absorption.
Start with 4-6 panels at strategic locations, first reflection points and behind the speakers, with bass traps in the corners, and add more only if a problem remains after the tests above.
If you’ve over-treated, remove panels from low-priority areas until the room sounds natural again. Consider replacing some absorption with diffusion for better balance.
The aim is a room that balances absorption with reflection, controlling problems without deadening the space.
For more guides on foam types, placement, and mounting, start at the acoustic foam hub.
Frequently Asked Questions
How do I know if I have too much acoustic foam?
If speech sounds muffled and music flat and lifeless, the room may be over-treated. The clap test helps—if clapping produces almost no audible decay, you’ve absorbed too much.
What percentage of walls should acoustic foam cover?
It depends on the room, so start with a count rather than a percentage: 4-6 panels at strategic locations, meaning first reflection points, the wall behind the speakers and corner bass traps, not random distribution across all walls.
Then add panels a few at a time, with the clap, voice and music tests after each addition.
Can too much acoustic foam make a room sound worse?
Yes. Over-treatment creates unbalanced frequency response (too much bass relative to mids/highs) and unnatural “dead” acoustics.
Treat strategic positions rather than covering every wall.
How do I fix an over-treated room?
Remove panels from low-priority areas first: far walls, positions below ear level, and areas beyond first reflection points. Keep treatment at high-impact locations (first reflections, behind speakers).
Remove incrementally and test until the room sounds natural. Consider replacing some absorption with diffusion for better balance.
Is it better to have too much or too little acoustic foam?
Neither extreme is ideal. Fixing under-treatment means adding panels; fixing over-treatment means taking down panels you’ve already installed.
Start with minimal treatment at priority locations and add based on results.
Why do professional studios have so much acoustic treatment?
Studio treatment is placed rather than spread everywhere: in the stereo mix room Auralex’s Acoustics 101 describes, large amounts of absorption at the front of the room kill early reflections, and broadband diffusion on the rear wall and rear ceiling spreads out the sound energy without killing it.
Acoustics 101 says that rear diffusion imparts a sense of space and envelopment at the mix position.