
You’ve invested in top-notch acoustic panels, carefully selected for their performance and aesthetics. You’ve even spent the weekend installing them in your home studio.
Yet, something’s off. The sound quality isn’t what you expected, and you’re left scratching your head, wondering where you went wrong.
While most people emphasize the types of acoustic panels to purchase—be it foam, fabric, or polyester acoustic panels—few understand the critical role that height plays in their effectiveness.
Whether you’re looking to acoustiscally optimize a home theater or a professional recording studio, the height at which you install your panels can make or break your audio experience.
So, why does height matter so much in acoustic treatment?
This guide will unravel that mystery, backed by science and practical insights.
Let’s dive in to elevate your understanding of room acoustics.
Why Is the Height of Wall-Mounted Acoustic Panels So Important?
When it comes to acoustics, many people focus primarily on the type of acoustic panels they should purchase.
However, where these panels are placed is just as crucial for achieving the desired sound quality in a room.
For example, if you mount the panels too high, they will fail to capture and manage the sound waves that occur at the level of human ears.
This can result in echo, reverb, and other forms of sound distortion that can diminish the listening experience.
Likewise, mounting panels too low can also yield unsatisfactory results. Sound waves do not solely interact with surfaces at ground level.
They bounce off walls and other surfaces, creating a complex pattern of reflections throughout the room.
Therefore, if the panels are too low, they may not capture these reflections effectively, leading to a similar degradation in sound quality.
In essence, the height at which you place your acoustic panels is critical for their effectiveness.
What Is the Best Height for Acoustic Panels on Walls?

Determining the ideal height for acoustic panels is not a straightforward task. It requires careful consideration of several factors.
For instance, the room’s dimensions play a crucial role. A larger room with higher ceilings may require a different approach compared to a smaller, more confined space.
Additionally, the purpose of the room is another significant factor.
Home theaters, recording studios, conference rooms, and other spaces each have their unique acoustical challenges that must be addressed.
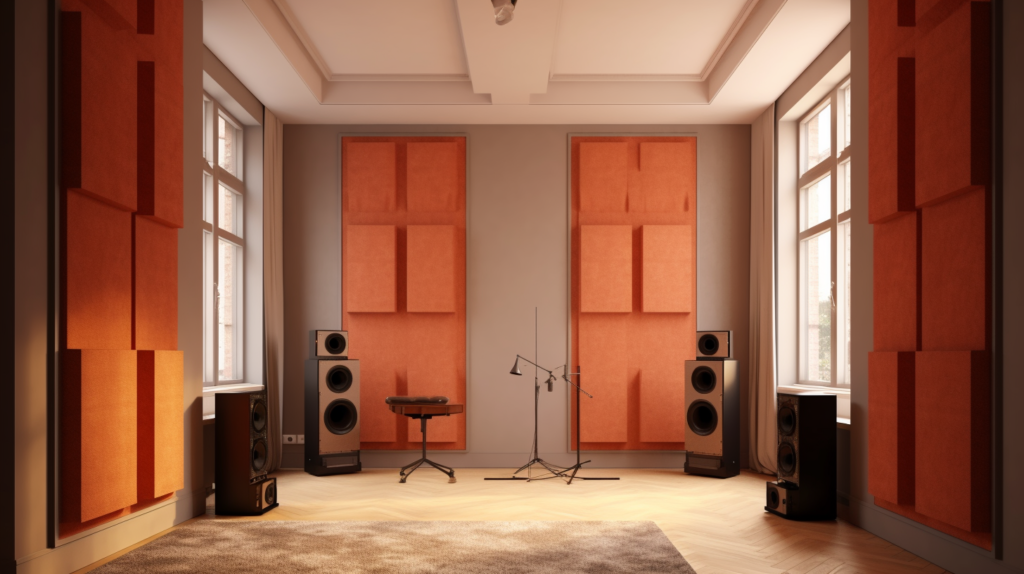
For example, in a home theater setting, the audience is primarily seated.
Here, the panels would ideally be placed at the ear level of a seated listener to maximize sound absorption.
On the other hand, in a recording studio where musicians may be either seated or standing, it becomes necessary to place panels at multiple heights.
This ensures that whether you’re recording a seated pianist or a standing vocalist, the room’s acoustics remain optimized.
The versatility of polyester acoustic panels makes them an excellent choice for a variety of applications.
These panels are lightweight and easy to install, providing consistent performance regardless of their height.
For those who may wish to experiment with different heights, polyester acoustic panels offer the flexibility to do so without compromising on sound quality.
What Science Backs the Recommended Heights for Wall Panels?
Understanding the science of acoustics helps to demystify the rationale behind the height recommendations for acoustic panels.
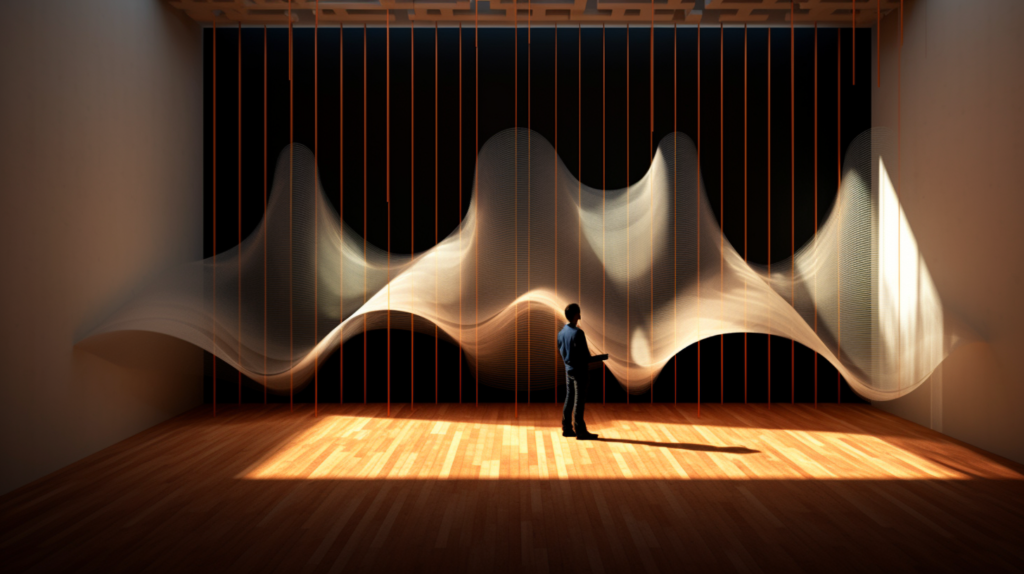
Sound waves are essentially vibrations that travel through the air, and they interact with the surfaces they encounter.
These interactions can result in either absorption, reflection, or diffusion of the sound waves.
By strategically placing acoustic panels at specific heights, you can control these interactions to achieve desired acoustic outcomes.
For example, lower frequencies, which have longer wavelengths, are generally harder to absorb.
If your room has a problem with low-frequency resonances, placing acoustic panels at the height where these frequencies are most prevalent could be beneficial.
The science also extends to the angles at which sound waves hit the panels.
Sound waves that come in at oblique angles may be better diffused by panels placed higher up on the walls, making the room sound larger and more open.
It’s not merely a matter of covering wall space with panels; the height at which they are placed should target the specific frequencies and types of sound you are trying to control.
This is why acoustic treatment is often a customized solution rather than a one-size-fits-all approach.
By understanding the science, you can make more informed decisions about panel placement.
Ceiling Clouds and Baffles in Acoustic Treatment
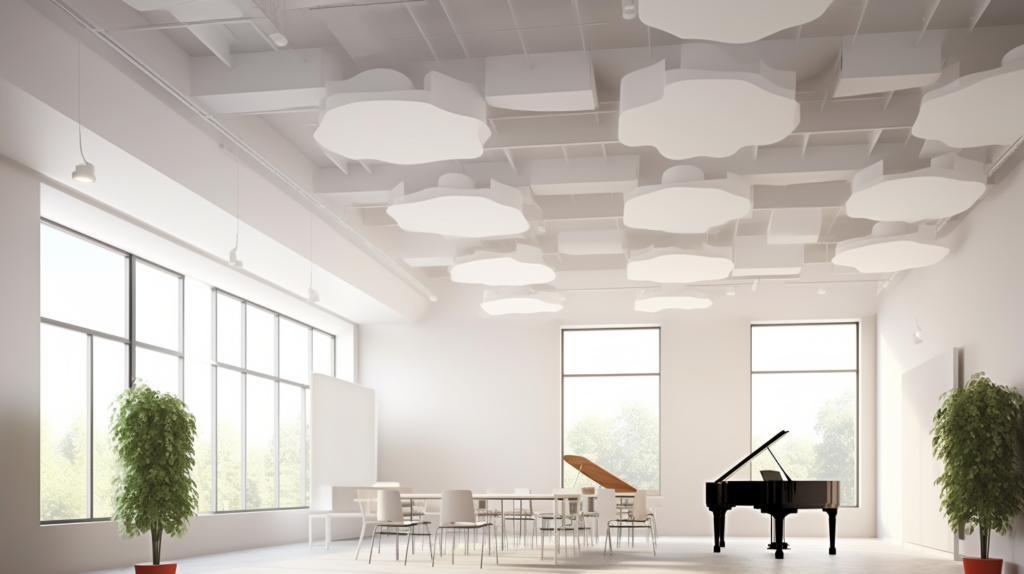
When it comes to ceiling treatments in acoustic design, ceiling clouds and baffles offer distinct advantages.
These are not merely aesthetic enhancements; they serve a specific acoustic purpose. Ceiling clouds are flat panels that are suspended parallel to the ceiling.
They aim to capture and absorb sound waves that travel upwards, thereby reducing issues like echo and reverberation that can muddy the sound quality.
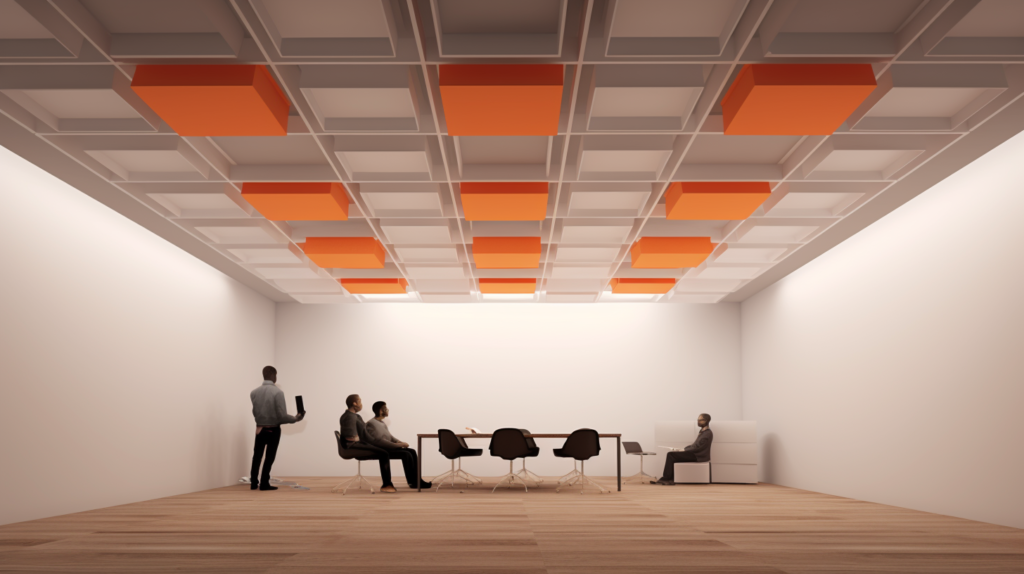
Baffles differ from clouds in their orientation. While clouds lie parallel, baffles hang vertically from the ceiling, exposing more of their surface area to the room.
This design makes them particularly effective in larger spaces or rooms with high ceilings where sound waves have more room to travel.
Baffles can be staggered in different patterns and orientations, offering flexibility in both aesthetic design and acoustic performance.
Both ceiling clouds and baffles add another layer of complexity to your acoustic treatment strategy.
While wall panels address vertical reflections, ceiling treatments manage the sound that interacts with the upper parts of the room.
This is particularly useful in spaces with tall ceilings or in rooms where a comprehensive acoustic treatment is required.
How High Should Acoustic Panels Be Hung from the Ceiling?
When it comes to ceiling-mounted acoustic panels, the height at which they are hung can impact their effectiveness as much as their composition and design.
A common recommendation is to suspend them at least 6 inches below the ceiling. This allows for better interaction with sound waves, especially those that are traveling upward.
However, this rule is not set in stone, and different scenarios may call for different approaches.
In rooms with high ceilings, such as auditoriums, concert halls, or large conference rooms, the panels may need to be hung significantly lower.
This ensures that they are still within the range of most sound reflections and can effectively absorb or diffuse sound waves.
On the other hand, in smaller, more intimate spaces, adhering to the 6-inch rule may suffice.
In any case, the height of ceiling-mounted panels should be determined based on a thorough analysis of the room’s acoustical properties.
What Acoustic Principles Affect Ceiling Panel Height?

Just like wall-mounted panels, ceiling panels are influenced by acoustic principles. The height at which they are hung can influence their ability to absorb or diffuse sound waves effectively.
In many cases, the higher the panel, the less effective it is at absorbing lower frequencies.
This is due to the fact that lower frequencies have longer wavelengths and are more likely to interact with surfaces that are closer to their source.
Conversely, hanging panels closer to the ceiling can be effective for managing higher frequencies.
These frequencies have shorter wavelengths and are more likely to interact with surfaces that are farther from their source.
Therefore, the height of ceiling panels can be adjusted to manage specific acoustic challenges.
For instance, if a room has issues with high-frequency reflections, hanging panels closer to the ceiling may offer a solution.
In rooms where a variety of sounds need to be managed, a staggered approach may be beneficial.
This involves hanging panels at different heights to deal with a range of frequencies.
Such an approach can be particularly effective in multipurpose rooms where different types of sound need to be controlled at different times.
How Do You Install Acoustic Panels at the Recommended Heights?

The installation process is a critical aspect of any acoustic treatment project. The first step in the installation is to identify the wall or ceiling area where the panels will be placed.
Accurate measurements are crucial. Using a level and measuring tape, mark the exact spots where you plan to install hooks or anchors.
Double-check these markings to ensure that they align with the height recommendations you’ve established based on your room analysis.
Once you’ve made your markings, it’s time to prepare your tools and mounting hardware.
The type of hardware you’ll need will depend on the weight and type of acoustic panels you’re installing.
For lightweight panels like polyester acoustic panels, adhesive strips or light wall anchors may suffice.
For heavier panels, more robust hardware like toggle bolts or specialized anchors may be required.
Always follow the manufacturer’s guidelines to ensure a secure and effective installation.
For ceiling-mounted panels, the process is slightly more involved. These panels are often suspended using wires or chains attached to eye hooks or ceiling anchors.
Given that these panels will be hanging, potentially above people’s heads, it’s crucial to ensure that the installation is secure.
Use hardware that is rated for the weight of the panels and double-check all connections to ensure they are secure.
Conclusion: The Importance of Height in Acoustic Treatment
The height at which acoustic panels are installed is a key factor in their effectiveness.
From wall-mounted panels to ceiling treatments, getting the height right is crucial for optimal sound quality.
With various options like polyester acoustic panels, flexibility in placement is possible. However, incorrect height can compromise even the best panels.
Armed with the insights from this guide, you’re ready to make informed decisions for your acoustic treatment project.