DJing has gone mobile with iPad controllers revolutionizing workflows.
However, properly interfacing compatible DJ hardware with iPad software involves key steps around connectivity, mapping, calibration and practice.
Let’s dive in to explore how to seamlessly connect a DJ controller with an iPad for next-level portable mixing capabilities.
How to Connect a DJ Controller to an iPad
How to connect a DJ controller to an iPad? The key is getting compatible gear and setting up a wired USB or wireless Bluetooth link between the hardware and iOS device. We’ll explore the details below.
Choose a Compatible DJ Controller
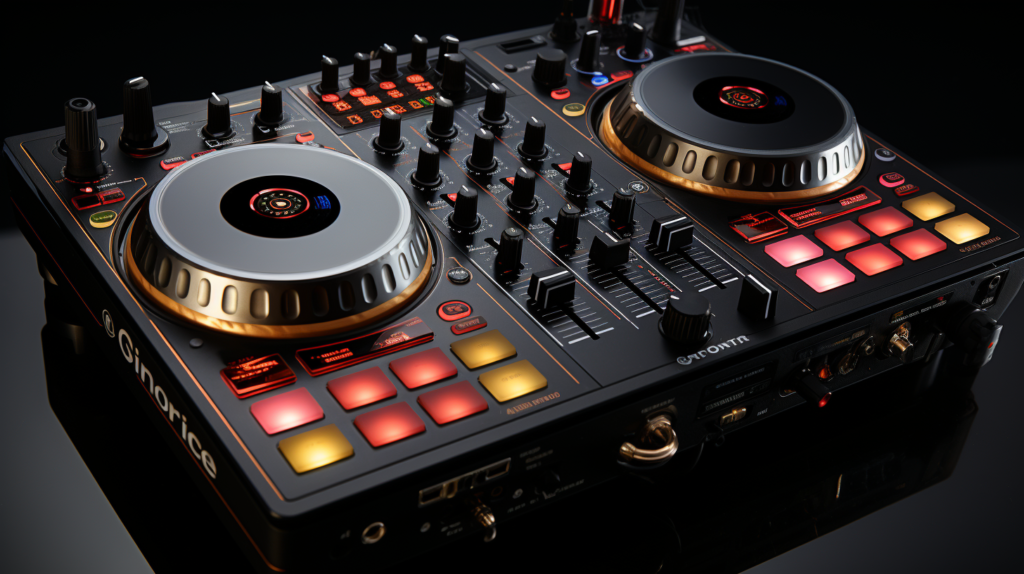
When looking to connect a DJ controller to an iPad, the first step is to research and select a hardware controller that is actually compatible with the iPad device and iOS DJ software apps. There are quite a few factors to consider when assessing DJ controller-iPad compatibility. One factor is whether the controller connects via a wired USB connection or wirelessly over Bluetooth. A wired connection typically provides higher quality audio output and lower latency, which is important for DJing. However, a wireless controller offers more flexibility and portability when using an iPad. Another key factor is whether the DJ controller is a MIDI or HID compatible device. MIDI compatibility allows the controller to map its buttons, knobs, platters, and faders to DJ software functions. This mapping is important for performance controls. Finally, some DJ controllers may have custom integration features specifically for popular iPad DJ apps like djay or edjing Mix. This can include tailored performance pads, mixers, and effects interfaces. Checking that these iOS integration features will work properly is advised.
When shopping for a compatible iPad DJ controller, top options to consider include the Numark Party Mix, Pioneer DDJ-200, Native Instruments Traktor Kontrol S2 MK3, Denon DJ MC4000, Roland DJ-505, and many more. Be sure to study the product details and confirm iOS or iPad compatibility before purchasing. This will ensure your new DJ hardware controller will function properly when connected to the iPad device. It is also prudent to check for compatibility with your preferred iOS DJ app if you already have one in mind. This will guarantee seamless integration between the controller hardware and app software.
Download a DJ App
After acquiring a compatible DJ controller, the next stage is to download, install, and setup an appropriate iOS DJ app on your iPad. There are a few top options worth considering for iPad-based DJing including djay, edjing Mix, Virtual DJ, Traktor DJ, and more. Most of these apps offer similar core functionality like music libraries, mixing decks, EQs and effects. However, some apps may integrate better with certain controllers over others. If you own Native Instruments equipment, you likely will want their Traktor DJ software. If you bought a controller hardware with branded iPad integration, you probably want to match it with its paired DJ app.
It is important to verify that the DJ app fully supports connecting to and interfacing with your DJ controller model before purchasing. Ideally the hardware integration should enable tactile control of all the app’s core DJ mixing functions. Customized performance pads, platters, faders, knobs, transport controls, library browsing, FX interfaces, and more should all map from the controller to app seamlessly. Having a proper and comprehensive controller mapping overlay is crucial to operate the DJ software efficiently.
Besides controller integration, also consider each DJ app’s music library management tools, sound quality, effects and other special features when deciding on which one best matches your needs or style preferences as an iPad DJ. Taking the time to explore reviews and feature comparisons is worthwhile when selecting your ideal iOS companion app for your controller. Once chosen, download the app fully before interfacing your hardware.
Connect with Cables (Wired Method)
The most reliable and high quality approach to interfacing an external DJ controller with an iPad is by using a wired USB connection. However to connect a USB device to an iPad does require some adapters. The first required accessory is Apple’s official iPad Camera Connection Kit. This provides a USB-A port to connect to your controller’s USB cable. There is both a Lightning version and older 30-pin dock version of this adapter kit depending on your iPad model.
With the camera connection kit, you can plug a USB cable from your DJ controller directly into your iPad. However some higher powered controllers may need additional amplified power to function properly through the iPad bus power limits. Using a self-powered USB hub between the connection kit and controller can provide a stable power supply. Another option is to connect your controller to an external USB battery pack to provide sufficient electrical power if needed.
Setting up a wired USB connection from a DJ controller to an iPad takes more effort but offers big advantages. You will have minimal sound card latency since the audio is processed within the iOS device. The connectivity will be very reliable without wireless interference issues. This is best for professional and performance-focused DJ setups. Just be mindful of adding a sufficient power supply to more robust controllers as the iPad itself provides limited electrical power output.
Connect Wirelessly
The alternative method to connect a hardware DJ controller with an iPad is via a wireless Bluetooth connection. Taking the wired-to-wireless route has the benefit of much easier portability letting you freely use the iPad anywhere while DJing. You won’t have wires dangling off your tablet while performing. The trade-off is potentially having some audio latency issues common over Bluetooth streaming. The reliability may also be impacted by external wireless interferences.
To setup a wireless DJ controller-to-iPad connection requires a wireless adaptor or interface. There are products specifically designed for streaming DJ controller output to mobile devices and tablets. For example the CABLEGUI Air hooks up to your controller’s output and broadcasts the audio and control data over Bluetooth to your iPad. So your controller connects wired to the adaptor while beaming everything wirelessly to your tablet or phone over short ranges.
Alternatively many modern DJ controllers will have integrated Bluetooth connectivity replacing the need for an external wireless adaptor. You would access your iPad’s Bluetooth settings to pair them together similar to connecting headphones or speakers wirelessly. The DJ controller should show up as an available device. Tap to connect them then return to your DJ app to finish setup.
One benefit of wireless iPad controllers is the flexibility to use your device as both the DJ software interface while also having freedom of mobility to use iPad apps, browse music, cue tracks and more away from the hardware. Just be aware of potential latency, interference or stability issues compared to wired setups.
Configure the Controller Setup
Upon getting your DJ controller physically connected to your iPad device, the next crucial step is accessing the DJ app’s settings to configure the controller mapping and calibration. The set process varies somewhat between different iOS DJ apps but generally follows a similar routine. After launching the app, access the hardware section of the settings menu. An option should be available to scan, detect or automap your connected DJ device.
Use this tool to walk through detecting your controller and its components like jog wheels, faders, buttons, pads and knobs. The app will overlay the deck features of the software to align with your controller hardware controls. For example deck 1’s mixing controls will map to the first hardware channel of your controller. Adjust any misalignments as needed so buttons trigger the correct actions. Tweak sensitivity of platter jog wheels and faders to meet your preferences. Name controller preset profiles to save custom configurations as needed too.
Besides mapping the mixing controls, also verify app audio routing from your controller is correctly sending main and headphone pre-cue audio signal outputs. Connect powered speakers, a PA system, headphones or other playback devices as needed. Having these audio channels broadcasting properly is vital alongside the software mapping itself.
Take time getting used to the newly mapped controller-software integration by loading some music tracks to the decks. Browse music using the hardware buttons instead of on-screen. Adjust EQs, levels and play around applying FX or loops from the physical interface. Get comfortable with this improved tactile control the iPad DJ setup offers compared to only touchscreen controls. Tweak any lingering issues until the hardware properly manipulates the app as envisioned.
Calibrate and Practice
Even after completing initial configuration of a controller with an iPad DJ app, expect to invest more time calibration and practicing your new gear to master the workflow. Fine-tuning jog wheel sensitivity, fader curves, knob acceleration and so on takes a period of customization to best suit your DJ preferences. Setup your music library within the app’s collection manager system. Organize your songs into playlists, crates or tags that make sense for your DJing habits. This helps avoiding scrolling through huge lists of tracks during actual performances. Consider setting cue points, rating songs, pre-listening or adding metadata too.
It is also prudent when first adapting to an unfamiliar DJ controller hardware layout to give yourself space away from live audiences. Get truly comfortable and confident using this advanced setup through extensive rehearsal in your home studio or other pressure-free spaces. Manipulating all controls should become second nature including advanced layered functions without much thought. This muscle memory only develops over time. Be patient, keep your mix recordings to review your progress. A mobile DJ setup utilizing iPad controllers opens lots of creative possibilities. But do train extensively on this gear before taking it to gigs. Fine tuning complementing iOS software functions with tactile controller workflow ultimately enables next level DJ capabilities and professional production standards.
Conclusion
In summary, connecting a DJ controller to an iPad opens up exciting possibilities for mobile DJing and music production. With some careful planning around finding compatible hardware and software, setting up a wired or wireless connection, mapping controls, and calibrating your gear, you can have a powerful and portable DJ solution. Just be sure to invest time mastering this integrated setup through extensive practice before taking your iPad DJ rig live.
