How to Add Sounds to a MIDI Keyboard — Get Your Controller Playing Every Instrument Imaginable
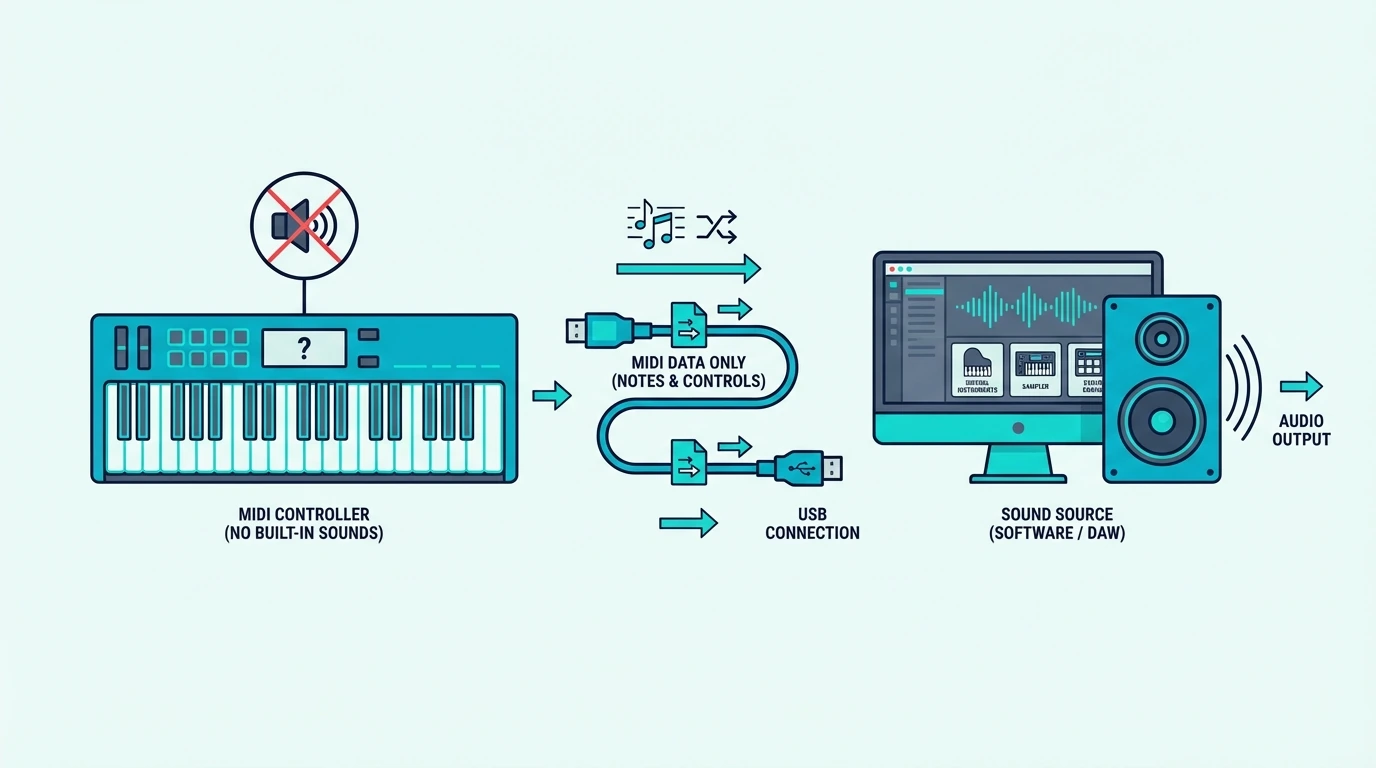
How to add sounds to a MIDI keyboard is the question that confuses every beginner who just unboxed their first controller, but the answer is simpler than most guides make it seem: your MIDI keyboard does not store sounds — your computer does, and the keyboard just tells the computer which notes to play.
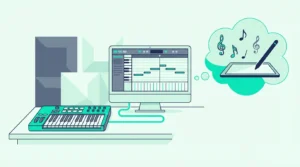
That confusion is caused by the fundamental nature of MIDI controllers. Unlike a digital piano with built-in speakers and preset sounds, a MIDI keyboard sends performance data (which key, how hard, when released) to software on your computer that generates the actual audio. Adding sounds means installing virtual instrument plugins that respond to your keyboard input.
This guide walks through every method of adding sounds to your MIDI keyboard setup — from free plugins that cost nothing to premium libraries that rival professional studio recordings. You will also learn how to load sounds in your DAW, organize a growing collection, and find the best free instruments to start with.
Below you will find the complete process for getting sounds from your MIDI keyboard, sorted from zero-cost options to premium investments worth considering as your production grows.
To add sounds to a MIDI keyboard, install virtual instrument plugins (VSTs or AUs) in your DAW. Free options include the instruments bundled with your DAW (GarageBand, Ableton Live Lite, MPC Beats) and third-party free plugins like Vital, Spitfire LABS, and Dexed. Load a plugin on a software instrument track in your DAW, and your MIDI keyboard plays that sound instantly.
Why Your MIDI Keyboard Has No Sounds (And Why That Is Actually Better)
A MIDI controller produces no audio on its own by design. That design choice gives you unlimited sound options instead of locking you into whatever a manufacturer loaded at the factory.
The Sound Lives In Software, Not Hardware
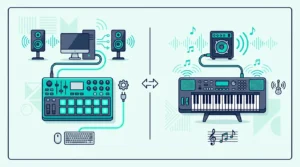
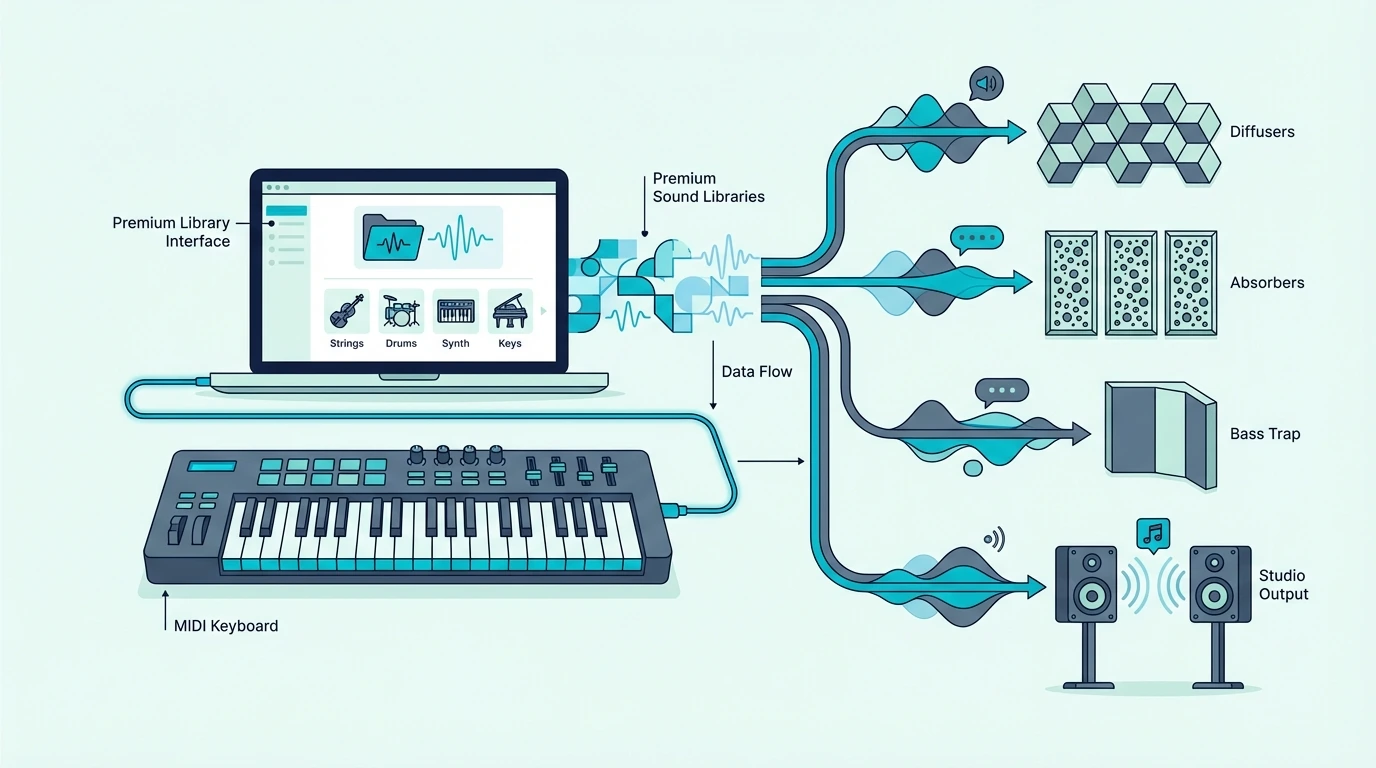
When you press a key on your MIDI keyboard, it sends a digital message to your computer: “Note C4 was pressed at velocity 95.” Your DAW receives that message and routes it to whatever virtual instrument plugin is loaded on the active track. The plugin generates the audio — a grand piano, a synthesizer, a string section, a drum kit — and sends it to your speakers.
Changing which plugin responds to your keyboard changes the sound instantly. Load a piano plugin and your keyboard sounds like a Steinway. Load a synth plugin and the same keyboard produces sweeping electronic textures. That flexibility is why producers choose MIDI controllers over keyboards with built-in sounds.
Bundled Software Gets You Started Immediately
Most MIDI keyboards ship with free software that includes virtual instruments. The Akai Professional MPK Mini MK3 includes MPC Beats with a plugin suite. The M-AUDIO Keystation 49 MK3 includes Ableton Live Lite with AIR virtual instruments.
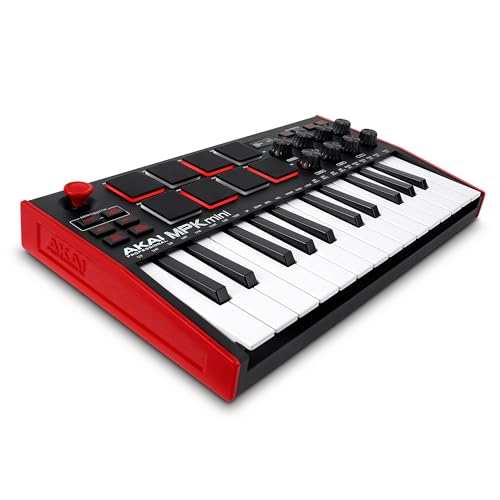
Akai Professional MPK Mini MK3
These bundled packages give you pianos, synths, drums, and orchestral sounds on day one — no additional purchases needed. Install the bundled software, open your DAW, load a virtual instrument, and your MIDI keyboard plays sounds immediately.
What Are the Best Free Virtual Instruments for a MIDI Keyboard
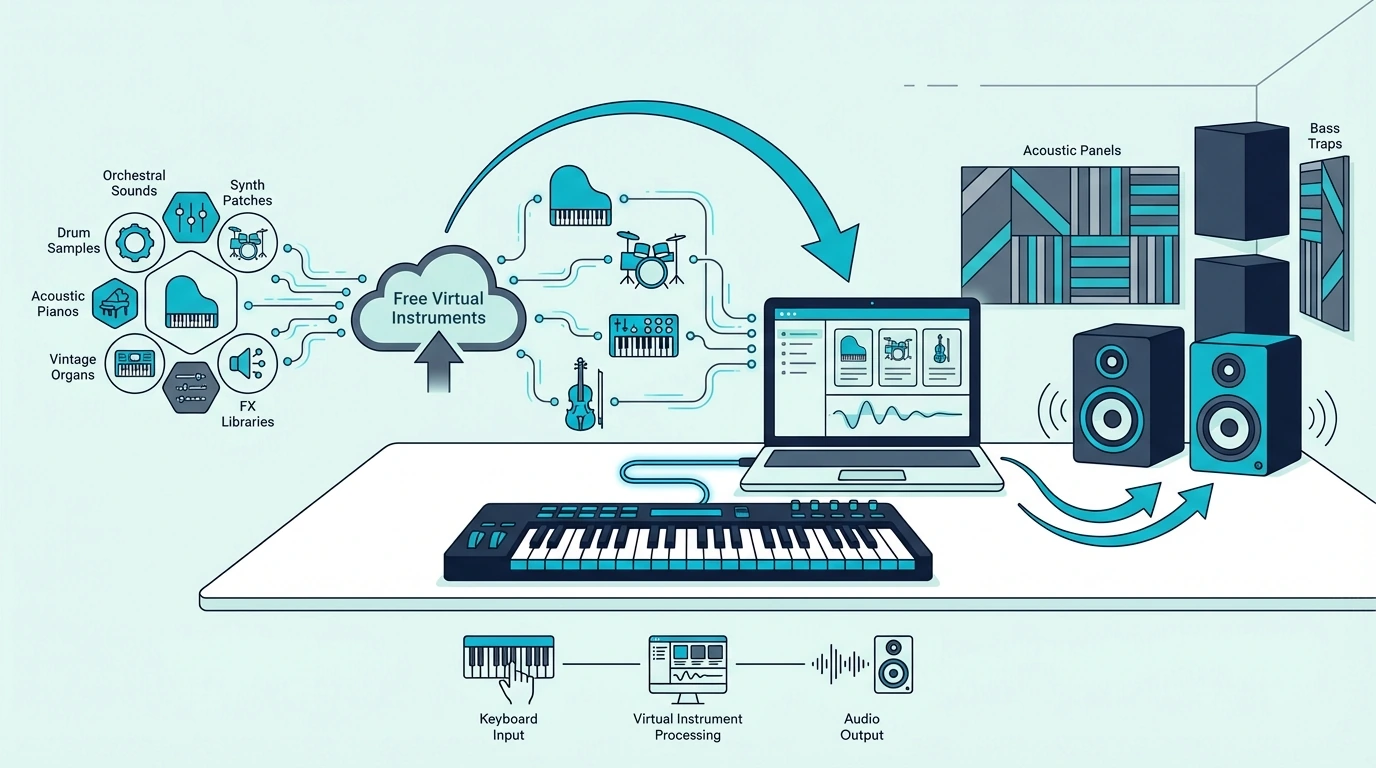
The free plugin ecosystem is surprisingly deep. These instruments cost nothing and rival paid alternatives in specific categories.
DAW Built-In Instruments
Every major DAW ships with virtual instruments that respond to MIDI keyboard input. GarageBand includes pianos, synths, drums, and orchestral patches — the deepest free instrument library of any starter DAW. Ableton Live includes Drift, Wavetable, and Simpler. FL Studio includes Flex, Sytrus, and Harmor.
These built-in instruments are production-ready out of the box. Many professional releases use stock DAW instruments exclusively, which proves that expensive third-party plugins are not required to make quality music.
Spitfire LABS (Free Orchestral And Texture Sounds)
Spitfire Audio’s LABS collection offers professionally recorded instruments — strings, pianos, choirs, textural pads, and experimental sounds — completely free. Each LABS instrument is a focused sample library that installs through the Spitfire app and loads as a plugin in any DAW.
The quality rivals instruments that cost hundreds of dollars. LABS Soft Piano, LABS Strings, and LABS Choir are particularly useful for producers who want cinematic textures without the cinematic price tag.
Vital (Free Wavetable Synthesizer)
Vital is a wavetable synthesizer that matches the feature depth of paid synths like Serum and Phase Plant. The free version includes the full synthesis engine with unlimited polyphony, three oscillators, and a visual modulation system.
Wavetable synthesis means Vital produces sounds that traditional subtractive synths cannot — evolving textures, complex pads, aggressive basses, and atmospheric leads that respond to every velocity nuance your MIDI keyboard sends.
Dexed (Free FM Synthesizer)
Dexed recreates the Yamaha DX7 — the synthesizer that defined the sound of the 1980s. Electric pianos, metallic bells, glassy pads, and punchy basses from the DX7 era are all available for free through this plugin.
Dexed loads thousands of DX7 preset patches from the internet, giving your MIDI keyboard access to one of the most iconic sound libraries in synthesizer history without spending a dollar.
Piano One And Other Free Pianos
Piano One by Sound Magic provides a free sampled concert grand piano that responds to MIDI velocity with realistic dynamic range. For producers who primarily need a good piano sound, this single free plugin eliminates the need for expensive piano libraries.
Other free piano options include the Salamander Grand Piano (for the sforzando sampler) and the Iowa Piano (bundled with several DAWs). Each captures a different piano character — bright concert grand, warm upright, or intimate studio piano.
Get Studio Tips Weekly
Join 5,000+ creators getting acoustic treatment advice every week.
No spam. Unsubscribe anytime.How To Load Sounds In Your DAW
Once you have installed virtual instruments, loading them in your DAW follows the same basic pattern regardless of which software you use.
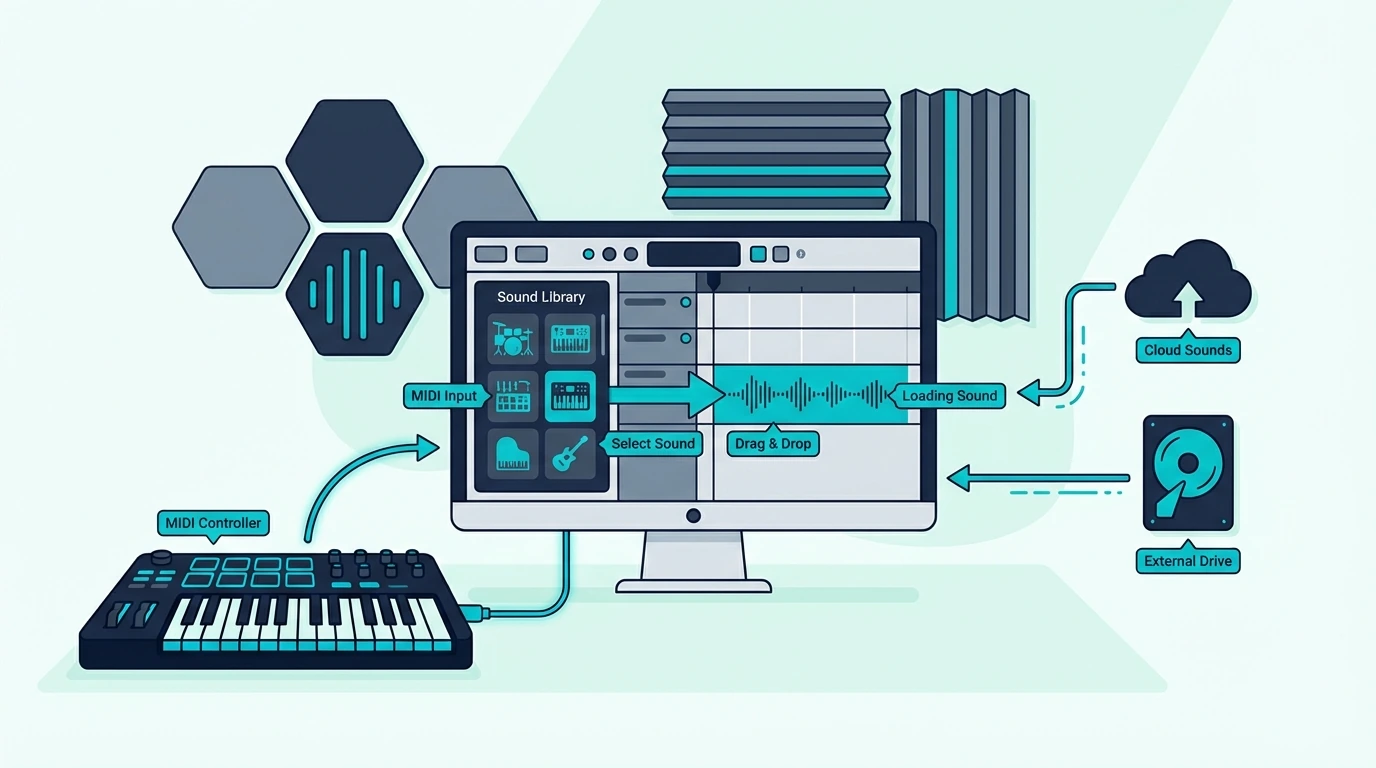
Create A Software Instrument Track
In your DAW, create a new track and select “Software Instrument” (Logic/GarageBand), “MIDI Track” (Ableton), or “Channel” (FL Studio) as the track type. This tells the DAW to route MIDI input from your keyboard to a virtual instrument on that track.
Load A Virtual Instrument Plugin
Click the instrument slot on the new track and browse the available plugins. Your DAW shows both built-in instruments and any third-party plugins you have installed. Select the instrument you want and the plugin interface opens.
Select A Preset And Play
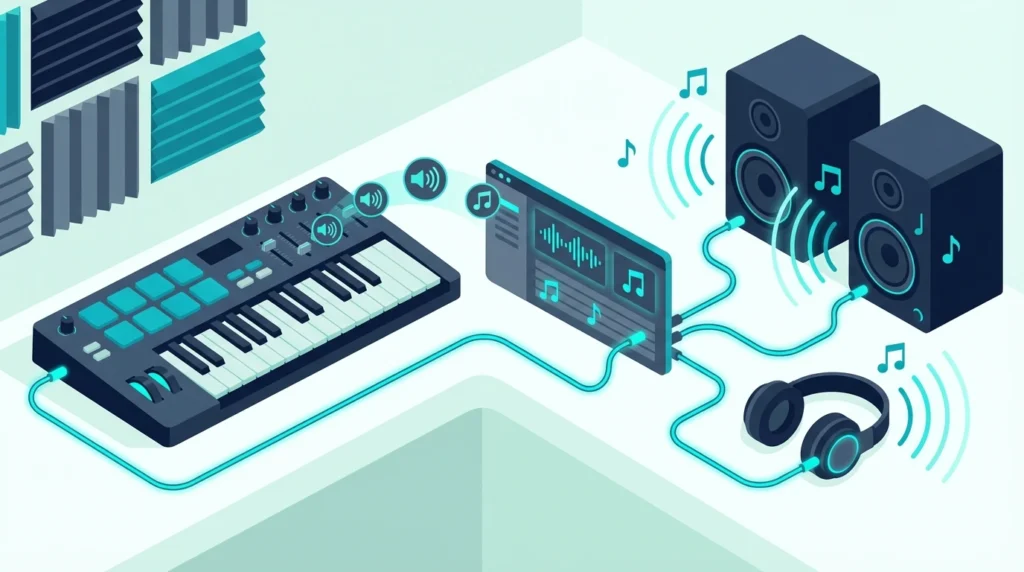
Most virtual instruments include preset sounds organized by category — pianos, strings, pads, leads, basses, drums. Browse the presets, click one that interests you, and press a key on your MIDI keyboard. The sound plays through your speakers immediately.
If no sound plays, verify that the track is selected (highlighted) in your DAW. MIDI input routes to whichever track is active. Also check that your DAW’s MIDI input is enabled for your controller in the preferences or settings panel.
Saving Favorite Sounds
Create a favorites list or template in your DAW that pre-loads your most-used instruments on separate tracks. A typical template might include a piano track, a synth pad track, a bass track, and a drum track — all loaded and ready to play the moment you open a new project.
That template approach means your MIDI keyboard produces sound within seconds of opening your DAW instead of requiring plugin loading every session. Even the midiplus AKM320 at under forty dollars plays thousands of virtual instruments through this workflow — the sound options are limited only by what you install, not by what the keyboard itself contains.
midiplus AKM320
Are Premium Sound Libraries Worth Buying for a MIDI Keyboard
Free instruments cover most production needs, but premium libraries offer recording quality, articulation depth, and sound variety that free options cannot match.
When Free Is Not Enough
Free piano plugins sound good in a mix, but they lack the multi-velocity sampling layers that make a premium piano library sound indistinguishable from a real recording. The difference shows up in solo piano parts where every velocity nuance is exposed.
Similarly, free orchestral samples work for background textures, but scoring a film cue with realistic string articulations (legato, spiccato, tremolo, pizzicato) requires dedicated orchestral libraries that sample each articulation separately.
Native Instruments Komplete
Komplete is the most comprehensive sound library in the plugin market — thousands of instruments, effects, and samples across every genre. The Komplete Start version is free and includes a solid starter set. The full Komplete suite costs several hundred dollars but provides sounds that last an entire career.
Arturia V Collection
Arturia’s V Collection recreates classic analog synthesizers in software — Minimoog, Prophet-5, Jupiter-8, CS-80, and dozens more. Each plugin models the original hardware circuitry, producing sounds that vintage gear collectors pay thousands of dollars to access from actual hardware.
Kontakt Libraries
Native Instruments’ Kontakt platform hosts thousands of third-party sample libraries — pianos, orchestras, ethnic instruments, sound effects, and experimental textures. Kontakt Player (free) runs many libraries without the full Kontakt purchase, making it the standard sampler platform for premium sound content.
The Bottom Line
Adding sounds to a MIDI keyboard means installing virtual instrument plugins in your DAW and loading them on software instrument tracks. Start with the free instruments bundled with your controller and DAW — GarageBand’s library, MPC Beats plugins, and Ableton Live Lite instruments cover most production needs at zero additional cost.
Expand with free third-party plugins (Vital, Spitfire LABS, Dexed, Piano One) when you want specific sounds the bundled instruments do not cover. The M-AUDIO Keystation 49 MK3 bundles Ableton Live Lite with AIR virtual instruments — a complete sound library included with the hardware purchase.
Invest in premium libraries only when free options genuinely limit your creative output — which for most beginners, takes a year or more of active production to reach.
Frequently Asked Questions
Why does my MIDI keyboard not make any sound?
A MIDI keyboard does not contain sounds — it sends control data to software on your computer. You need a DAW (digital audio workstation) with virtual instrument plugins loaded on a software instrument track. Open the DAW, load an instrument, select the track, and the keyboard plays that instrument.
What free software gives sounds to a MIDI keyboard?
GarageBand (free on Mac), Cakewalk (free on Windows), and the DAW lite versions bundled with most MIDI keyboards all include virtual instruments. Third-party free plugins like Vital, Spitfire LABS, and Dexed add thousands more sounds at no cost.
Can I add sounds directly to a MIDI keyboard?
No — MIDI keyboards do not store sounds internally. All sounds come from software on your connected computer. The keyboard sends performance data, and the software generates audio. This design gives you unlimited sound options through plugin installation rather than limiting you to built-in factory presets.
How many virtual instruments can I install?
There is no practical limit. Your computer can run dozens of virtual instruments simultaneously, limited only by CPU power and RAM. Most producers install 10-30 plugins and use 3-5 regularly. Free instruments take up minimal disk space, so install everything that interests you and keep what you actually use.