
Unleash your music production creativity by using a MIDI controller to build layered loop tracks in new ways.
A MIDI controller opens up possibilities for manipulating and performing with audio loops that break out of the limitations of mouse-based Digital Audio Workstation sequencing.
Let’s explore the hands-on techniques for real-time loop creation using pads, knobs, faders and more.
Can I Create Loops With A MIDI Controller?

Yes, MIDI controllers give you powerful, tactile control over loop triggering, manipulation and recording.
By mapping pads, knobs and faders to loop samples and sound parameters, you can launch clips, twist filters, ride volumes and more to capture exciting loop variations.
We’ll cover specific techniques for performant loop production using various MIDI controller features below.
What is a MIDI Controller?
A MIDI controller is an electronic device that allows you to control audio software and hardware.
Common features of MIDI controllers include pads, knobs, faders and buttons that can be mapped to various parameters and functions within your digital audio workstation (DAW) software and plugins.
Popular models used by music producers for loop production include Akai MPCs, Native Instruments Maschine and the Novation Launchpad.
MIDI controllers open up creative possibilities when making music, especially for crafting and manipulating audio loops.
By mapping different parts of your controller to loops, effects and transport functions, you can launch clips, add variation and sculpt sound in real-time.
If you are producing genres like hip hop, electronic or dance music, having a dedicated hardware controller makes building tracks with loops more hands-on, intuitive and performative.
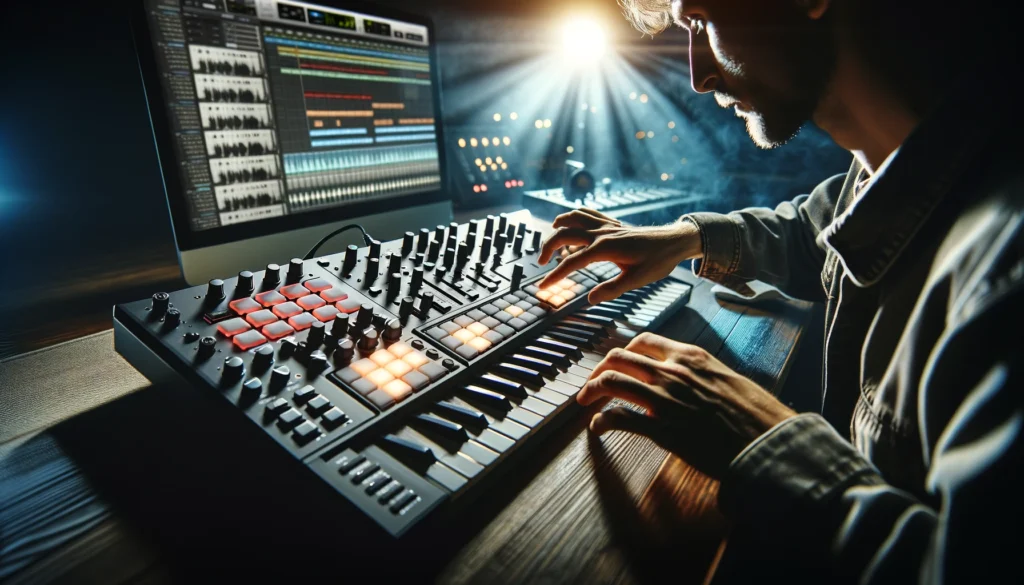
Using Pads to Trigger Loops
Mapping One Shot Samples
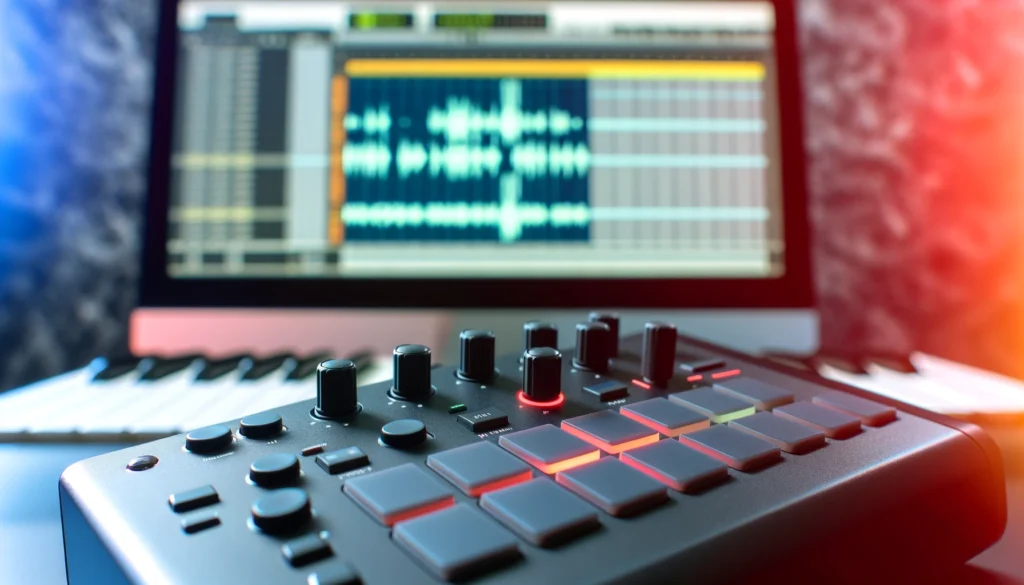
The pad grids found on many MIDI controllers are perfect surfaces for launching audio loops.
You can map one-shot loops and samples to each pad in your DAW.
When working with drum loops, you can assign a different loop to each pad, allowing you to create new beat variations by finger drumming the pads.
This lets you bring rhythmic spontaneity and variety to drum patterns.
For melodic or harmonic loops, mapping a selection of loops to the pad grid lets you trigger them in different combinations.
Playing pads in sequence or out of sequence results in new musical phrases and ideas.
Using your ears and musical instinct to guide which loops you launch together replaces programming notes into a piano roll menu.
Finger Drumming Loops
Once you have loops mapped, finger drumming is an organic way to perform and record beats.
The velocity sensitive pads respond to the strength of each hit, allowing you to play loops with subtle dynamics, just as you would with acoustic drums.
You can record MIDI performances of your finger drumming, or use the MIDI output to sequence and quantize loops for a tighter rhythm track.
Building up drum patterns through improvisational playing gives your music a human feeling compared to strictly programming everything on a grid.
Pay attention to the groove and pocket when finger drumming, crafting a solid rhythmic foundation for the rest of your music.
Get creative with syncopation and ghost notes to develop signature beats.
Creating Variations
An advantage of using pads to play loops is the ability to spontaneously re-sequence and vary phrases.
By hitting different pads in different orders, you create new incarnations of the musical idea contained in the loop samples.
Play loops out of their original recorded sequence and listen as new patterns emerge.
Happy accidents and unexpected moments will arise that you may not have consciously composed.
You can also use the pad grids to play loops from different sections non-linearly, changing up the song structure on the fly.
Break out of linear arrangements into remixes by triggering verse loops over builds or drops over breakdowns.
Use pads mapped to transitional loops like risers and impacts to shift moods and intensity.
Using Knobs and Faders to Manipulate Loops
Mapping Parameters
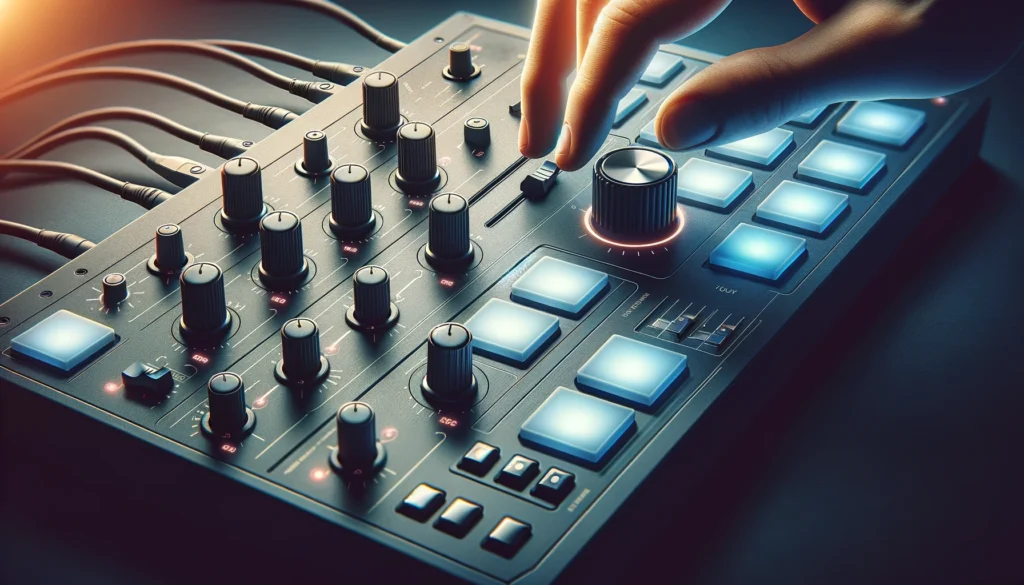
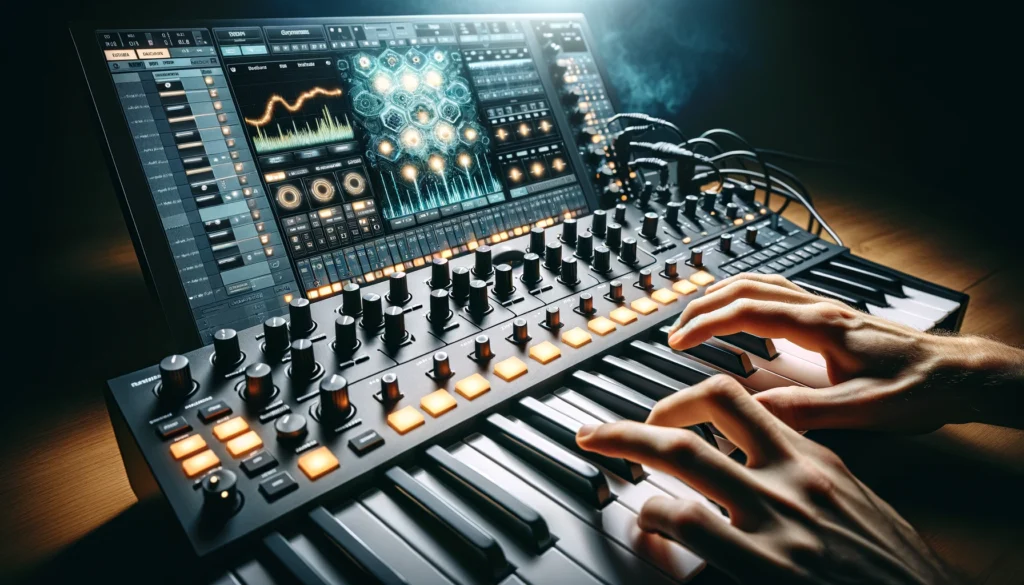
In addition to playing loops using pads, MIDI controllers give you real-time controls through knobs, sliders and faders to shape loop playback.
Map these controls to various sound and effects parameters in your software like volume, EQ, filters, delay and reverb.
For example, map a knob to control the low pass filter cutoff frequency on your loop track.
As you tweak and automate the knob, you’ll hear the high frequencies being filtered out, changing the tone and intensity over time.
Connect faders to control effects sends like delay and reverb for lush soundscapes that evolve as you ride each fader.
Use a slider for track volume automation to create swell and pump effects in tandem with the rhythm of your loops.
The key is mapping parameters that will have an obvious and dramatic impact as you manually manipulate the controls in real-time.
Adding Interest and Dynamics
The primary advantage of using knobs and faders is breathing more life into otherwise static loops.
Filter sweeps, delay throws, sliding volumes and animated sends add motion and dynamism to your loops as you perform these changes manually.
Carefully timed parameter tweaks can elevate important hits, accentuate grooves and create rising and falling energy.
Think like a mix engineer using an analog console from the early days of recording.
You are riding the faders not just to set static volume levels, but actually performing automation moves in real-time to inject interest and emotion.
Fast tweaks generate intensity while gradual evolutions raise tension.
Master how different knobs and faders impact the loop playback to develop your own controller performance style.
Builds, Drops and Transitions
MIDI controller manipulation excels when used for transitions like builds, drops and breaks.
For a riser going into a beat drop, slowly open an EQ hi-pass filter using a knob to create the rising effect, then slam it shut right on the one beat.
Other go-to tricks include using delay feedback knobs to build energy before a hit or sweeping pads through effects for transitional textures.
Cranking multiple knobs simultaneously when a loop section changes creates dramatic emphasis and contrast to mark new sections.
Practicing physically performing transitions by tweaking and riding multiple controls teaches you to think about song excitement and variety.
By becoming one with your MIDI controller during transitions, you internalize these molecules of musical emotion for subconscious deployment when producing.
Using Transport Controls
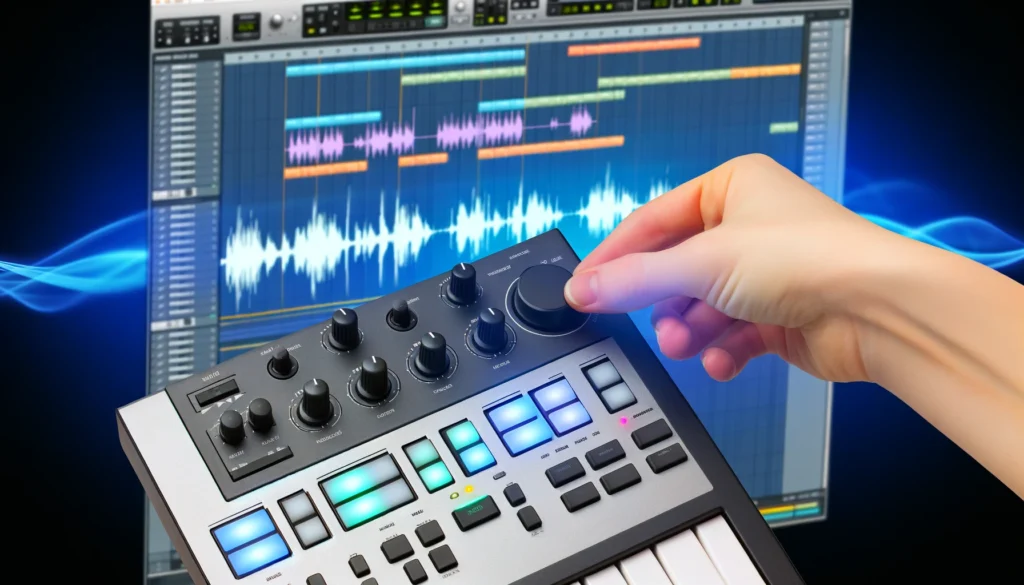
DAW Integration
In addition to manipulating sound itself, MIDI controllers can integrate with your DAW functions for deeper software control.
Buttons, pads and faders can be mapped to transport commands like play, record, loop, cue and quantization settings.
Use transport triggers in your production workflow to launch clips hands-free while maintaining precise timing with other tracks.
Dedicated DAW buttons streamline your process so you spend less time using the mouse and more time focused on audio tweaks or generating new musical ideas through performance.
Section out transport controls on your controller based on color coding or proximity to function blocks like mixing, effects and sequencing.
Consistent mapping tailored to your habits embeds software operation into muscle memory.
Syncing Loops
Smart use of transport triggering maintains proper timing and sync between your real-time loop performances and grid-based tracks.
Use quantization options when recording MIDI loop performances to correct rhythmic inaccuracies from finger drumming.
Trigger loop recordings on the downbeat for seamless looping playback in the arranger timeline among your composed instrument parts.
Dedicate trigger buttons as start and stop recording commands for your loop performances.
With clear visual feedback when transport is engaged, you can confidently record takes knowing timing will align with your existing materials.
Consistent rhythm through synchronized transport and quantization provides needed structure for experimental loop layering to blossom.
Employing Built-In Arpeggiators
Sequencer Capabilities
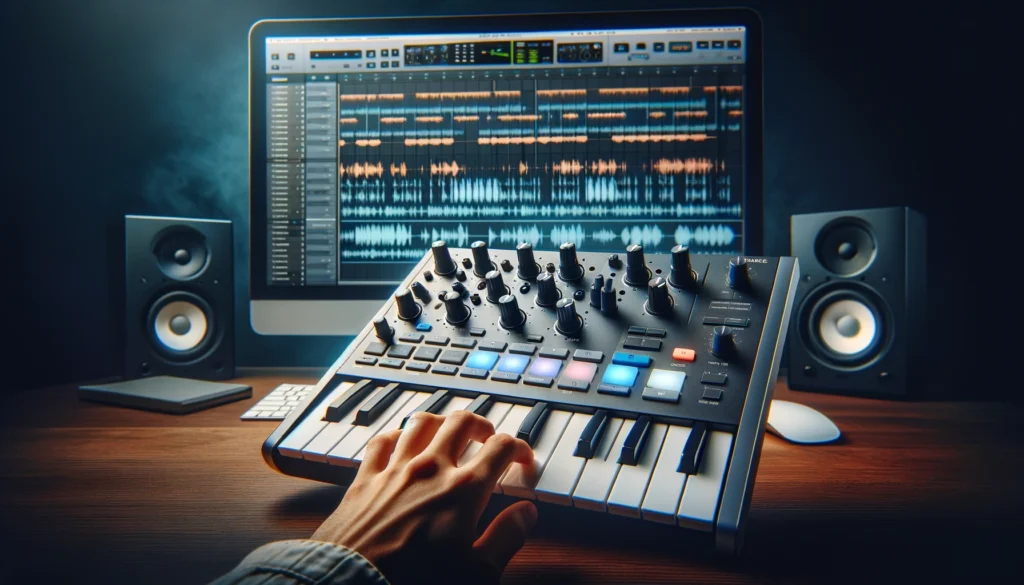
Many keyboard style MIDI controllers contain onboard step sequencers and arpeggiators to generate evolving patterns.
These tools create sequenced note information that change over time.
Connected to external synths and loop samples, arpeggiators provide extra opportunities to manipulate your loop materials in generative ways.
You can sequence trigger commands to play different loops in a progression using the step sequencer.
Drawing in note lines indirectly plays back series of loops mapped to those notes.
The arpeggiator compliments this by adding rhythmic variety and new pattern permutations as notes trigger mapped loops.
Engage arpeggiator settings like order, direction and octave range to dramatically transform loop playback.
Adding Layers
What makes internal sequencers useful is their ability to layer loops and musical ideas on top of what you perform manually through pads and keys.
Bouncing arpeggiator patterns offer constantly shifting repetitions of the samples.
Active step sequencing churns away underneath, preventing repetition while you build density thumbing loops manually.
The automatically generated note output stacks with your real-time playing.
As you tweak sound parameters using knobs and faders, the arpeggiator keeps looping fresh material.
New pattern variations arise when you alter ARP direction or climb/descent rate, multiplied by your simultaneous filter and effects tweaks.
Sequencer clocks may sync globally, but unexpected harmonic and rhythmic layers emerge from this organized chaos.
Combining Approaches for Maximum Creative Freedom
Unleashing Sonic Capabilities
Great power arises when you put all the techniques together using your MIDI keyboard, pads, controls and built-in sequencers simultaneously.
Play stuttered hi hats with your fingers while tweaking a swelling low pass filter and bouncing the main loop pattern between octaves using the arpeggiator.
This interplay results in inspiring sonic textures unavailable within the gridded confines of a DAW piano roll.
By merging real-time physical performance gestures with sequenced generator tools and mapped parameter controls, the sum exceeds the individual parts.
Each component opens new degrees of creative freedom, combining in ways no pre-imagined preset could encapsulate.
The interface limitations vanish as you fluidly trigger sounds and transform timbre through an unbroken chain of musical intention.
Building Full Tracks
This real-time looping approach scales up to constructing full tracks.
Once you have manipulated loops into exciting variations, sequence trigger buttons can capture performances into the timeline.
Compose drum tracks a bar at a time using pads and fingers.
Drop an arpeggiated synth loop on top, then tweak effects while recording knob
Conclusion
By combining pad performance, real-time sound tweaks and built-in sequencing tools, MIDI controllers enable new dimensions of lively, organic music creation with loops.
Let your controller become an extension of your musical ideas to unlock intuitive beatmaking and sonic textures beyond the grid.