
Is your powerful subwoofer rattling panels and buzzing your cabin?
Soundproofing your car’s trunk is the ideal solution for containing subwoofer noise so you only hear clean, hard-hitting bass.
In this guide, we’ll walk through the key steps for soundproofing your trunk for subwoofers. Let’s dive in.
Why Should You Soundproof Your Trunk for Subwoofers?

Installing subwoofers in your car can provide powerful, booming bass that enhances your listening experience. However, all that bass vibration can also rattle the trunk and distort the subwoofer sound.
Soundproofing your trunk is the ideal solution for containing the subwoofer noise and preventing rattles. There are several benefits to soundproofing your trunk for subwoofers:
It prevents rattles and distortion from sub bass vibrations. The intense vibrations from subwoofers can cause trunk panels and components to rattle.
Sound deadening materials absorb these vibrations and prevent buzzing sounds.
It contains subwoofer noise within the trunk. The loud, low frequencies from subwoofers can penetrate the vehicle cabin and disturb passengers. Soundproofing keeps the thumping bass isolated in the trunk.
It reduces exterior noise pollution for others. Uncontained sub bass emanates from the trunk and can annoy bystanders outside your vehicle. Soundproofing maintains good relations with your neighbors.
It optimizes subwoofer output by isolating the trunk. Subs sound their best when the trunk is sealed off from the cabin. Soundproofing achieves this isolation for peak sub performance.
It improves overall sound quality within the vehicle. Preventing rattles allows you to hear music and vocals clearly without buzzing distractions.
In summary, soundproofing is essential for realizing the full potential of your car subwoofer system. Containing the bass in the trunk results in clean, powerful output.
Materials Needed for Soundproofing

Completely soundproofing a trunk requires a variety of specialized materials. Each material serves a different purpose in reducing noise and vibration. The key materials needed include:
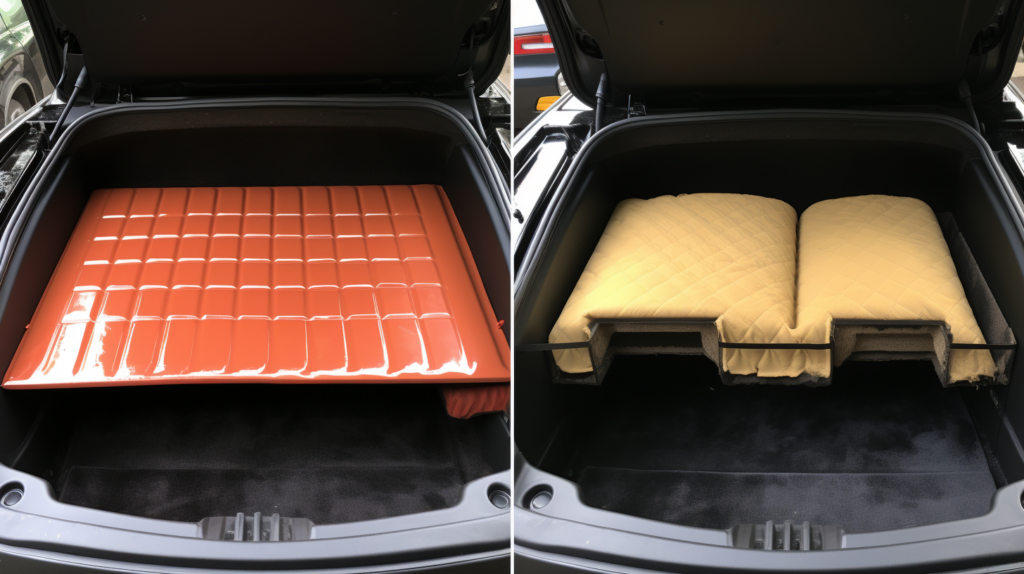
Dynamat or other sound deadener mat. This elastomeric mat adheres directly to sheet metal and dampens vibration. Dynamat is the most well-known brand.
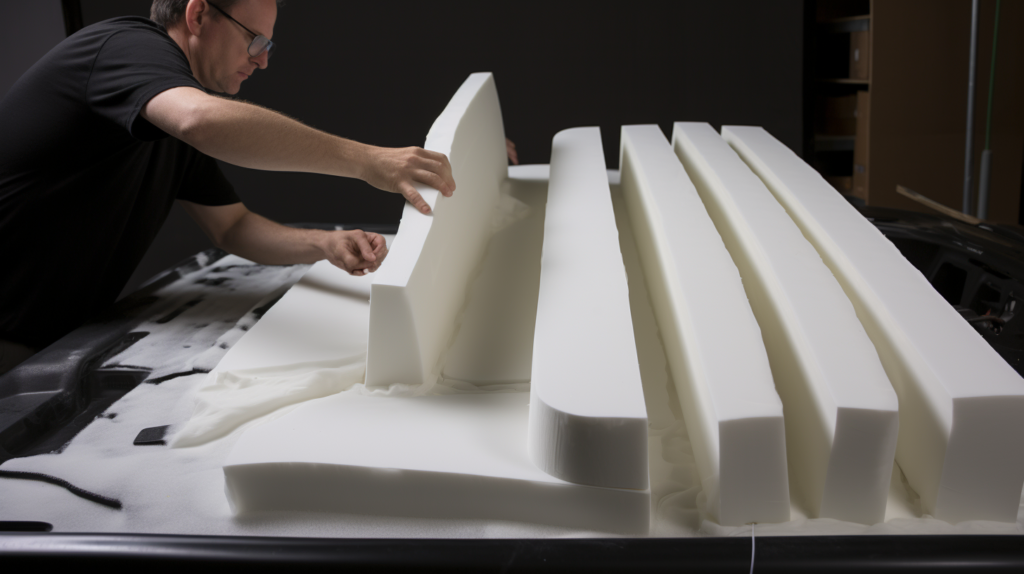
Closed cell foam. Foam squares seal up gaps around the trunk perimeter to prevent sound leakage.
Mass loaded vinyl (MLV). This heavy, limp vinyl barrier blocks sound transmission through panels it is adhered to.
Sound damping pads. These adhesive pads applied to trunk lids reduce panel vibration and rattle.
Sound absorbing insulation. Insulation placed in cavities absorbs sound waves and reduces reverberation. Polyfill fiber is commonly used.
Sealing tape. Aluminum foil or butyl rubber tape seals seams and joints during the soundproofing process.
Glue. Contact cement or spray adhesive bonds materials like closed cell foam permanently in place.
Having these materials on hand will provide everything you need to thoroughly soundproof your vehicle’s trunk.
Focus on buying high quality brands designed specifically for automotive soundproofing for best results.
How To Soundproof Trunk For Subs
Installing a powerful subwoofer system in your car can provide earth-shaking bass, but all that low-end vibration can also rattle panels and buzz the cabin.
Soundproofing your trunk is the best way to contain the subwoofer noise so you only hear deep, clean bass. Follow these key steps to transform your trunk into the ultimate sealed enclosure for subs.
1. Prep the Trunk For Soundproofing

Before applying any soundproofing materials, you need to completely clean and prep the trunk.
This provides a smooth, consistent surface for everything to adhere to. Follow these steps:
Remove everything from the trunk. Take out the spare tire, tools, mats or any other items stored in the trunk. This allows you to access all surfaces.
Thoroughly clean the trunk surfaces. Use all-purpose cleaner to remove dirt, grease and debris. This allows soundproofing materials to properly stick.
Repair any holes or rust spots. Fill dents, holes or rust areas with body filler so there are no gaps or irregularities under soundproofing.
The goal is to have a uniform, neutral surface for soundproofing materials to bond to. Cleanup and repairs also improve aesthetics after the job is complete.
2. Apply Sound Deadener To Trunk
The first layer of soundproofing that gets applied is the sound deadening mat. Popular brands like Dynamat contain sheets of butyl rubber with an aluminum constraining layer.
Follow these steps to apply properly:
Cut Dynamat sheets to fit trunk surfaces. Measure and trim pieces to fit the floor, rear seat back panel, trunk sides and lid.
Remove backing and stick Dynamat to metal surfaces. Peel off the backing carefully and press the adhesive side onto cleaned metal.
Apply evenly and smooth out air pockets. Rub the Dynamat firmly to adhere it evenly and push out any bubbles or ripples.
Focus on covering as much sheet metal as possible. The dense material dampens vibration that causes rattles. Applying around 50% coverage is recommended.
Cut strategically around trunk accessories and holes. Avoid covering existing wiring, lights or openings. Leave a perimeter gap of 1-2 inches.
The sound deadener mat substantially reduces panel vibration across a broad frequency range by adding mass. This “constrained layer damper” effect is key to preventing rattles.
3. Install Closed Cell Foam To Trunk
In addition to damping sheet metal, you need to seal up potential sound leakage paths around the trunk perimeter.
Closed cell foam is perfect for this – it is lightweight yet an effective sound barrier. Here are application tips:
Cut closed cell foam to fit around edges of trunk. Take measurements and cut foam strips to follow the trunk opening contours.
Glue foam pieces around inside perimeter of trunk. Run a bead of contact cement along the edge before pressing the foam into place.
Creates an airtight seal to prevent sound leaks. The closed cell structure blocks sound travel through the foam barrier.
Mitigates sound transmission from the cabin into the trunk. Preventingflanking paths results in superior sound isolation.
Can also cut foam pieces to fill any large gaps or holes. Achieves optimal sealing of air gaps in the enclosure.
The closed cell foam gaskets complete the soundproof “envelope” around the subwoofer enclosure. This aids efficiency by keeping the bass in the trunk cavity.
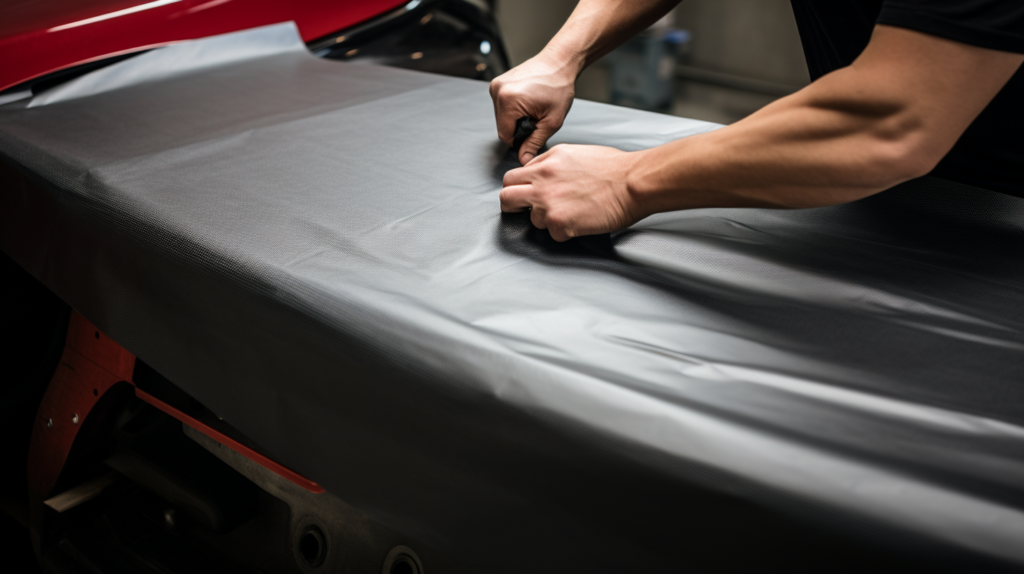
4. Add Mass Loaded Vinyl To Trunk

Mass loaded vinyl (MLV) is a powerhouse sound blocker due to its high density properties. Applying MLV further dampens panel vibration. Follow these tips when installing:
Cut mass loaded vinyl to cover any bare sheet metal. Measure and cut MLV pieces to finish covering the rest of the trunk.
Glue in place for maximum noise blocking. Use spray adhesive to permanently bond the limp MLV.
Focus on wheel wells and back seat panel. The thin sheet metal in these areas most needs the vibration damping.
Can stack layers for even more mass. Double or triple layering MLV increases dampening performance.
Will significantly reduce noise transmitted through the panels it covers. The vinyl acts as a sound barrier due to its sheer mass and flexibility.
MLV is especially effective at blocking lower frequency sounds from entering or escaping the trunk. This makes it ideal for subwoofer isolation.
5. Install Sound Damping Pads To Trunk
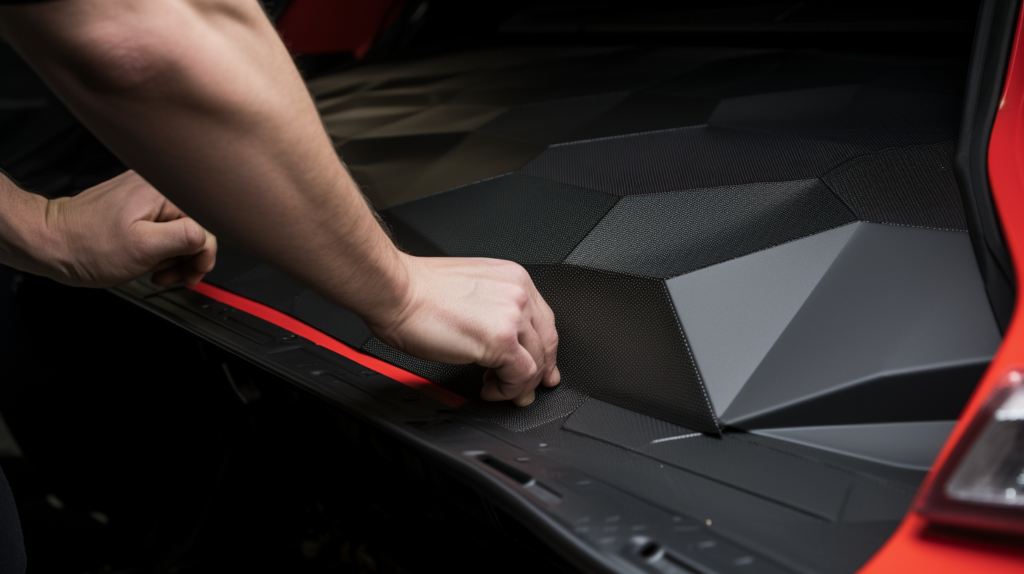
Applying thick sound damping pads is important for reducing trunk lid vibration and rattle. Follow these installation tips:
Adhere thick sound damping pads to trunk lid. Cut pads to shape and stick on with adhesive backer.
Pads can be upgraded option or DIY project. Use thicker, high performance pads for best rattle reduction.
Focus application on outer sections prone to rattle. Avoid blocking handles, wiring or inner supports.
Creates layered decoupling structure. Pads absorb panel resonance and disrupt sound conduction.
Significantly reduces buzz, squeaks and rattles from the trunk lid. Detaches lid vibrations from the passenger cabin.
Easy to apply upgrade that makes a big difference in perceived vehicle quality.
Damping pads are available in a variety of materials, some more effective than others. Invest in quality materials like butyl rubber for greater rattle dampening.
6. Finish with Insulation With Trunk

The final soundproofing layer involves filling the empty cavities with insulation. Fiber insulation absorbs errant sound waves and acoustic energy. Here are some tips:
Fill remaining space with sound absorbing insulation. Polyfill fiber is a cost-effective option commonly used.
Prevents sound wave reverberation in empty cavities. Absorbs lingering noise in the enclosed trunk space.
Can be layered over other materials as needed. Polyfill is lightweight and won’t compress other layers.
Provides noise reduction across multiple frequencies. Effective on mid and high frequencies that penetrate barriers.
Improves accentuation of bass notes. Removes muddy resonances and tightens subwoofer response.
Use only moisture resistant insulation designed for automotive soundproofing. Avoid stuffing standard fiberglass or other material.
The insulation completes the noise reduction pathway – blocking, damping and absorption. Well-insulated trunks become remarkably hushed sonic sanctuaries.
Conclusion
Completely soundproofing your trunk takes some investment in specialized materials and diligent application.
But the effort pays off in the form of optimized subwoofer output and a rattle-free listening experience. The project can be done in stages depending on budget and goals.
Dynamat alone makes a significant improvement.
Removing bass volume leaks into the cabin also improves sound quality for all music listening. Passengers will appreciate the tighter, cleaner bass response.
And you may find yourself cranking up the volume more with reduced distortion.
While advanced modifications require automotive soundproofing materials and expertise, the basics can be DIY.
But don’t cut corners on cheap alternatives or skimp on application. Use ample coverage of quality products for best results. With some care your trunk will become a bass fortress.