Late nights tossing and turning as trucks rumble by. Morning alarms drowned out by honking horns and screeching brakes.
Dinner conversations halted mid-sentence until the ambulance sirens pass. Street noise intrusion can disrupt your home life in frustrating ways.
Getting effective soundproofing against external street noise is crucial for reclaiming peace and quiet at home.
A strategic approach to identifying and addressing noise infiltration points can transform even the loudest urban home into a peaceful haven.
In this comprehensive guide, we’ll walk through proven steps for assessing noise sources, making structural upgrades, sealing gaps, and reducing sound transmission from the outside.
Let’s dive in to explore how you can successfully minimize irritating street noise through customized soundproofing treatments.
Step 1: Assess The Source Of The Noise

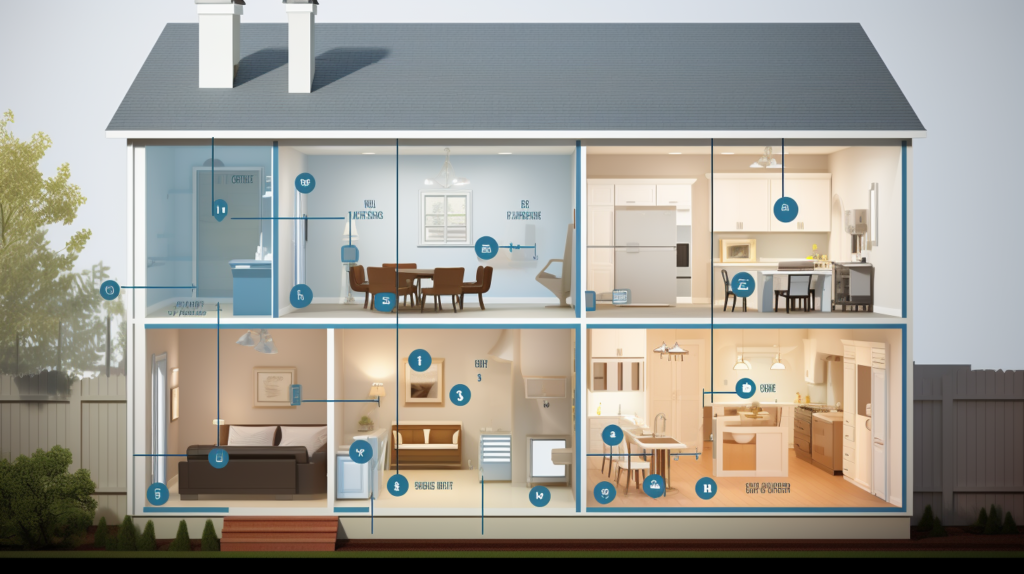
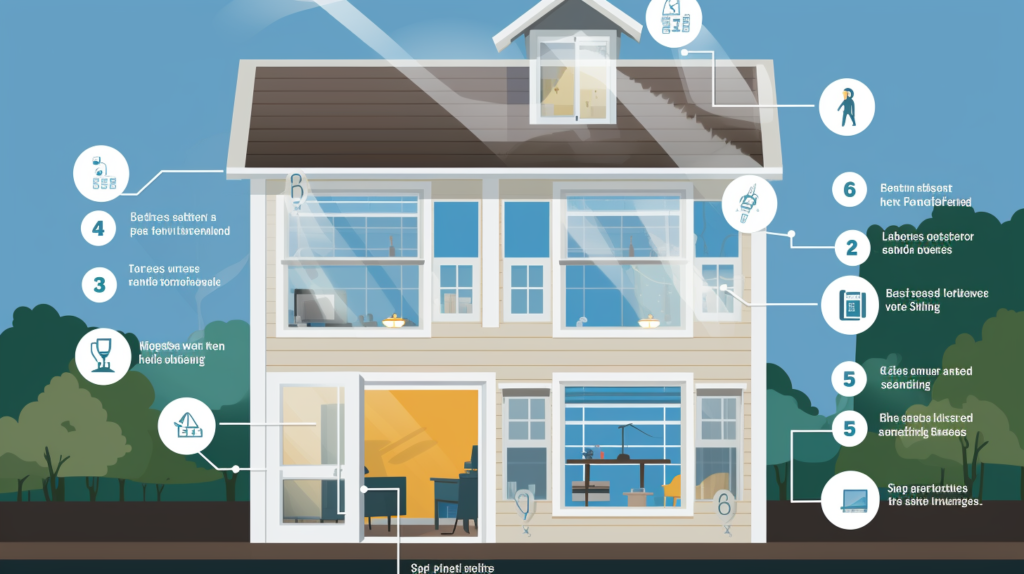
Pinpointing the source of external noise is the crucial first step in any soundproofing project. Take time to methodically inspect every part of the home’s exterior that could be vulnerable to noise intrusion.
Walk around the entire perimeter of the house, listening and feeling for vibrations. Use your senses to detect areas where noise seems louder.
Noise will be most pronounced near windows and walls facing the street. But also check areas shielded from direct line of sight such as side walls, patios, backyards, or courtyard spaces.
Sound has a way of bending and scattering to find unintended paths inside. Outdoor areas that seem quieter may still transmit noise if they adjoin noisy façades.
Make notes on a floor plan markup to identify exterior areas needing mitigation.
Conduct inspections at different times of day and night. Morning and evening rush hour are often the peak noise periods for road and highway traffic.
But some areas see more nighttime noise from bars, nightclubs, or industrial activity. When possible, ask a neighbor to drive their car or honk their horn to pinpoint direct transmission points.
Listen at each window to detect which ones allow the most noise inside. Rattling windows or doors indicate loose seals or poor fitting frames.
Place your hands on windows and walls to feel for vibrations that reveal sound energy passing through.
Turn off ventilation fans, open interior doors, and reduce other indoor noise sources to isolate the external sounds during inspection.
Use a sound level meter app on your smartphone to quantify decibel readings in various rooms. This provides measured data to compare noise levels in different parts of the home. Record outdoor ambient levels for reference to gauge noise reduction performance of various facade areas. Fact-based acoustic measurements assist in selecting appropriate soundproofing materials.
Don’t neglect indirect noise paths like ventilation points, pet doors, mail slots, attic hatches, electrical fixtures, and plumbing penetrations.
What may seem like a tight exterior barrier can still leak sound through the smallest overlooked holes. Sealing these gaps is equally important for preventing noise intrusion.
Conducting a systematic inspection around the entire home perimeter at different times and listening from interior spaces gives a complete picture of where noise transmits most.
This sets the stage for tailored solutions that target the worst noise entry points for maximum acoustic isolation.
Step 2: Upgrade Windows

With a careful evaluation of noise entry points complete, upgrading windows should likely rank high on the priority list.
Windows consistently prove to be the primary source of external noise intrusion into living spaces. Even small, single-pane windows allow substantial noise transmission from busy streets.
Take time to thoroughly inspect each window on the façades facing noise sources.
Check for tightness of seals around the window sash and frame. Look closely for any gaps, cracking, poor fit, and lack of contact between sash and frame.
These indicate potential leakage points for noise. Listen closely for whistling sounds as you run your hand along the window seals, which reveals air leaks that compromise acoustics.
Also examine the condition of weatherstripping around the window assembly.
Seek out areas where weatherstripping is compressed, missing, disconnected, or deteriorated. Damaged weatherstripping jeopardizes the critical acoustic seal needed to block noise.
Identify windows where new or upgraded weatherstripping will be required to close sound gaps.
Carefully note the type and thickness of window glass in each existing window. Basic single pane glass or even double panes with thin air gaps do very little to impede noise transmission.
Make a list of windows needing upgraded laminated, acoustic, or thicker insulated glazing to reduce noise penetration.
Check the overall air tightness of the window assembly by using a smoke pencil around the edges to detect drafts.
Any wisps of smoke escaping through the frame indicate potential sound leakage points that require sealing.
You can also temporarily cover glass panes with your hands to detect changes in noise levels, which reveals glass areas allowing too much sound transmission.
Inspect window frames closely for any sagging, loose fittings, wobbling glass panes, and other structural instabilities.
These may indicate a deteriorated frame in need of complete replacement rather than just new glass or seals. A compromised frame can render other window improvements ineffective at stopping noise.
Replacing older windows with new soundproof models featuring double or triple glazing and wide air gaps provides immense noise reduction.
Seek window systems with Sound Transmission Class (STC) and Outdoor-Indoor Transmission Class (OITC) ratings exceeding STC 30 and OITC 25.
Models using laminated or thick acoustic glazing also enhance performance substantially.
When purchasing new window assemblies, pay very close attention to the sealing and installation method that will be used.
Completely airtight compression seals between frame and rough opening are vital for noise isolation. So are high quality interior and exterior sealants around the frame.
Only a meticulous, high-quality installation job will achieve the product’s advertised sound isolation.
Interior storm windows added onto existing windows are a more affordable noise reduction option.
Quality acrylic or laminated glass storm panes mounted just behind the prime window can significantly increase noise blocking.
Ensure the gap between existing window and new storm pane is at least 4 inches for optimal acoustic performance.
Sealing obvious leaks around rattling window frames with weatherstripping or acoustical caulk can provide temporary improvement as well.
But full window replacement may be warranted for older, damaged, or thin single pane models allowing excessive noise infiltration.
Step 3: Add Interior Soundproofing

While windows may allow the most direct noise penetration, don’t forget about enhancing sound isolation through exterior walls.
Wall materials like masonry brick or concrete block provide good noise reduction on their own.
But frame walls using standard construction with single drywall layers, wood or metal studs, and insulation offer minimal resistance to intrusive noise.
Luckily, adding extra sound dampening and blocking materials on interior wall surfaces can significantly reduce noise infiltration through walls.
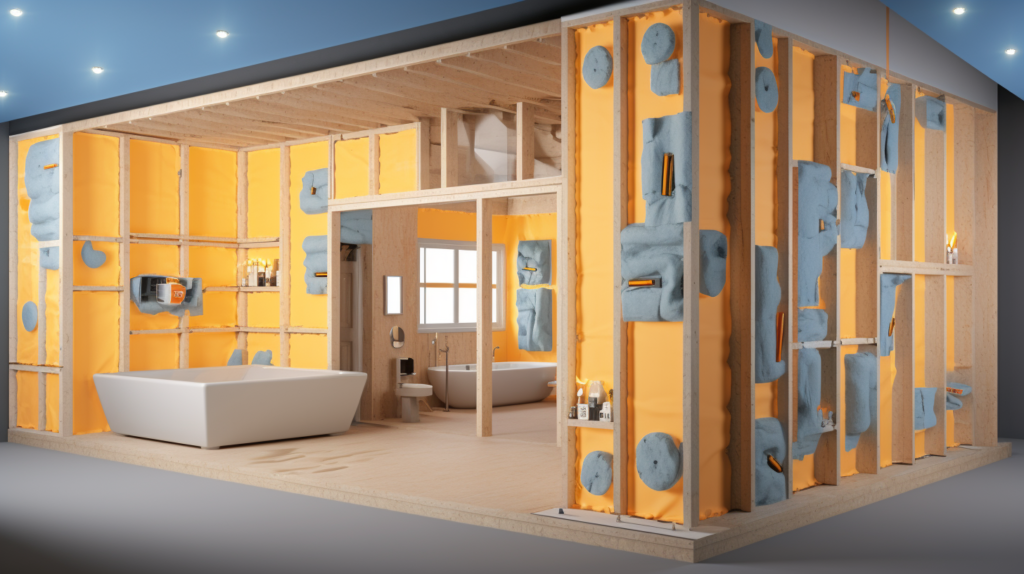
One very effective method is constructing an entirely new inner soundproof wall inside an existing exterior wall.
This extra layer fortifies the noise barrier and prevents sound flanking through the wall assembly.
Begin inner wall construction by installing staggered studs secured horizontally to the floor and ceiling.
Use two parallel rows of studs spaced 2 to 4 inches apart rather than single studs.
This forms small soundproofing cavities which are then filled with insulation such as absorptive mineral wool or fiberglass. These materials dampen noise which tries to pass through the cavities.
Next, resilient channels made of pressed metal are securely fastened horizontally across the wall studs.
These specialty channels decouple the drywall from the studs and prevent noise from transmitting directly through the rigid metal framing.
The resilient channels allow the drywall to float freely rather than transfer sound vibrations readily like direct stud contact.
Quality drywall sheets can then be mounted onto the resilient channels to create a noise barrier skin. Use thick 5/8″ Type X drywall for maximum density and weight.
Carefully seal all seams and edges with acoustical caulk. Avoid creating any tears in the drywall during installation that could allow flanking.
Apply green glue noise proofing compound between drywall layers for added damping.
An alternative method is installing pre-made sound absorbing wall panels made from nitrile butadiene rubber (NBR) across the entire interior wall surface.
NBR foam panels work exceptionally well to absorb and isolate noise. The panels are molded from densely compressed NBR foam ranging from 1 to 2 inches thick.
NBR foam contains tiny closed air cells which provide excellent sound absorption across a broad frequency range.
The limp flexibility of the rubber also allows the material to dampen vibration energy rather than reflecting sound.
This prevents reverberation amplification effects within rooms exposed to significant noise.
Full wall coverage NBR panel systems block exterior noise through a combination of sound absorption, damping, and blocking.
The sealed seamless panels mitigate resonance and leave nowhere for sound to leak through.
Professional acoustical installers can fabricate custom sized NBR panels to match room dimensions and required noise reduction levels.
Properly installed NBR foam panels keep walls free of exterior noise infiltration. Focus application on walls facing the heaviest noise source exposure.
Interior sound barriers prevent unwanted noise transmission into living spaces, maintaining peaceful interiors.
Step 4: Weatherstrip Doors And Windows

Once noise leakage through windows and walls has been addressed, careful weatherstripping of all exterior openings should occur.
Doors, windows, attic hatches, ventilation points, and any gaps or penetrations in exterior surfaces allow noise to intrude through the defensive perimeter.
Just as air leaks transmit noise, sealing off the building envelope is imperative for acoustic isolation.
Thoroughly inspect the condition of weatherstripping around all perimeter doors and operable windows. Seek out areas where weatherstripping is damaged, missing, loose, or incomplete. Even small 1/8 inch gaps around doors and windows degrade soundproofing substantially. Any cracks or holes that allow air passage will also allow external noise to leak through.
Replace worn weatherstripping with high quality products designed for noise control.
Use dense materials like thermoplastic elastomer (TPE), vinyl, rubber, felt, or polyurethane foam.
Standard light density foam strips often used for energy conservation provide minimal acoustic sealing. Seek weatherstripping components with an STC rating over 28 whenever possible.
Check for complete contact between new weatherstripping and the door and window surfaces. The compression seal should close all noticeable gaps without being overly compressed and misshapen.
Proper installation is key to achieve the weatherstripping’s maximum noise blocking potential. Sealing the perimeter gaps around windows and doors keeps sound out.
In addition to operable openings, inspect any vents, ducts, piping penetrations, conduits, or other holes that compromise the noise barrier.
Use high quality acoustical caulk, expandable spray foam, or acoustical putty to seal these openings through exterior walls and prevent noise intrusion.
Pay close attention to bottom wall plates in frame homes where drywall often does not fully seal.
Don’t forget about attic hatches, pet doors, whole house fans, and ventilation points. Sound will exploit any overlooked penetration or gap in the structure.
Covering fan grilles or vents with acoustical mats can provide some additional noise reduction as well. Sealing all holes maintains the integrity of interior noise barriers.
Conclusion
Effective exterior noise reduction relies on a systematic process of assessment, targeted upgrades, and meticulous weather sealing.
By thoroughly evaluating noise transmission pathways, the primary sources of unwanted sound can be identified.
Addressing vulnerabilities through window and wall improvements then establishes key barriers to noise intrusion. Sealing all remaining gaps and openings completes the acoustic isolation, keeping exterior noise securely on the outside.
With diligence and care, living spaces can be transformed into peaceful havens, insulated from disruptive street noises.
The investment of time and resources into customized soundproofing treatments delivers invaluable peace, privacy, and improved quality of life.
Don’t resign yourself to tolerating excessive noise – take control with proven noise control techniques for healthier, quieter indoor living environments.
