How to Soundproof a Garage Workshop, Starting With the Tools
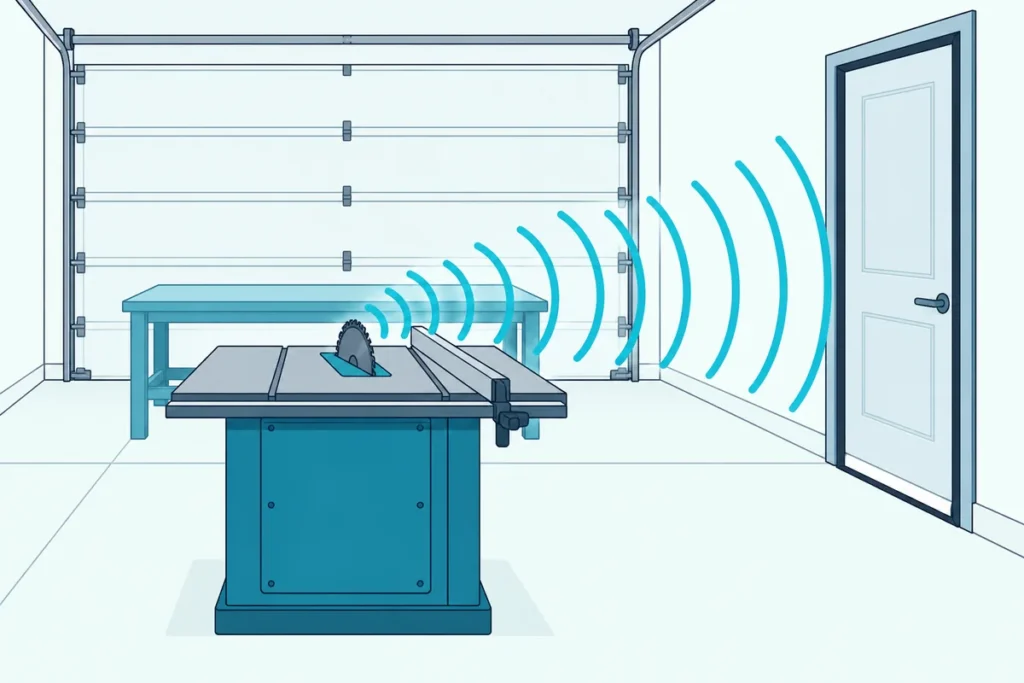
If you’re working out how to soundproof a garage workshop, start with the tools instead of the walls, because one table saw can outshout most of what you’d build around it.
Makita lists 94 dB(A) for its 2704 table saw, and that noise finds the weak spots first: the gap under the door to the house, the roll-up door’s seams and every unsealed pipe or outlet.
Fix those paths in the right order and the shop can run without rattling the kitchen or the neighbors, even though no garage ever goes silent.
The first steps cost little: sharp blades, rubber under the machines that stand on their own feet, and a seal kit for the door into the house.
Below is that order, with the numbers from OSHA, HUD and the tool makers’ own manuals that show what each step buys you.
How to Soundproof a Garage Workshop in Eight Steps
That order runs from the tools outward, and the table below sums it up. To soundproof a garage workshop, quiet the machines, move the loudest ones away from the house, seal the air leaks, upgrade the door into the house, then build up the shared wall and ceiling, and treat the shop’s echo last.
| Step | What to do | Why it helps |
|---|---|---|
| 1 | Rank the machines by noise | NIOSH measured 103 to 113 dBA of sound power from 38 circular saws and 91 to 99 from 19 drills |
| 2 | Quiet the tools | Makita says a sharp, clean blade cuts a table saw’s emitted noise |
| 3 | Isolate and move the loud machines | OSHA says isolation mounts work on low-frequency noise and blowers can sit in an unoccupied space |
| 4 | Seal every air leak | A one-inch hole takes an STC 50 wall down to 40, per HUD |
| 5 | Upgrade the door into the house | A sealed solid-core door holds a wall at STC 33 where a hollow-core one drags it to 24 (HUD) |
| 6 | Add mass and decoupling to shared walls and ceilings | Isolating the gypsum layers is the major factor, per NRC research |
| 7 | Treat the echo last | Absorption cuts the reverberant buildup, not the direct sound (OSHA) |
| 8 | Protect your ears either way | OSHA halves the allowed exposure time for every 5 dBA above 90 |
Steps 1 to 3 work at the source and cost the least, while steps 4 to 6 close the paths into the house. If the roll-up door is your main worry rather than the tools, Burton’s guide on how to soundproof a garage spends more time on the door and the shell.
How Loud Are Workshop Tools?
Those eight steps only make sense once you know the size of the problem, and the tool makers publish it. Workshop tools are loud: Makita lists a sound pressure level of 94 dB(A) for its 2704 table saw, and DeWalt lists 91.5 dB(A) for its DW733 planer thicknesser, both declared under the EN 61029 standard.
| Tool | Noise figure | What the figure is | Source |
|---|---|---|---|
| Makita 2704 table saw | 94 dB(A), sound power 107 dB(A) | Declared sound pressure, uncertainty 3 dB | Makita’s manual |
| DeWalt DW733 planer thicknesser | 91.5 dB(A), sound power 102.2 dB(A) | Declared sound pressure, uncertainty 2.5 dB | DeWalt’s manual (Bristol Hackspace’s copy) |
| Makita 2012NB planer | 83 dB | At no load, method not stated | Makita’s sales sheet |
| 38 circular saws | 103 to 113 dBA | Sound power, NIOSH lab tests | NIOSH dataset excerpt |
| 19 drills | 91 to 99 dBA | Sound power, NIOSH lab tests | NIOSH dataset excerpt |
Sound pressure is what a meter reads at one spot, while sound power is the total a tool puts out, so compare like with like. DeWalt’s manual says its declared figure may be used to compare one tool with another, and that’s the honest use for every number here.
The Makita 2012NB’s 83 dB is a no-load figure from a sales page, so it isn’t a fair match for DeWalt’s declaration. Read it as a sign that quieter machines exist, not as an 8.5 dB win.
The spread inside one tool type matters more than any single number. NIOSH’s 38 circular saws span 10 dB, and the FHWA noise primer says a 10 dB change sounds twice as loud or half as loud.
Running two machines at once adds less than you’d think, though it still adds. The FHWA primer says two equal sources make 3 dB more than one, which it calls barely detectable, so a dust collector as loud as the saw beside it nudges the total up rather than doubling it.
Get Studio Tips Weekly
Join 5,000+ creators getting acoustic treatment advice every week.
No spam. Unsubscribe anytime.Which Tool Fixes Cut the Most Noise?
Those figures are the starting point, and the cheapest decibels come off the tools themselves. The biggest tool fixes are sharp blades and cutters, quieter cutterheads and machines, and steady maintenance: Makita’s 2704 manual tells you to keep the blade sharp and clean to reduce the emitted noise.
Maintenance has a number attached. OSHA’s Technical Manual says regular maintenance should let equipment run within 2 dBA of its lowest potential operating noise, and that out-of-balance rotating parts and worn bearings add noise.
That makes a squealing belt or a wobbling blade a soundproofing job in its own right. OSHA’s fix for noisy rotating parts is lubricating and aligning them, and it lists tightening belts among the maintenance that cuts vibration noise.
Planers show how much the cutterhead matters. OSHA’s manual describes a large industrial planer measuring 98 to 118 dBA, and the maker’s technical representative said rebuilding the drive and fitting helical cutters would bring it to about 90 dBA.
That’s a factory machine, not a benchtop planer, so treat it as a direction rather than a promise for your shop. If your planer can take a helical cutterhead, the OSHA example is why it’s worth pricing one.
OSHA also shows a circular saw blade damped with a sheet-metal disc over a rubber layer, and it lists belt drives in place of gears among quieter substitutes. Both point the same way: when a tool wears out, the quieter replacement doubles as a soundproofing upgrade.
Compressed air has its own easy fixes in OSHA’s manual. Lower the regulator to the least pressure the job needs, which OSHA says is quieter, saves energy and is safer, and fit mufflers or silencers on exhausts, which it says can cut that noise by 20 dB or more.
The compressor itself is a bigger subject, and our steps to soundproof an air compressor without overheating it cover where it sits, what it stands on and when a box is allowed.
Where Should the Loudest Machines Go?
Once the tools are as quiet as they’ll get, where they sit decides how much noise reaches the house. Put the loudest machines away from the shared wall, and put blowers such as dust collectors out of the room if you can: OSHA suggests locating blowers in routinely unoccupied areas and running extended ductwork to the machines they serve.
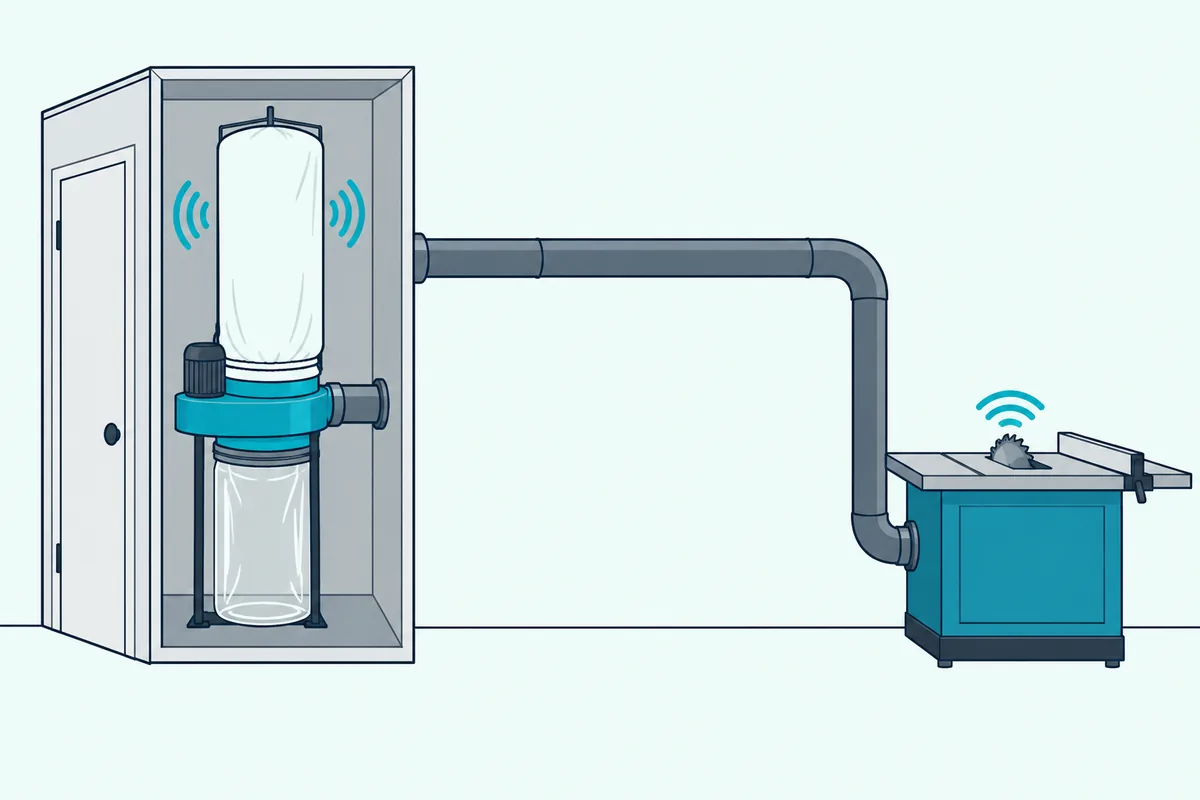
Distance helps less indoors than outdoors. OSHA says sound drops 6 dB each time the distance doubles in a free field, but in a room the reflections off hard walls make the drop smaller.
So moving the planer from the shared wall to the far side of a 20-foot garage still helps, just not by the full 6 dB per doubling. The bigger win is that the shared wall stops being the first thing the noise hits.
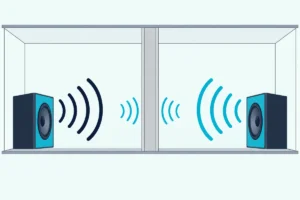
Vibration takes a second path. OSHA says a machine’s vibration can travel through solid connections to a surface that turns it into airborne noise, and that vibration isolation mounts, such as neoprene or spring isolators, are effective on low-frequency noise.
Think of a machine pushed against the shared wall as a drumstick, and the wall as the drum. Pull it a few inches off the wall and stand it on rubber, and the wall has nothing to play.
For machines that stand on their own feet, such as a dust collector or a compressor, this pack of four UPE Group rubber pads puts all-rubber pads, 4 by 4 inches and 3/8 inch thick, between the feet and the slab. Check the machine’s manual first, since mounting instructions differ from maker to maker.
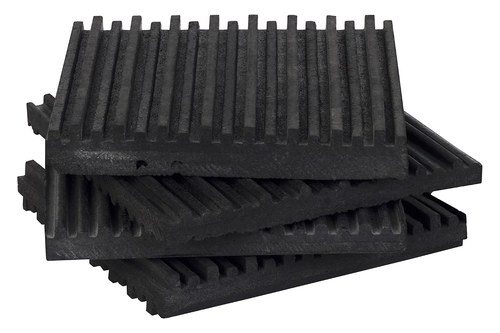
this pack of four UPE Group rubber pads
Where Does Workshop Noise Leak Out?
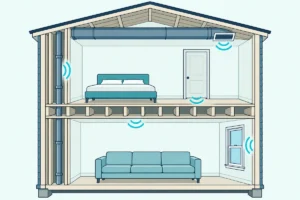
Even a quiet, well-placed machine’s noise slips out through every gap, and garages have plenty of them. Workshop noise leaks out through air gaps first: HUD’s Noise Guidebook says a one-inch square hole, or a 1/16-inch crack 16 inches long, will reduce an STC 50 wall to STC 40.
That’s a 10-point loss from a hole about the size of a postage stamp. HUD also says sound gets in through a building’s acoustically weakest points, and that doors are even weaker than windows.
In a garage, the usual leaks are the gap under the door to the house, the edges of that door, the attic hatch, holes for pipes, wires and ducts, and the roll-up door’s bottom, sides and panel joints. Windows and vents sit on the list too, and HUD’s advice for vents in a noise-exposed wall is to eliminate them or use specially designed, insulated ducts.
Try this at night: switch on the shop lights, darken the house side and look around the door and the hatch. Every line of light is an air gap, and the hole rule above shows what each one costs.
The wall between a garage and a house is also a fire separation. The 2021 IRC garage separation tip sheet from MyBuildingPermit.com says penetrations through it must be protected with an approved material that resists flame, and that ducts in the garage must be at least 26-gauge sheet metal with no openings into the garage.
So check that the materials you use to fill a gap in that wall are approved for the job. For the fixed gaps around trim, outlets and window frames elsewhere, this 29-ounce tube of acoustical caulk is, per its listing, an acoustical sealant from the Green Glue Company meant for sealing gaps.
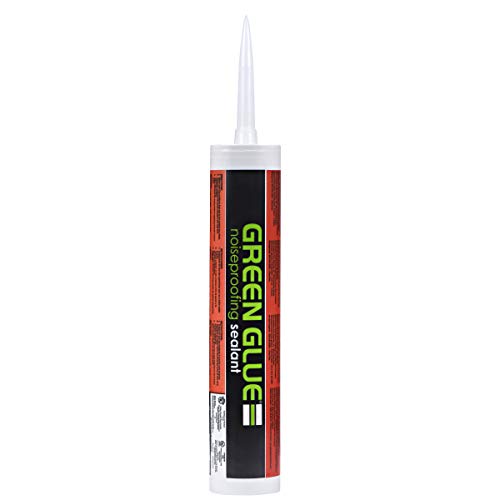
this 29-ounce tube of acoustical caulk
What Makes the Door Into the House Quieter?
That door is the most direct path between the shop and the living space, and HUD puts numbers on it. Mass and a full seal make the door into the house quieter: HUD’s guidebook says a hollow-core door, rated STC 17 and taking up about 20% of a wall, drags an STC 48 wall down to 24, while a solid-core door with vinyl seals and carpet on the floor holds the same wall at 33.
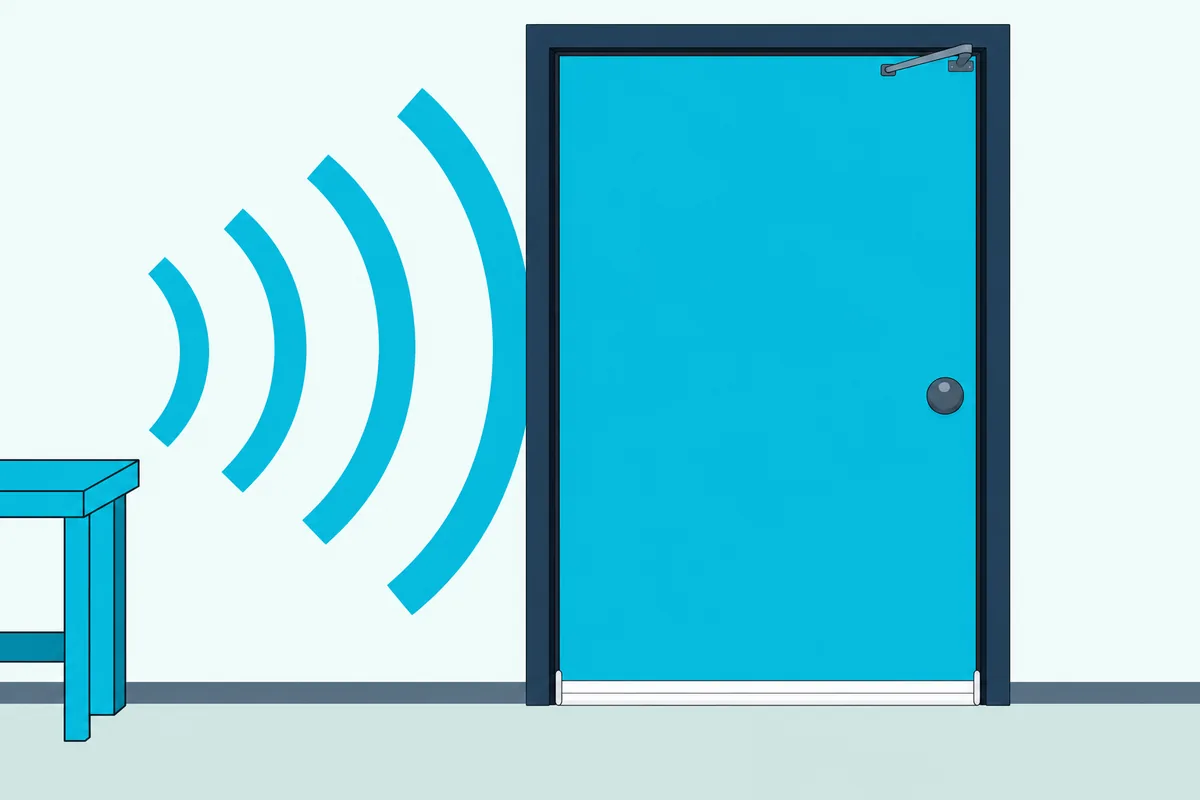
HUD adds that gasketed door stops and drop-bar threshold closers at the bottom edge raise the door’s sound insulation further. In plain terms, seal the three sides against the stop and close the gap at the floor.
The building code already sets a minimum for this door. The tip sheet above, which follows the 2021 IRC with Washington amendments, says doors between a garage and living space must be solid wood or steel at least 1-3/8 inches thick, or 20-minute rated, with a self-closing or automatic-closing device, and self-latching.
That rules out the cheapest acoustic downgrade, a hollow-core interior door, on two counts. The self-closer helps the seals too, because a door left ajar seals nothing; Burton Acoustix’s comparison of solid and hollow doors goes further into door construction.
For the gap at the floor, M-D’s Cinch slide-on door seal slips over the bottom of the door, per its listing, and the pack holds two 36-inch seals. Cut it to your door’s width, and check that the U fits your door’s thickness.
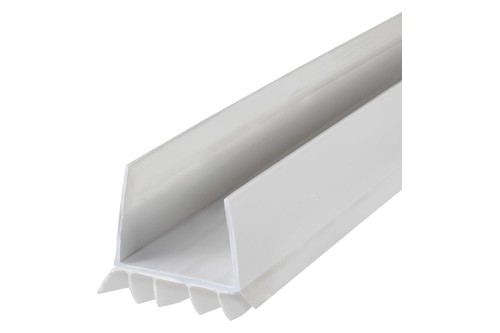
M-D’s Cinch slide-on door seal
For the sides and head, Kikerike’s self-adhesive foam weatherstrip runs 1/2 by 1/4 inch and 42 feet long, per its listing, enough for the stops of two standard doors by our count. Press it on so the door closes against it without fighting the latch.
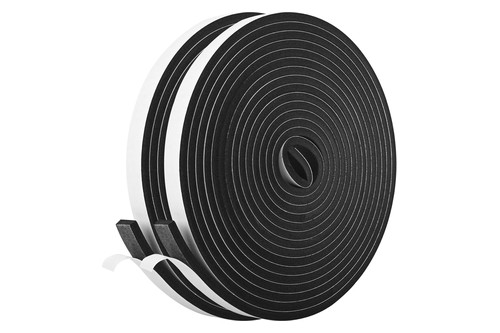
Kikerike’s self-adhesive foam weatherstrip
Can a Roll-Up Garage Door Be Soundproofed?
The roll-up door is the other big opening, and it’s the hardest one to fix. It can be improved but not truly soundproofed: you can seal its bottom and sides, but HUD’s guidebook gives no rating for garage doors, and even the exterior entry doors in its table rate only STC 26 to 34.
Those entry doors run from a wood French door at 26 to a solid-core wood door with an aluminum storm door at 34, with a steel door with a urethane foam core and magnetic weather stripping at 28. With no HUD figure for a segmented door that rolls up into the ceiling, our reading is to treat it as the shop’s weak side.
That changes the floor plan more than the shopping list. Keep the planer and the saw on the side of the shop farthest from the roll-up door, work with it closed, and give it new bottom and side seals where the old ones have cracked or flattened.
HUD’s rule about weak points applies here too: any door lowers the insulation of the wall around it, and a small gap can cost a wall 10 points. By our reading, a heavy blanket hung inside the door adds a little mass but leaves the gaps at its edges, so seal first and add layers second.
If the garage is detached and the door faces a neighbor, it’s likely the main path out, and the scheduling advice further down matters more than any material.
How Much Do Walls and Insulation Help?
Once the doors and gaps are handled, the walls and ceiling decide the rest. Walls and insulation help a lot, but only when the layers are decoupled: in Rockwool’s acoustic wall assemblies catalog, a 2×4 wall with 3-inch Safe’n’Sound batts and 5/8-inch gypsum rates STC 38, and the same build on resilient channels rates STC 51.
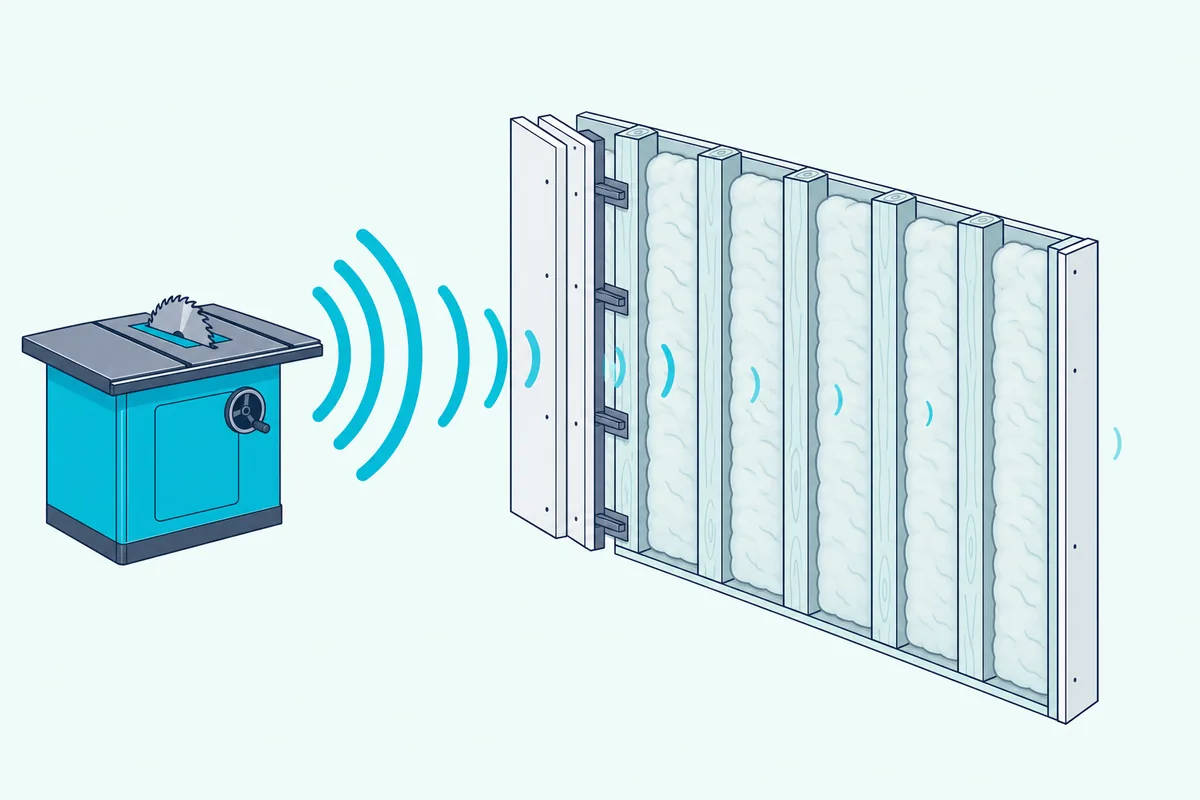
Those two ratings come from different test reports, so treat the 13-point gap as a sign of what decoupling can do rather than a guarantee. NRC research explains why it matters: the major factor in a gypsum board wall is isolating the board layers on each face, and unless the two faces are isolated from each other, sound-absorbing material in the cavity is rendered ineffective, per the Steel Framing Industry Association’s copy of NRC’s update.
Once the faces are isolated, NRC says more mass, a deeper cavity and more sound-absorbing material all reduce transmission, while the type of absorbing material has a relatively minor effect. It adds that spacing studs and channels farther apart, from 400 to 600 millimeters, usually gains one or two STC points.
HUD’s guidebook lines up with that. It rates a typical frame wall with siding, sheathing, insulation and 1/2-inch gypsum at STC 39, says resilient attachments can raise a wall’s rating by 2 to 5 points, and says acoustical blankets in the air space can attenuate noise by as much as 10 dB, mainly in lightweight construction.
Mass is the other lever. A second layer of gypsum or a sheet of mass loaded vinyl adds weight, and HUD lists increased mass among the factors that raise a wall’s attenuation, though a heavy layer screwed straight to the studs still leaves the faces coupled.
If your garage’s outside walls are bare studs, finishing them with insulation and gypsum is the obvious first DIY wall upgrade. The wall to the house is different, since the code already wants 1/2-inch gypsum on its garage side, and 5/8-inch Type X on a ceiling under living space, per the tip sheet.
Our reading is to keep that fire-rated layer intact and build the new, decoupled layers on top of it, rather than pulling it off to get at the cavity. A sealed shop also needs fresh air for dust and finishes, and HUD notes that keeping windows shut for noise means installing mechanical ventilation.
Will Acoustic Panels or Foam Quiet a Workshop?
Walls and doors keep noise from leaving, but they don’t change how loud the shop sounds to you, and that’s a separate job. Acoustic panels and foam make a workshop less harsh but won’t keep the noise in: OSHA’s Technical Manual says sound absorption reduces the reverberant buildup in hard-surfaced rooms but does nothing for the sound traveling directly from the source.
OSHA lists the same limits for room treatment that apply in a shop. It works best on middle-to-high frequencies, does nothing about the root cause of the noise, can deteriorate over 7 to 10 years and rarely removes the need for hearing protection.
Clap once in an empty garage with a concrete floor and bare walls and you’ll hear the ring that absorption tames. Fabric-wrapped acoustic panels, built around a mineral wool or fiberglass core, and acoustic foam both absorb some of that ring, but neither adds the mass a wall needs to block sound.
Curtains and moving blankets sit in the same camp. They soften the sound waves reflecting off hard surfaces, but the soundproofing still comes from mass, decoupling and sealed gaps.
If the ring is what bothers you, taming the echo in a bare garage covers where absorption goes first. Keep it as the last step, after the leaks are sealed.
Should You Talk to the Neighbors First?
Even a well-sealed shop leaks some noise, so the last layer is when and how you run it. Yes, talk to them and look up your local noise rules first, because most of the fixes above trim decibels rather than remove them, and a planned two-hour planing session lands better than a surprise one.
Batch the loudest work, such as planing and ripping, into one daytime session instead of spreading it across evenings. Keep the roll-up door shut while the saw runs, and save quiet jobs like sanding by hand and finishing for later in the day.
Measure before and after from the same spot inside the house or at the property line. NIOSH’s free Sound Level Meter app is accurate within 2 dBA, runs only on iOS, and meets Type 2 requirements with a calibrated external microphone.
Then judge the change with the FHWA scale from earlier. A 3 dB drop is barely perceptible, 5 dB is readily perceptible and 10 dB sounds half as loud.
How Do You Protect Your Hearing in the Shop?
Soundproofing protects the house, not the person at the saw, and the tool figures from earlier sit in hearing-damage territory. Protect your hearing with earmuffs or plugs whenever the loud tools run: under OSHA’s noise standard, a worker may be exposed to 90 dBA for 8 hours, but the allowed time halves with every 5 dBA above that, to 2 hours at 100 dBA and 1 hour at 105 dBA.
Makita’s own manual for the 2704 says to wear ear protection. OSHA’s Technical Manual adds that NIOSH’s 1998 criteria use a 3 dB exchange rate rather than OSHA’s 5 dB, which halves the safe time faster as the level climbs.
The damage builds over years. NIOSH’s construction research summary, in CPWR’s eLCOSH copy, says carpenters’ hearing loss begins early in their careers and that half have a hearing impairment by age 50.
Don’t take the number on the package at face value either. OSHA’s Technical Manual says to subtract 7 dB from a protector’s noise reduction rating (NRR) for A-weighted levels, and for engineering decisions it halves what’s left: a worker at 98 dBA with NRR 25 protection ends up at an estimated 89 dBA.
Fit decides the rest. OSHA’s manual notes that roughly half of workers get less than 5 to 15 dB of protection without training, and that wearing plugs under muffs adds only about 5 dB over the better of the two.
The Bottom Line
Start with the tools: sharp blades, maintenance, rubber under freestanding machines, and the loudest blower moved out of the room. Then seal every gap, upgrade the door into the house and decouple the shared wall before you think about panels.
The roll-up door stays the weak side whatever you build, so plan the floor and the schedule around it. And wear hearing protection every time, because none of this lowers the noise at your ears.
Frequently Asked Questions
How do you reduce noise in a workshop?
Start at the source. Keep blades and cutters sharp and clean, which Makita’s table saw manual says reduces emitted noise, and maintain machines, since OSHA says regular maintenance keeps equipment within 2 dBA of its lowest operating noise. Stand freestanding machines on isolation mounts, move blowers such as dust collectors to an unoccupied space with ducting, and lower the compressor’s regulator to the pressure the job needs. Then seal the gaps around the doors.
What is the cheapest way to soundproof a garage workshop?
Seal the air gaps. HUD’s Noise Guidebook says a one-inch square hole or a 1/16-inch crack 16 inches long takes an STC 50 wall down to 40, so a door bottom seal, foam weatherstrip on the stops and caulk around fixed gaps cost little for what they recover. Sharp blades and better machine placement are nearly free.
Can a garage workshop be completely soundproof?
No. The roll-up door limits the result, since even the exterior entry doors in HUD’s table rate only STC 26 to 34, and HUD says doors are weaker than windows. With sealed gaps, a solid-core door and decoupled walls, a shop can get much quieter for the house, but a 94 dB(A) table saw will still be heard.
Does mass loaded vinyl help soundproof a workshop?
It can, as part of a wall build. Mass loaded vinyl adds weight, and HUD lists increased mass among the factors that raise a wall’s attenuation. NRC’s gypsum wall update puts isolating the board layers first, though, so a heavy layer on a coupled wall does less than a decoupled one, and gaps around doors undo either.
Do acoustic panels soundproof a workshop?
No. Acoustic panels absorb sound inside the room, which OSHA says reduces the reverberant buildup in hard-surfaced spaces, but absorption does nothing for sound traveling directly from the source and won’t stop noise leaving. They make the shop less harsh to work in, so add them after the gaps, the door and the walls.