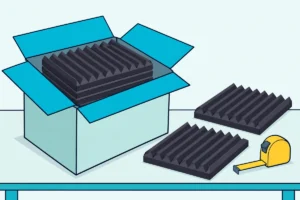
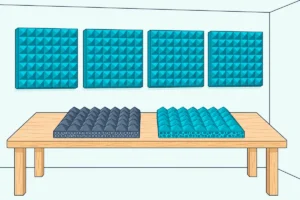
Acoustic foam improves recording by reducing room reflections that reach your microphone, so it captures more direct sound and less room sound.
Will acoustic foam improve recording? Yes. Foam absorbs room reflections that contaminate your recordings, so your microphone captures less room sound.
But the improvement depends on your current situation. A room with hard walls and no treatment has the most reflections to absorb.
A carpeted bedroom with curtains and furniture has fewer reflections left for foam to absorb.
Below you’ll find how foam improves recordings, when it helps most, and when to start with a different solution. For a deeper understanding of the science, see how acoustic foam works.
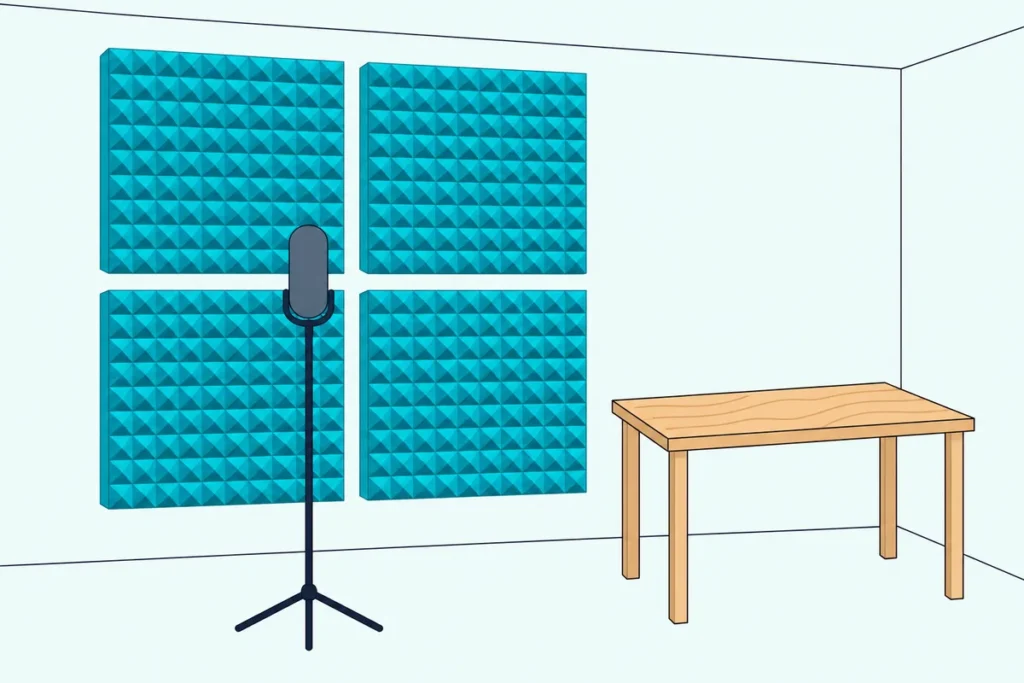
Start with the wall behind you, which your microphone faces, and the first reflection points on side walls. Foam won’t help with neighbor noise, outside traffic, or sound through walls—those require soundproofing, not acoustic treatment.
How Acoustic Foam Improves Recordings
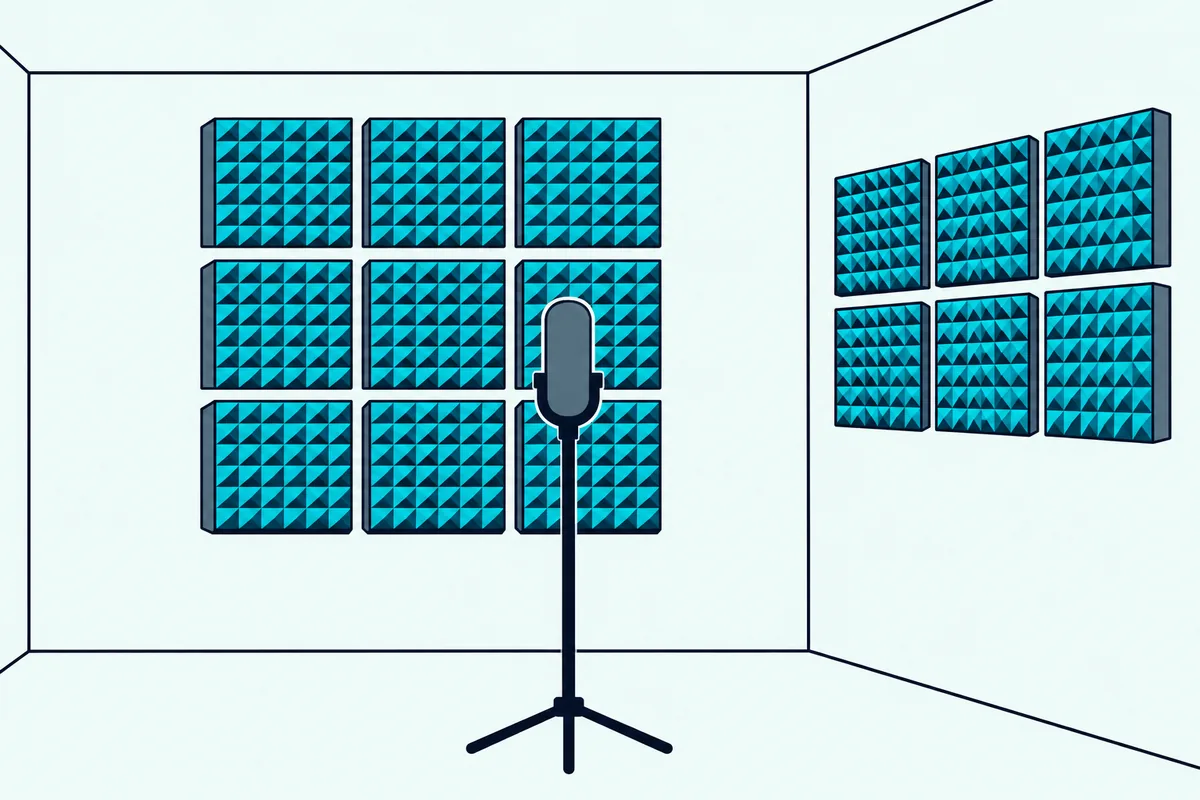
Understanding the mechanics helps you use foam effectively.
The Reflection Problem
When you speak or play an instrument, sound radiates in all directions. Some travels directly to your microphone—this is the sound you want to capture.
But most of it hits walls, ceiling, and floor first.
These surfaces reflect sound back into the room. The reflections eventually reach your microphone too, arriving milliseconds after the direct sound.
Your recording captures both: the clean direct sound plus all the messy reflections.
The result sounds “roomy”: the reflections add reverb and reduce clarity.
How Foam Solves This
Acoustic foam absorbs sound energy instead of reflecting it. When sound waves hit the foam’s porous surface, they enter the material and convert to tiny amounts of heat through friction.
With foam on your walls, reflections that would have bounced back to your microphone get absorbed instead. Your mic captures more direct sound and less room sound.
Record yourself speaking in an untreated room, add foam, then record again.
One pack, such as the Burdurry 50 Pack Acoustic Panels, 50 tiles of 12 x 12 x 1-inch foam, covers the first reflection points for this test. For product recommendations, see best acoustic foam for recording.
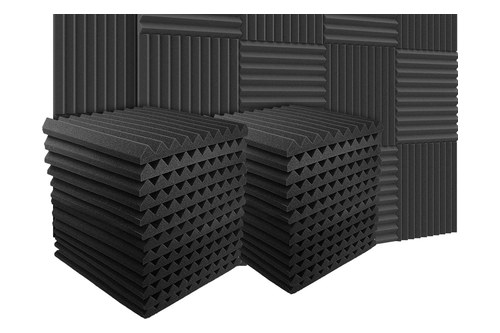
Burdurry 50 Pack Acoustic Panels
What Frequencies Foam Affects
Standard acoustic foam (1-2 inches thick) primarily absorbs mid and high frequencies—roughly 500 Hz and above. This range covers the upper part of human speech, which USG gives as 125 Hz to 4,000 Hz, and the “presence” range that makes recordings sound clear.
Thin foam absorbs much less at low frequencies: Auralex’s published test of its 2-inch Studiofoam Wedges gives 1.10 at 2,000 Hz but 0.24 at 250 Hz, absorption coefficients that Auralex’s Acoustics 101 notes are not percentages.
If your room has bass problems (boomy, muddy low end), standard foam absorbs little of that range. You’d need thicker bass traps for low-frequency issues.
Before and After: What Changes in Your Recordings
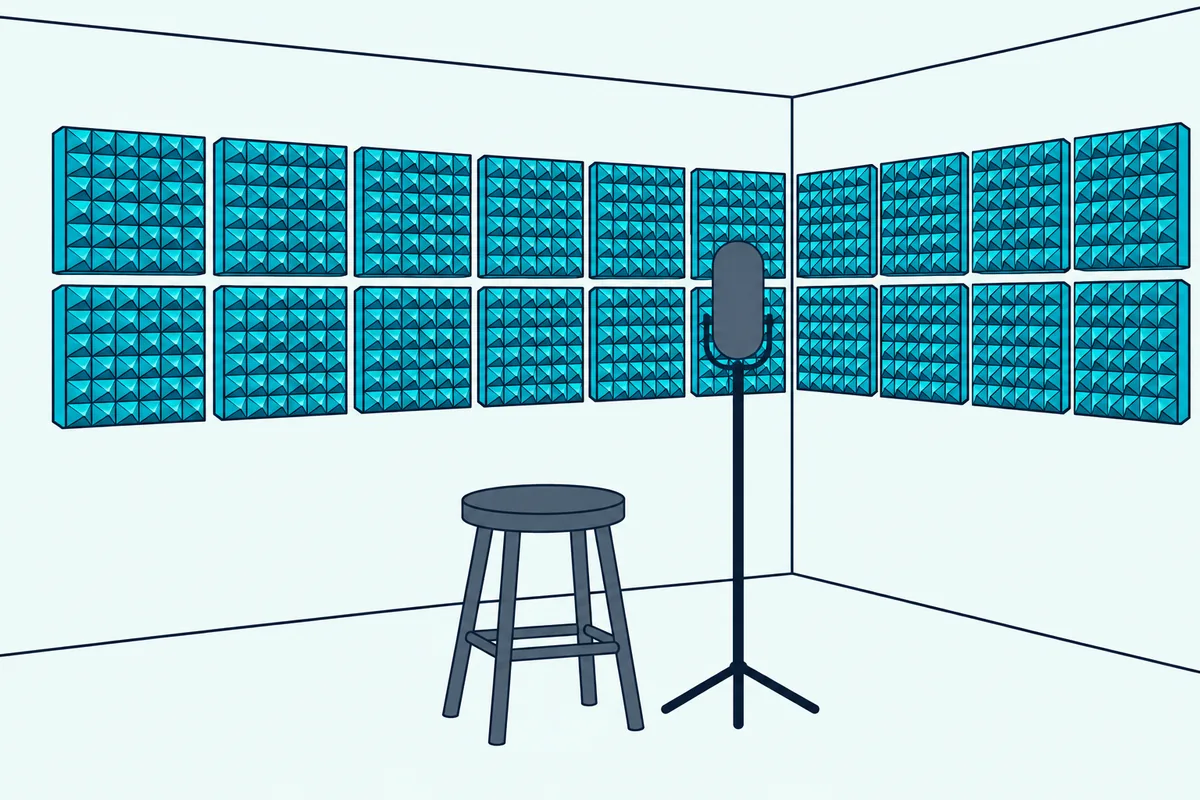
Here’s what changes in your recordings.
Reverb Reduction
Untreated rooms with hard walls have long reverb tails: sound keeps ringing after you stop speaking, and it overlaps with the next words, reducing intelligibility.
Foam shortens the reverb tail. Sound dies away sooner instead of bouncing around.
Clarity Improvement
Room reflections create comb filtering—certain frequencies cancel out while others reinforce. This colors your recording, making some frequencies too loud and others too quiet.
Foam reduces comb filtering by absorbing the reflections that cause it.
Presence and Proximity
Reflections dilute the direct sound that reaches the microphone.
Foam increases the ratio of direct sound to reflected sound.
When Foam Helps Most

Foam doesn’t help every situation equally: how much it changes depends on how many reflections the room has to absorb.
Hard-Surfaced Rooms
Rooms with hard walls, hard floors, and minimal soft furnishings have the most reflections for foam to absorb.
A spare bedroom with hardwood floors and bare drywall is one: Auralex’s Acoustics 101 gives ½-inch drywall on 2×4 studs an NRC of 0.05, where soft materials like acoustic foam have high NRCs.
Small Rooms
Small rooms accumulate reflections quickly because the walls are close together. Sound bounces back and forth rapidly, creating dense reverb and flutter echo.
A few panels cover a larger share of a small room’s walls than of a large room’s.
Untreated Spaces
If your room has no acoustic treatment yet, foam has the most reflections to work on.
Rooms that already have carpet, curtains, upholstered furniture, and bookshelves have built-in absorption, so foam has fewer reflections left to absorb.
Do the clap test: if your room rings when you clap, it has reflections for foam to absorb. If the clap sounds relatively dead already, you may not need much additional treatment.
When Foam Helps Less
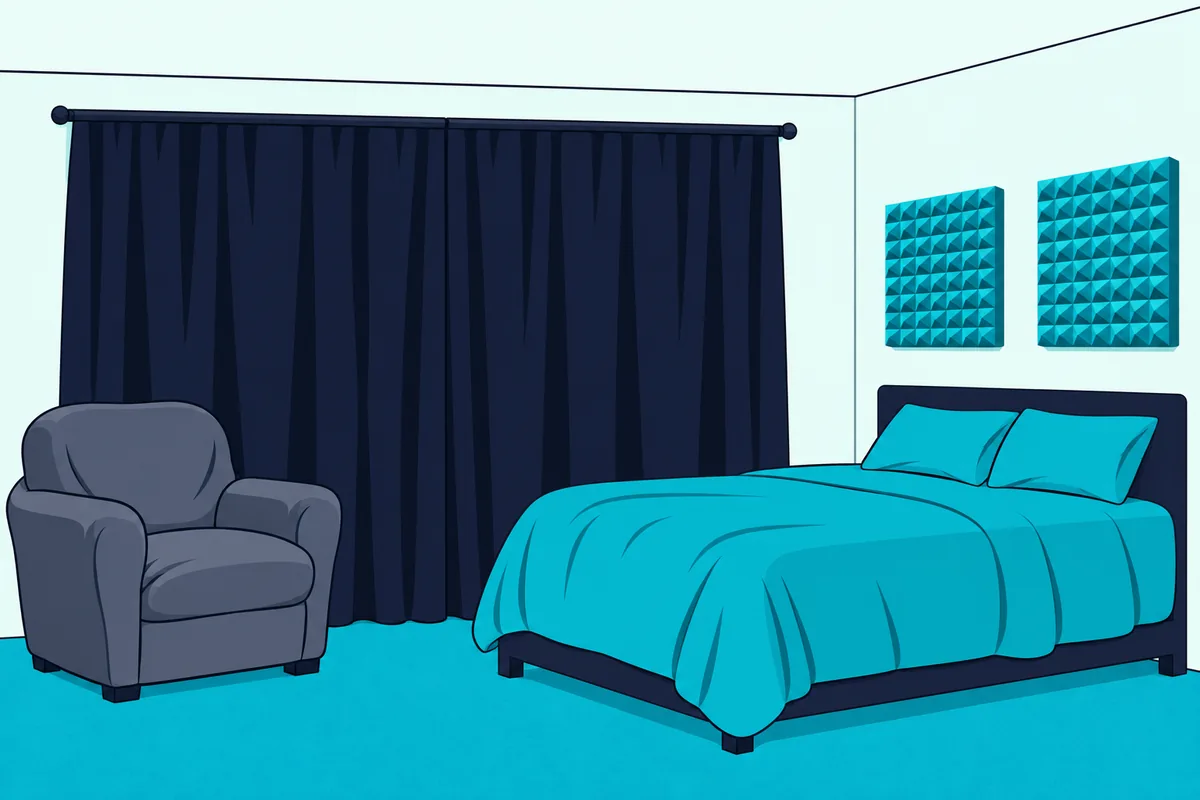
Some situations call for different solutions.
Already-Soft Rooms
Bedrooms with carpet, heavy curtains, upholstered furniture, and closets full of clothes already have plenty of absorption. The soft materials do what foam does—absorb reflections.
Foam added to these rooms has fewer reflections left to absorb, because the existing materials already absorb many of them.
Test before buying: record in your room as-is. If the recording sounds reasonably clean, you may not need foam.
Or you may need only minimal treatment at first reflection points. The guide on whether acoustic foam works can help you assess your situation.
Bass Problems
If your recordings sound boomy or muddy in the low frequencies, thin foam panels absorb little of that bass: Auralex’s 2-inch Studiofoam Wedges test at 0.21 at 125 Hz.
Bass problems require bass traps: thick, dense absorbers placed in corners where low frequencies accumulate. These are different products from standard wall panels.
Don’t keep adding foam hoping to fix bass issues.
Identify whether your problem is mid/high frequency reflections (foam helps) or low frequency buildup (bass traps help).
For more on this distinction, see bass traps vs acoustic foam.
Noise From Outside
Foam absorbs sound inside your room. It doesn’t block sound from entering or leaving.
If your problem is traffic noise, neighbor noise, or HVAC rumble, foam won’t help.
Blocking external noise requires soundproofing: adding mass to walls, sealing gaps, and sometimes construction work. This is completely different from acoustic treatment.
Foam treats acoustics inside the room; soundproofing blocks transmission between spaces.
For more on this common confusion, see whether acoustic foam works.
How Much Improvement to Expect
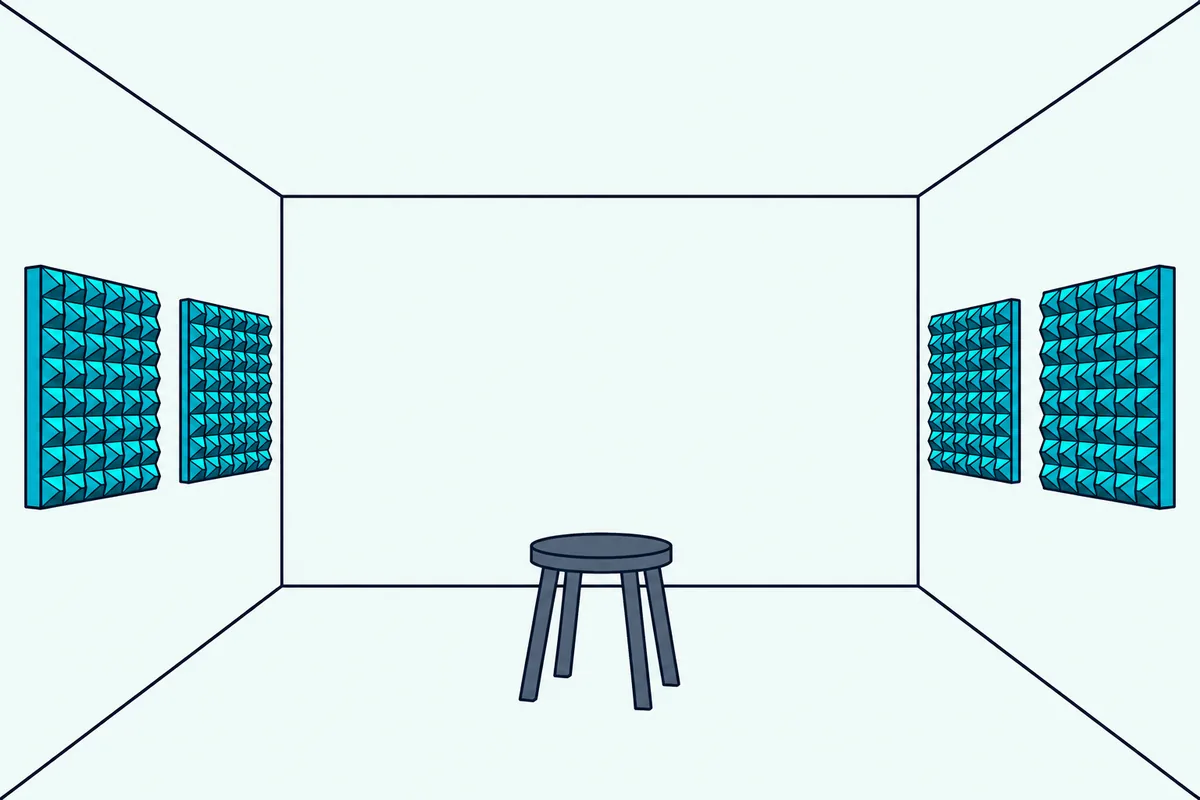
Here’s what different levels of treatment involve.
Minimal Treatment (4-6 Panels)
Treating just the first reflection points, two panels on each side wall at ear height, is the minimal setup: roughly 4-6 square feet of coverage at the most problematic reflections.
Expect: less room sound than before treatment, though the room still has some reverb.
Moderate Treatment (12-20 Panels)
Adding treatment on the wall behind you, on the ceiling above you, and expanding side wall coverage creates a more controlled recording environment. Twelve to twenty 12 x 12-inch tiles cover 12 to 20 square feet. For scale, a 10 x 10-foot bedroom with 8-foot ceilings has 320 square feet of wall (40 feet around x 8 feet high), so each 10% of it is 32 square feet, or 32 tiles.
Expect: less room sound than with the minimal setup.
Full Treatment (30+ Panels)
Full room treatment puts panels on all walls, clouds on the ceiling and bass traps in the corners.
Expect: the least room sound of the three levels.
When to Stop Adding Panels
Add panels in steps and stop once a test recording no longer picks up the reflections you set out to treat.
Past that point, more foam can deaden the room: Vicoustic, a diffuser maker, notes cases where back-wall absorption would render a room too dead. For guidance on the right coverage level, see whether you can put too much acoustic foam.
Foam Placement for Recording
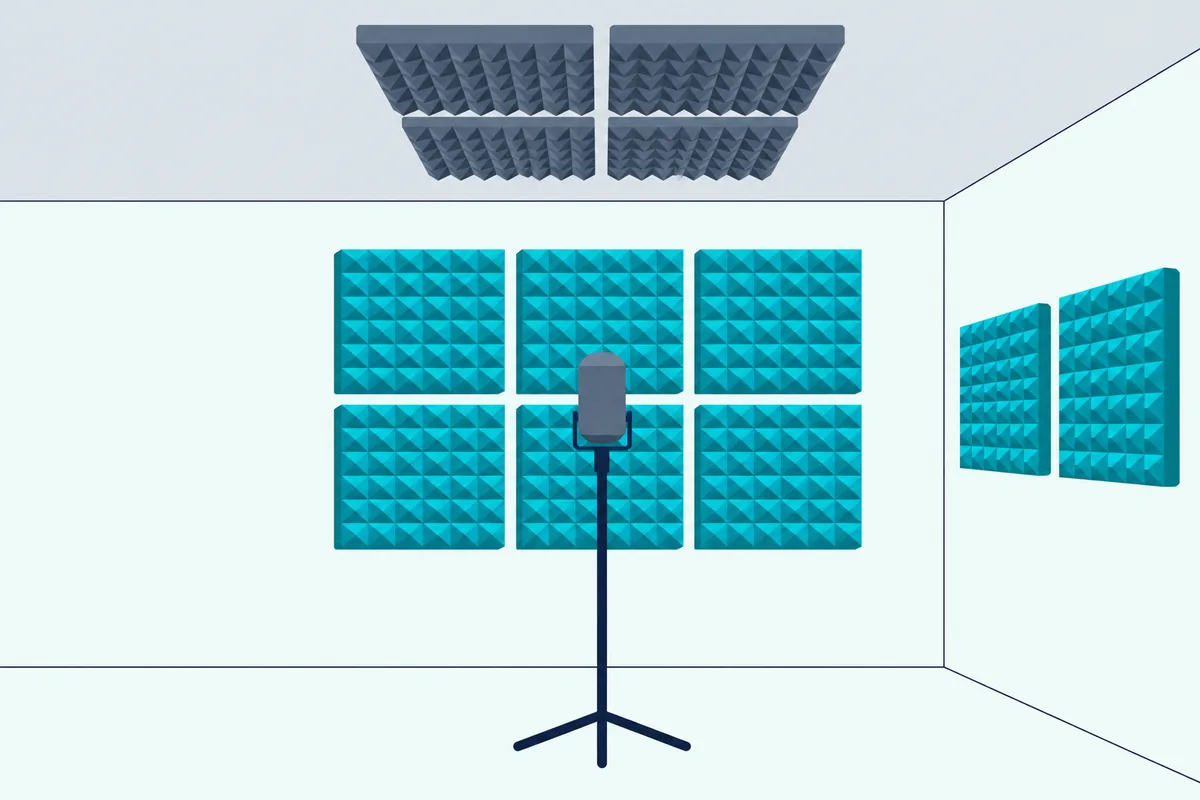
Where you put foam decides which reflections it absorbs.
Priority 1: The Wall Behind You
The wall your microphone faces, behind you when you record, is the highest priority. Sound from your voice reaches this wall behind you and reflects back into the front of the mic.
Treat this wall at head height.
Priority 2: First Reflection Points
Side walls at ear/mic height create first reflections that arrive at your microphone milliseconds after direct sound. These cause comb filtering and reduce clarity.
Use the mirror trick to find exact positions, then place 1-2 panels at each first reflection point: Auralex’s home-studio guide says the reflection points the mirror trick finds are exactly where acoustic treatment should go.
For thicker coverage at these spots, the TroyStudio 2-inch Self-Adhesive Panels are 2 inches thick, 18 to a pack, and Auralex’s Acoustics 101 says thicker acoustic foam is better at absorbing low frequency sounds. For arrangement strategies, see how to arrange acoustic foam.
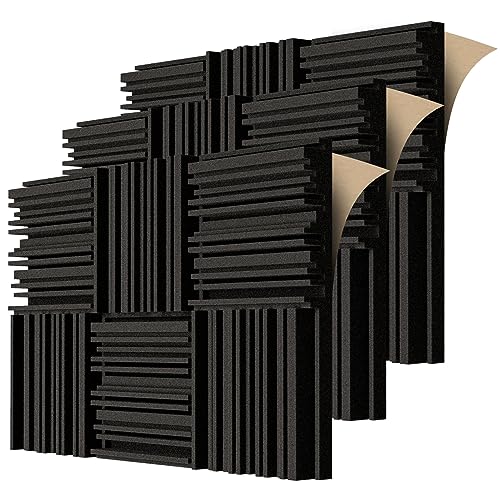
TroyStudio 2-inch Self-Adhesive Panels
Priority 3: Ceiling Above Recording Position
If your ceiling is hard (drywall, plaster), it reflects sound down to your microphone. A ceiling “cloud” of 2-4 panels above your recording position addresses this.
Auralex’s home-studio guide calls the spot directly above the mix position a place where treatment is sometimes overlooked, and highly recommends absorption panels or clouds above the listening position.
Priority 4: Corners (If Bass Is Problematic)
If your recordings sound boomy, add bass traps to corners—especially the corners behind your recording position. Standard foam absorbs little bass, so use thick corner absorbers here.
For detailed placement guidance, see how to arrange acoustic foam.
Foam vs Other Recording Improvements
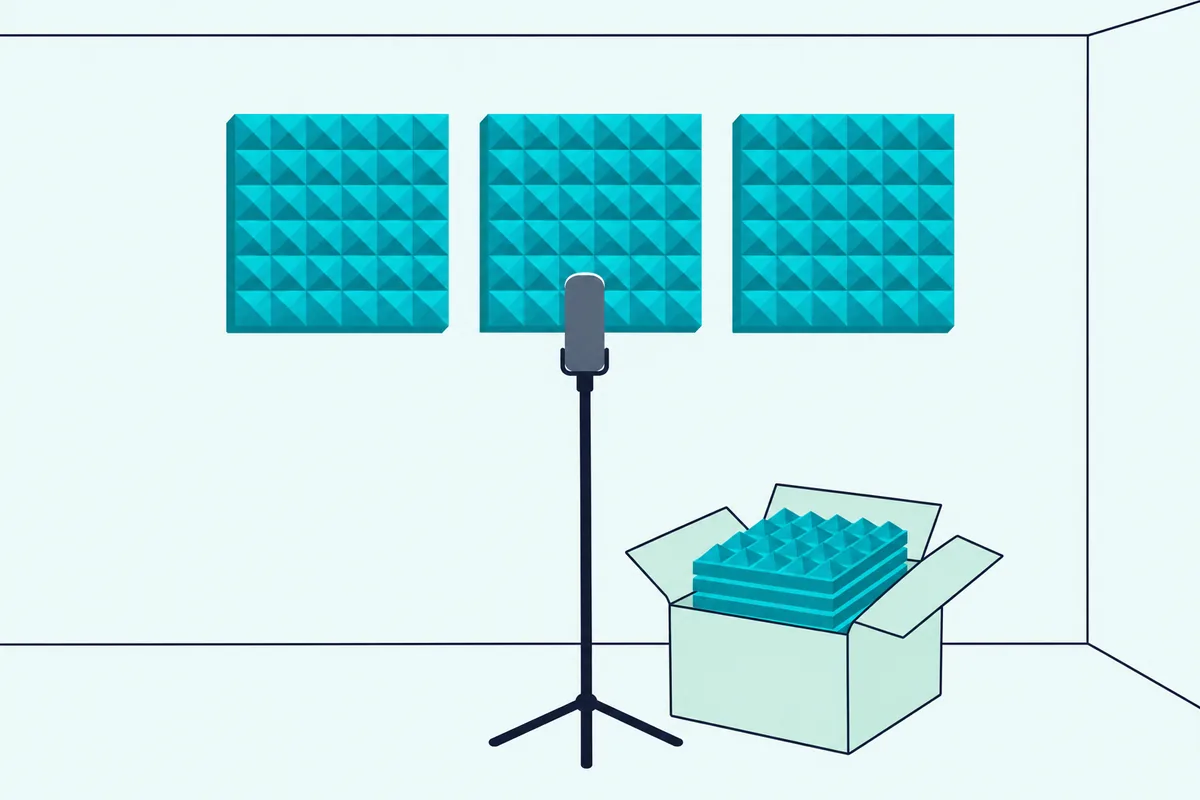
Foam is one of several ways to improve recording quality. How does it compare?
Foam vs Better Microphone
Foam or a different microphone? The answer depends on your current situation.
If your room is untreated and echoey, treat the room first: any microphone captures the room’s reflections along with your voice.
If your room is already reasonably controlled, a better microphone might be the next step.
Foam vs Recording Technique
Microphone technique matters too: distance, angle and position change how much of the room the microphone picks up.
Technique and treatment work together.
Learn good technique AND treat your room. They’re complementary, not competing improvements.
Foam vs Post-Processing
Modern software can reduce reverb and room sound in post-production. Why not just fix it later instead of treating the room?
Post-processing has limits.
Foam reduces the room sound the microphone captures in the first place.
The Bottom Line
Acoustic foam improves recording quality by absorbing reflections that contaminate your microphone captures. The improvement depends on the room: hard, untreated rooms have the most reflections for foam to absorb, and already-soft spaces have fewer.
Start with minimal treatment at the positions that matter most: the wall behind you and the first reflection points.
Add more treatment only if problems persist after testing.
Bass problems need bass traps. External noise needs soundproofing.
But acoustic foam absorbs the mid and high frequency reflections.
For recording-specific product picks, see best acoustic foam for recording.
For more guides on foam types, placement, and mounting, start at the acoustic foam hub.
Frequently Asked Questions
How much does acoustic foam improve recording quality?
The improvement depends on your starting point. Untreated rooms with hard surfaces have the most reflections for foam to absorb.
Rooms with existing soft furnishings have fewer reflections left for foam to absorb.
Where should I put acoustic foam for recording?
Prioritize the wall behind you (the wall your microphone faces while you record), then first reflection points on side walls at ear height. A ceiling panel above your recording position helps too.
Start with these locations before adding general wall coverage.
Will cheap acoustic foam work for recording?
Acoustic foam absorbs reflections: Auralex’s Acoustics 101 counts it among the soft materials with high NRCs. Its thickness decides how far down it reaches, since Auralex says thicker acoustic foam is better at absorbing low frequency sounds.
To test whether treatment helps, start with a few tiles at the first reflection points.
How many acoustic foam panels do I need for recording?
Start with 4-6 panels at priority positions (the wall behind you, first reflections) and add more based on results.
Does acoustic foam help with vocal recording specifically?
Yes: Auralex’s Acoustics 101 says controlling reflected sound within a room is extremely important in producing good sounding recordings, and Auralex’s published test of its 2-inch Studiofoam Wedges gives 0.63 at 500 Hz and 0.97 at 1,000 Hz.
Foam at the reflection points reduces the “roomy” quality in a vocal take, and Acoustics 101 counts removing the sound of the room, to one degree or another, among the keys to getting good, clean sound.
Can acoustic foam make recordings sound too dead?
Yes, over-treatment is possible.
Treat strategic positions rather than covering everything. If your room sounds muffled after treatment, remove some panels.