How To Bass Trap A Room — The Complete Step-By-Step Process From Measurement To Placement
How to bass trap a room is a question that trips up most people because they skip straight to buying panels and mounting them in corners — but without measuring the room first, you’re guessing at which frequencies need treatment, how many traps you need, and whether your placement is actually solving the problem or just making the room look treated.
The difference between a properly bass-trapped room and a randomly treated one is dramatic. A measured approach can flatten your room’s bass response by 10-15 dB at the worst modes, while random corner placement might only reduce problems by 3-5 dB and miss the frequencies causing the biggest issues entirely.
Bass trapping a room follows a clear four-step process: assess the room’s specific problems, choose the right type of bass trap for those problems, position the traps in the highest-impact locations, then measure again to verify and adjust.
Below, you’ll find each step explained with practical instructions you can follow today — from free measurement tools to exact placement priority, plus how to know when you’ve added enough treatment and when to stop.
Bass trapping a room is a four-step process: measure your room’s problem frequencies using REW or a room mode calculator, choose broadband porous traps (4-inch minimum mineral wool or fiberglass) for general treatment, place them in corners and ceiling-wall edges in priority order (front corners first), then measure again to verify improvement. Most rooms need 4-8 traps to achieve meaningful bass control.
How To Bass Trap A Room — The Complete Process

How to bass trap a room properly means following a systematic workflow rather than guessing. The process mirrors how professional acousticians treat studios — measure, diagnose, treat, verify — scaled down to what you can do with free tools and affordable materials.
The biggest mistake people make is skipping step one (assessment) and jumping straight to buying traps. Without knowing your room’s specific problems, you might spend $500 on treatment that targets 200 Hz when your worst mode is at 63 Hz — a frequency that needs much thicker or deeper treatment to address.
Every room is different because every room has different dimensions, construction materials, and furniture layouts. A 10×12 foot bedroom has completely different room modes than a 15×20 foot dedicated studio, which means the treatment plan for each room is unique even if the general approach is the same.
Step 1 — Assess Your Room’s Bass Problems
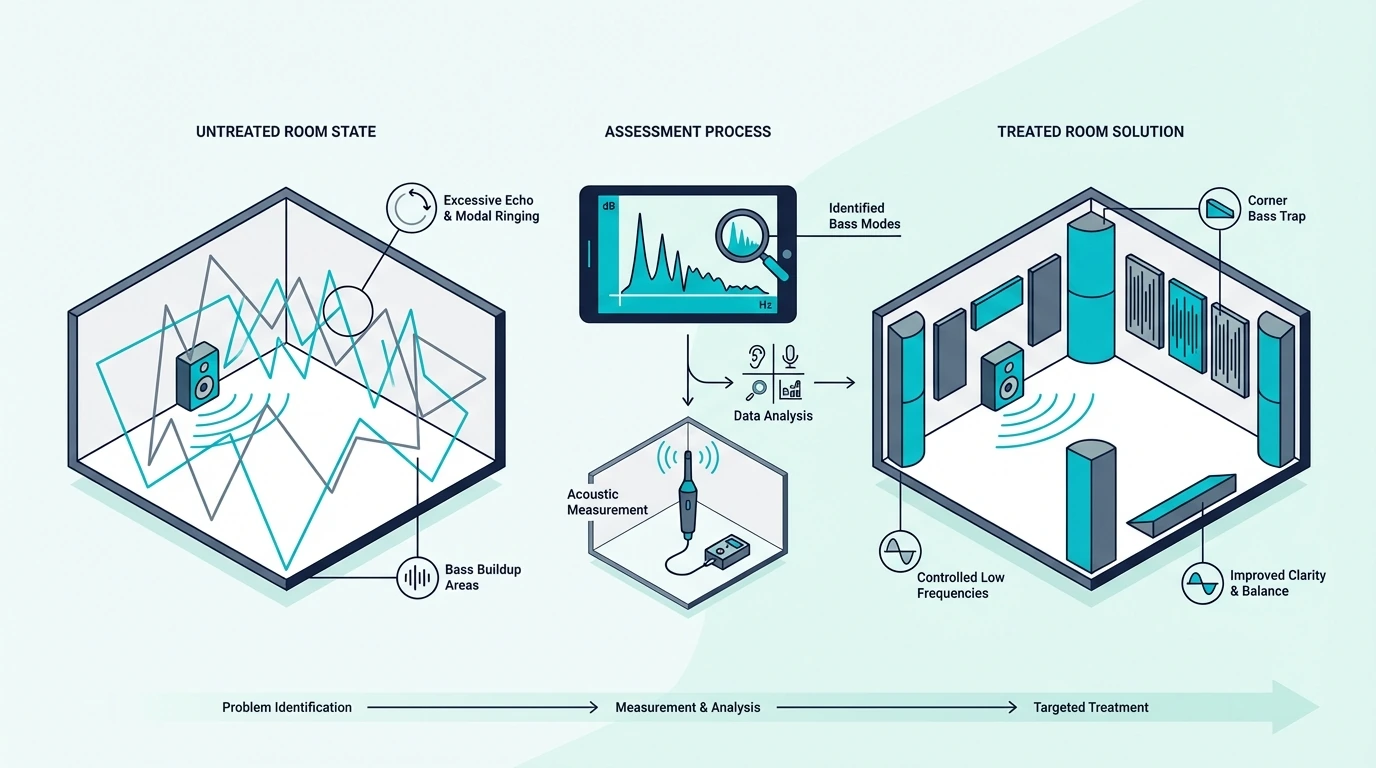
Assessment tells you exactly where your room’s bass problems are so you can target them specifically. You have two approaches: calculation-based (free, fast, approximate) and measurement-based (more accurate, requires basic equipment).
Using A Room Mode Calculator
A room mode calculator takes your room’s length, width, and height and outputs the frequencies where standing waves will form. These calculators are free online — enter your dimensions in feet or meters and you’ll get a list of axial, tangential, and oblique modes.
Focus on the axial modes first — these are the strongest standing waves, forming between pairs of parallel surfaces with harmonics at predictable intervals (a 10-foot room has modes at 56 Hz, 112 Hz, 168 Hz, etc.). The modes from your shortest dimension will be the highest in frequency, while the longest dimension produces the lowest modes.
Look for clusters where multiple modes fall close together in frequency. A cluster of 2-3 modes within a 10 Hz band creates a reinforced peak that’s harder to treat than an isolated mode — these clusters are your highest-priority targets.
Listening Tests You Can Do Right Now
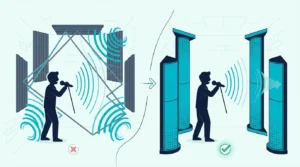
Play a slow sine sweep (20-200 Hz) through your monitors at moderate volume and walk slowly around the room. You’ll hear the bass get dramatically louder in corners and along walls, and quieter (or nearly silent) at certain spots in the room — those quiet spots are nulls where standing waves cancel.
Stand in each corner and listen carefully during the sweep — the corner where bass sounds loudest and most boomy is where your first bass trap should go. This test doesn’t tell you the exact frequency, but it identifies the worst positions quickly.
Clap your hands sharply and listen for flutter echo — a rapid ringing “boing” sound. Flutter echo is a mid/high frequency problem (not bass), but it tells you the room has strong parallel-wall reflections that will also affect bass frequencies in those same dimensions.
Get Studio Tips Weekly
Join 5,000+ creators getting acoustic treatment advice every week.
No spam. Unsubscribe anytime.Step 2 — Choose The Right Bass Traps For Your Room
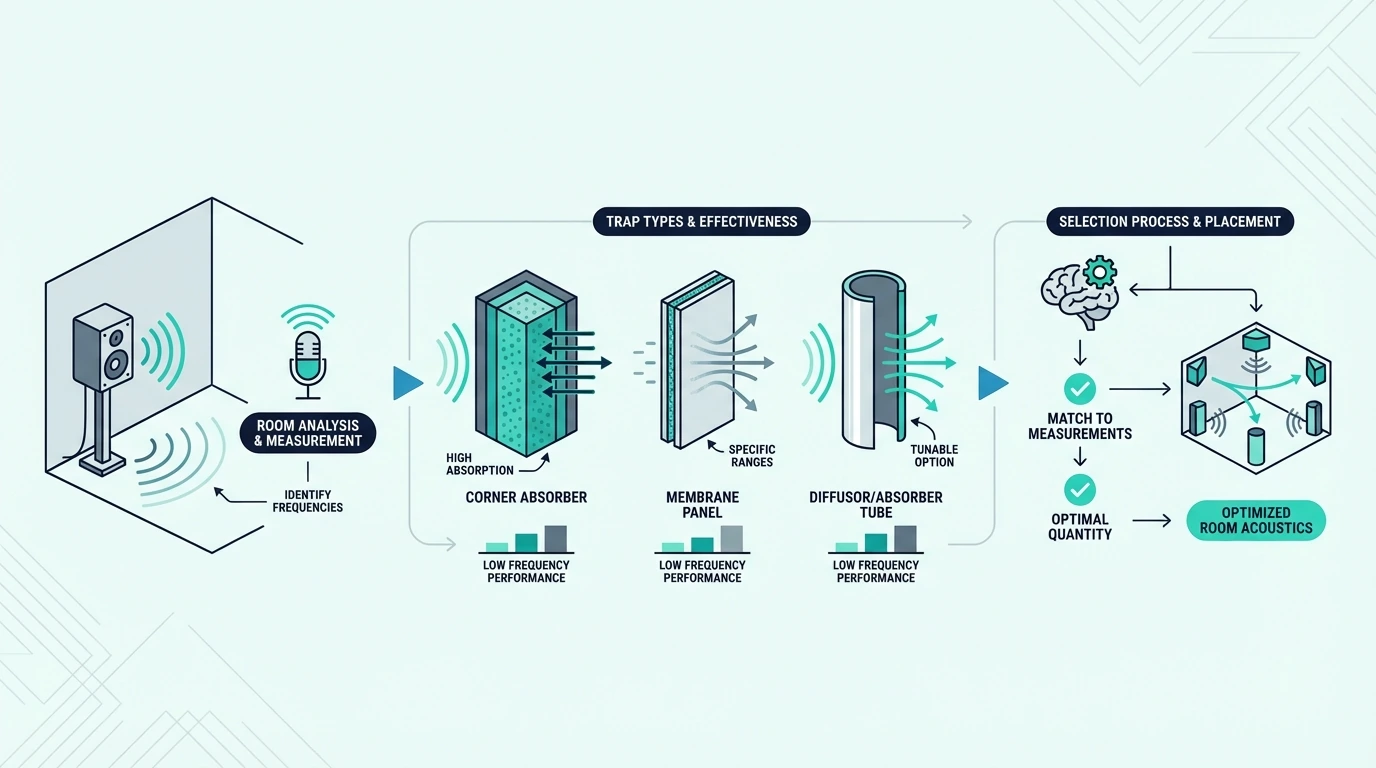
With your room’s problems identified, match the trap type to the severity and frequency range of each problem.
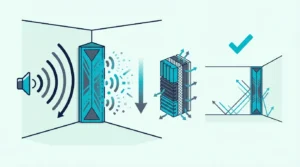
Broadband porous traps (mineral wool or fiberglass panels) are the right choice for 90% of rooms — they absorb across a wide frequency range and forgive placement imprecision, meaning even imperfect positioning still provides meaningful absorption across the bass spectrum. Use 4-inch minimum thickness for any trap intended to address bass below 200 Hz.
Tuned resonant traps (Helmholtz resonators or membrane absorbers) target a specific narrow frequency band. Use these only if you’ve identified a single dominant room mode that broadband treatment hasn’t adequately reduced — they’re a surgical tool, not a general-purpose solution.
Material choice determines how deep into the bass range your traps will reach — mineral wool and rigid fiberglass at 3+ PCF density are the standard materials. Acoustic foam absorbs above 300-500 Hz but contributes little to bass absorption below 200 Hz.
For most rooms, start with broadband porous traps in the corners and add tuned traps later only if measurement shows a stubborn mode that corner treatment didn’t resolve.
Step 3 — Set Up And Position Your Bass Traps

How to set up bass traps follows a strict priority order based on where bass energy concentrates most. Treat positions in this order and stop when measurement shows acceptable results.
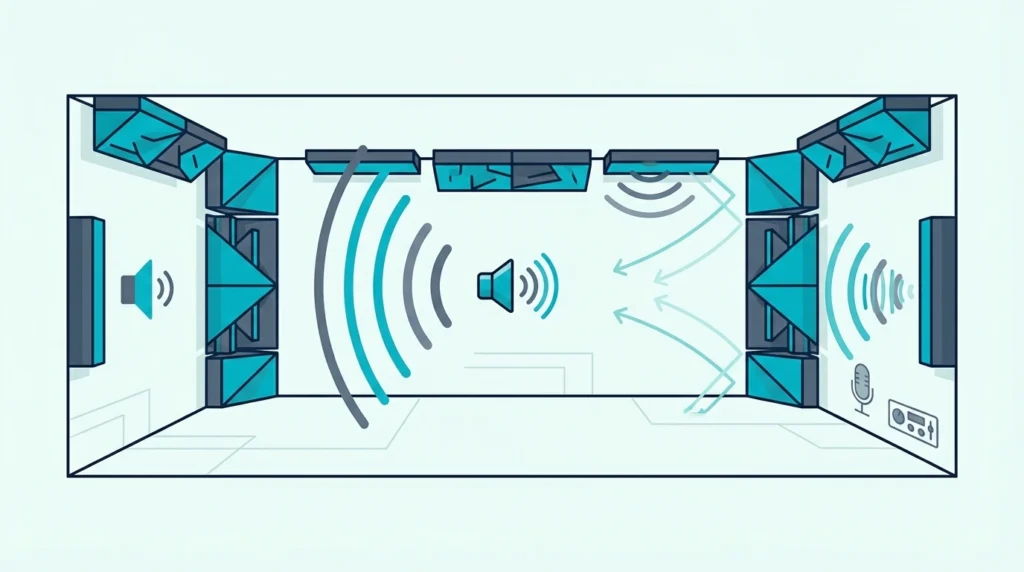
Priority 1 — Front wall vertical corners: The two corners where the front wall meets the side walls are the highest-impact positions because bass energy is strongest where three surfaces converge, and these corners directly affect what you hear at the listening position. Mount traps floor-to-ceiling, straddled across the corner at 45 degrees with an air gap behind.
Priority 2 — Rear wall vertical corners: Same treatment as front corners. Rear wall reflections cause comb filtering at the listening position, and corner-mounted traps at the rear address both the corner pressure zone and the rear wall reflection simultaneously.
Priority 3 — Front ceiling-wall edges: The junction where the ceiling meets the front wall is a high-pressure zone that vertical corner traps miss. Mount a trap along this edge to catch bass energy accumulating at the upper front boundary.
Priority 4 — Remaining ceiling-wall edges and side wall treatment: After the primary positions are covered, add traps along the remaining ceiling edges and at side wall first reflection points if budget and space allow.
Installing bass traps with L-brackets, French cleats, or adhesive depends on the mounting surface and whether you’re renting or own the space. Straddled corner mounting requires brackets that hold the panel at 45 degrees across the corner.
Step 4 — Measure And Adjust

After placing your initial traps, measure the room again using the same method as step one. Compare the before and after frequency response curves to see exactly where and how much improvement you achieved.
A successful first round of treatment typically reduces the worst room mode peaks by 6-10 dB. If peaks are still above 6 dB over the average response level, consider adding more treatment at the remaining priority positions.
Signs that you’ve added enough treatment: the bass response curve is relatively smooth (peaks and nulls within 6 dB of average), speech and music sound natural and balanced at the listening position, and there’s still some natural room ambiance (the room doesn’t sound uncomfortably dead).
Signs that you need more treatment: specific bass notes still boom noticeably at the listening position, the frequency response still shows peaks above 10 dB, or bass traps haven’t made an audible difference (likely a placement or thickness issue rather than quantity).
Stop adding treatment if the room starts sounding too dead — overly dampened rooms lose their natural reverb and become uncomfortable to work in. The goal is controlled bass, not eliminated bass.
The Bottom Line
How to bass trap a room comes down to four steps: measure your room’s specific problems, choose broadband porous traps at 4-inch minimum thickness, place them in corners and ceiling edges in priority order, and verify with measurement. Most rooms achieve significant improvement with 4-8 strategically placed traps.
The 4 Pack Bass Traps for Ceiling Corner is a practical starting point for treating all four corners quickly with minimal setup time.
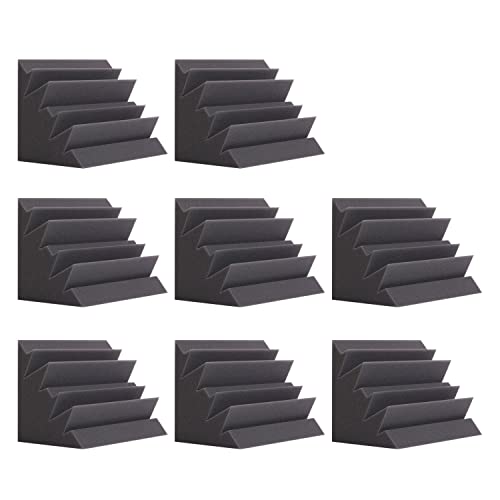
For rooms that need more coverage, the 8 Pack Bass Traps Acoustic Foam Corner provides enough pieces for comprehensive corner and edge treatment, or build your own DIY bass traps for one-third the cost of commercial panels.
Frequently Asked Questions
How to use a bass trap?
Place bass traps in room corners and ceiling-wall junctions where bass energy naturally accumulates — straddle them across the corner at a 45-degree angle for maximum absorption depth. Start with the corners behind your monitors (or primary listening position) and expand to rear corners and ceiling edges as budget allows.
Where should you put bass traps?
Front wall corners are the highest priority, followed by rear wall corners, then ceiling-wall edges at the front and rear walls. Full placement details depend on your specific room dimensions and where the worst modes concentrate, but this priority order works for the vast majority of rectangular rooms.
How deep do bass traps need to be?
Bass traps need a minimum of 4 inches of thickness to absorb meaningfully below 200 Hz — 6 inches reaches deeper into the bass range and is ideal for most applications. Straddling a 4-inch panel across a corner with an air gap behind it effectively doubles the acoustic depth to 8-12 inches, which is why corner mounting outperforms flat-wall mounting for bass treatment.