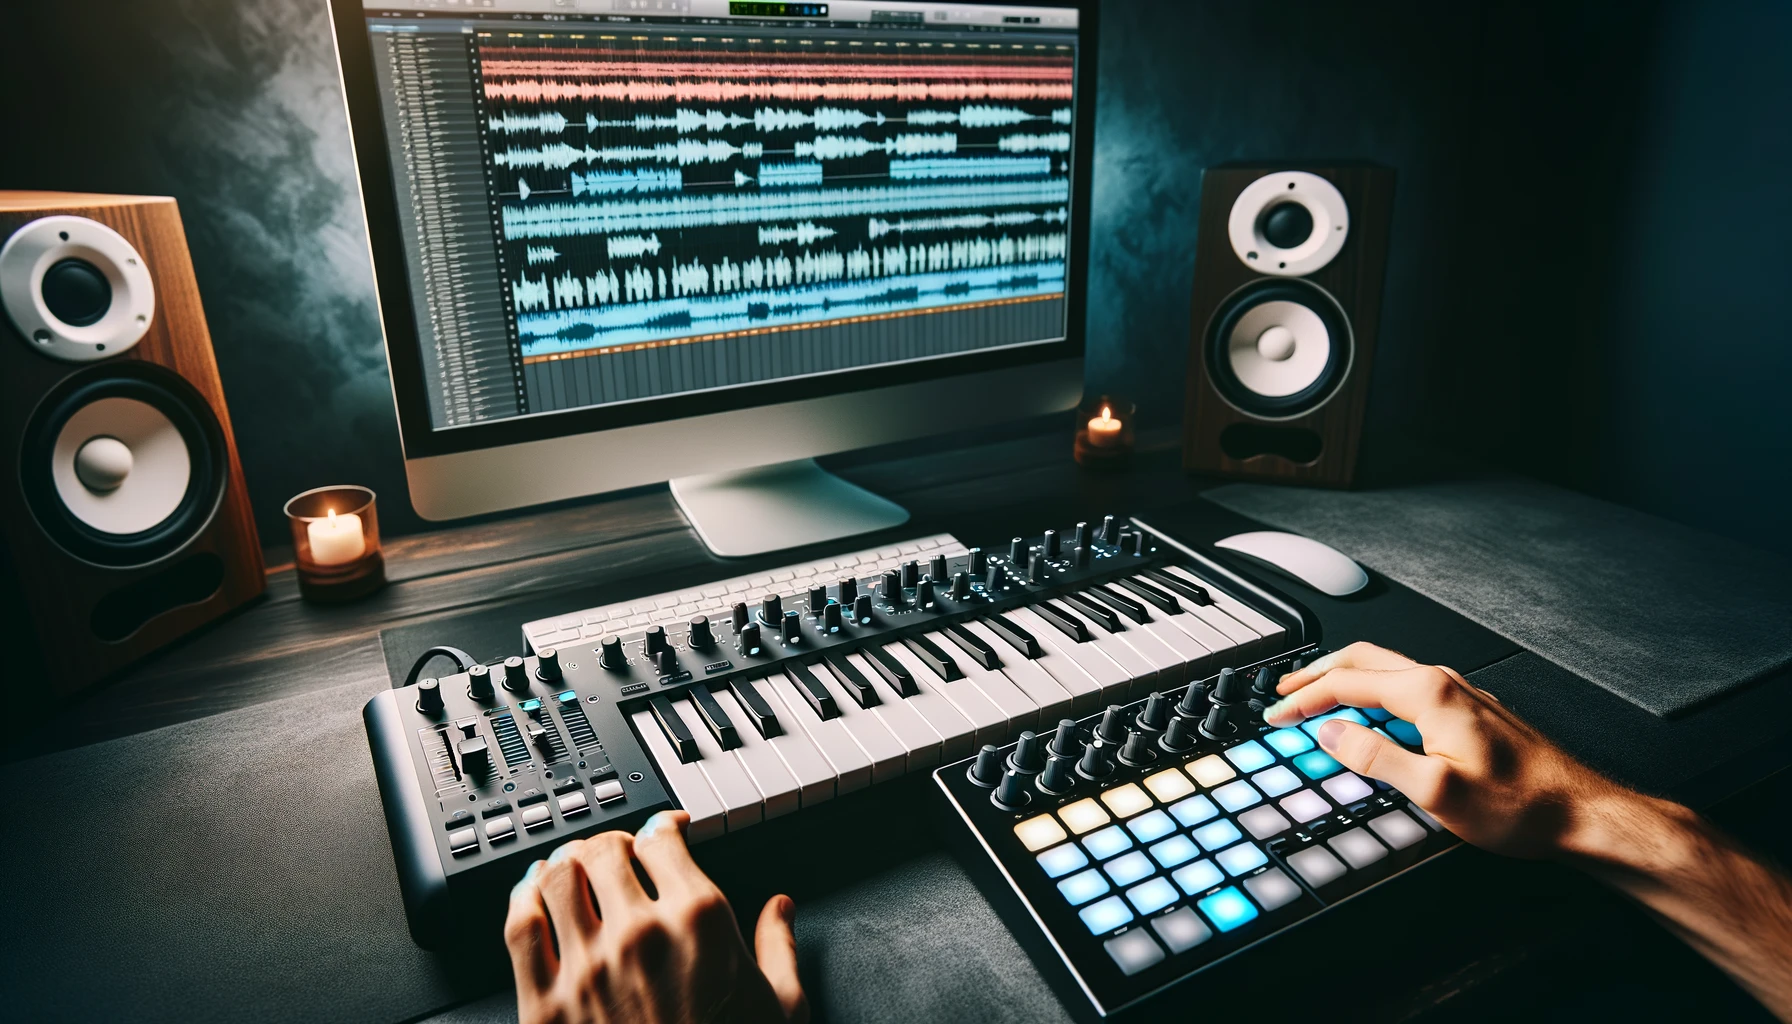
Struggling to control all parameters in your DAW with just one MIDI controller?
Using two MIDI controllers together can expand your creative options, but needs proper setup.
Let’s dive in to see how to connect multiple controllers and optimize their use when producing your next musical masterpiece.
Yes, you can use two MIDI controllers together!
In short, there is nothing stopping you from using two MIDI controllers together at the same time.
Via proper cabling and channel assignments, you can route each controller to separate tracks in your DAW for simultaneous use controlling different instruments and parameters.
We’ll explore specifics below, but rest assured dual controllers are common for production.
Why Use Two MIDI Controllers?
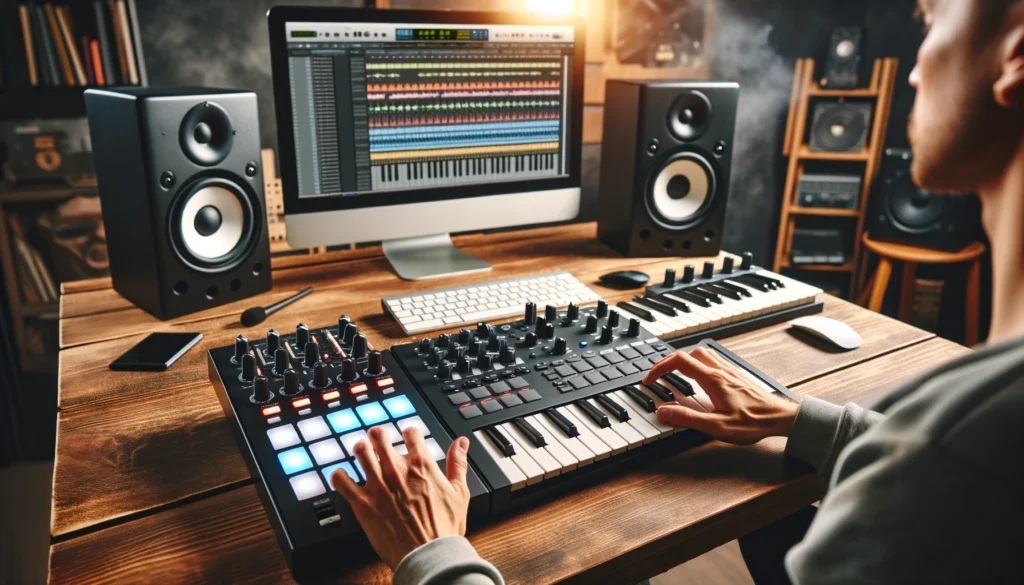
There are several good reasons why someone producing music on a computer might want to use two MIDI controllers at the same time.
The most obvious reason is that using two controllers simply expands the number of physical controls that you have at your fingertips while making music, making it easier to manipulate multiple parameters simultaneously.
Another common motivation is to dedicate different controllers to specific tasks – for example, having drum pads on one MIDI keyboard and traditional piano-style keys on another.
This allows you to optimize each controller’s layout for its intended use.
Using a second MIDI controller can also serve as a useful backup in case your main controller fails at an inopportune time during a music production session.
Additionally, many producers like having different setups for portability while traveling and larger studio integration when working at home base, so having two controllers helps facilitate both scenarios.
How to Connect Two MIDI Controllers
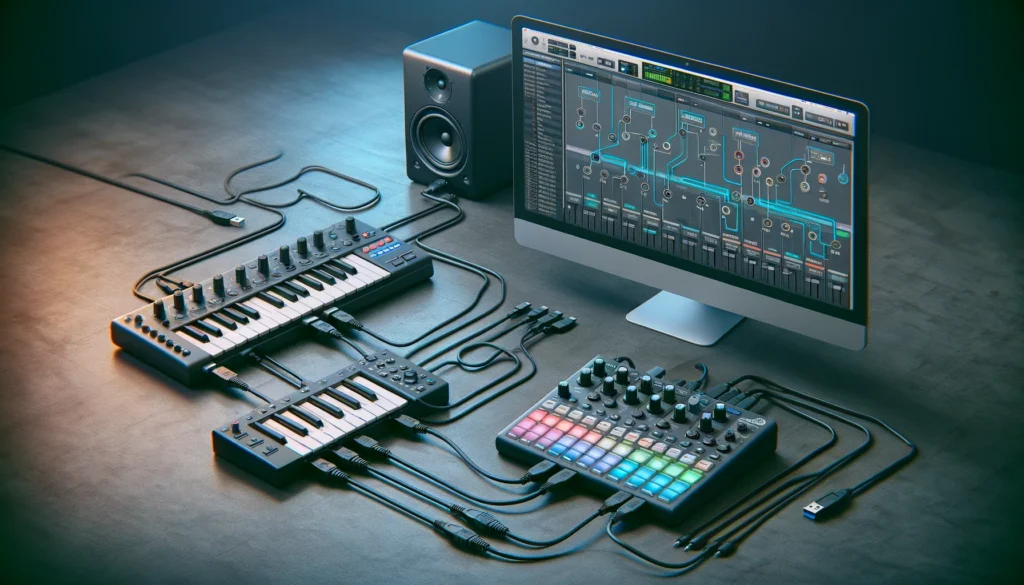
Connecting two MIDI controllers to the same computer and digital audio workstation (DAW) is not difficult at all.
First, use standard USB MIDI cables or 5-pin MIDI DIN cables to plug each controller into your computer individually, just as you normally would with a single MIDI keyboard or pad controller.
It is important that you set each controller to transmit on a different MIDI channel, usually accomplished by adjusting settings on the hardware itself, in order to avoid overlapping note and controller data between the two units.
As long as both controllers are routed to separate tracks in your DAW, using different MIDI channels will keep the two signals separate.
Most DAWs have enough channels to support at least a dozen or more hardware synth and MIDI tracks simultaneously.
Connect by USB and MIDI cables
Most modern MIDI controllers connect to computers via USB, providing both power and data transmission over a single cable.
For controllers without USB connectivity, 5-pin MIDI DIN cables are used instead – one to transmit MIDI data to the computer, and a second to receive MIDI clock sync data back from the computer in order to synchronize timing with any MIDI sequencer software.
Connect each controller following the manufacturers instructions, using either USB or MIDI DIN cables as applicable for each hardware device.
Set controller channels to avoid overlapping messages
Once connected, you will want to configure each controller to transmit data on a different MIDI channel.
Channels range from 1 to 16, so you have many options.
The process for assigning channels varies by device but is typically accomplished using hardware buttons/menus on the controllers themselves.
Consult your user manuals if unsure.
For example, you might set Controller 1 to transmit on MIDI Channel 3 and Controller 2 to MIDI Channel 10.
This will prevent overlapping note messages and controller parameters between the units within your music software.
Route controllers to separate DAW tracks
Finally, set up your DAW to receive each controller on discrete tracks which have been properly assigned to the corresponding MIDI input channels.
For example, route the MIDI track assigned to Channel 3 only to Controller 1, and route the MIDI track for Channel 10 only to Controller 2.
This will ensure controller messages affect only their associated tracks’ instrument and effects chains based on channel assignments.
With the controllers, MIDI channels, and DAW routing properly configured, you are now ready to use both controllers together to enhance your music workflow!
Setting Up MIDI Controllers in Your DAW
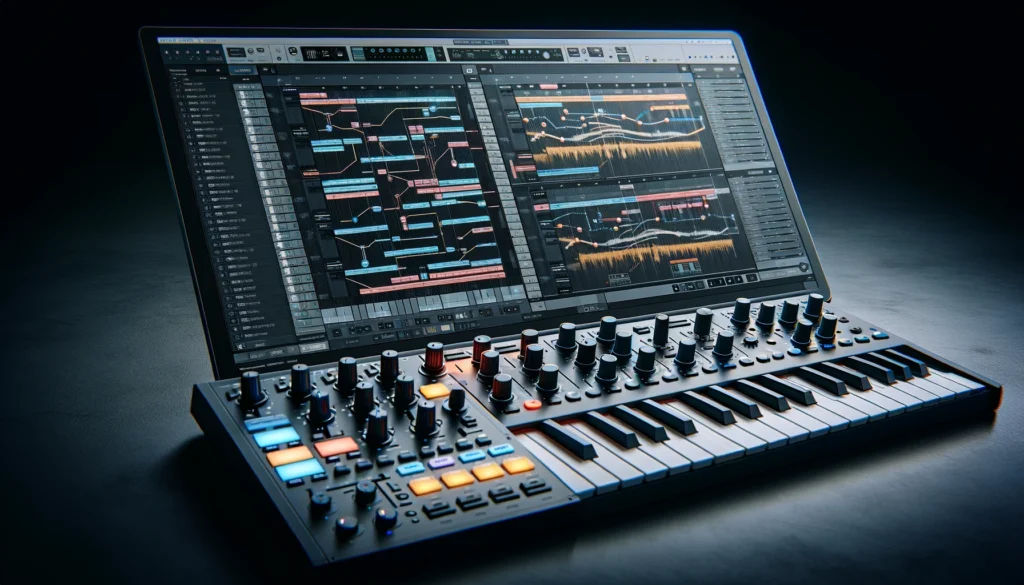
The process of setting up your MIDI controllers and assigning their functionality within your digital audio workstation or music recording software is very important.
Careful setup is crucial in allowing your two controllers to complement one another instead of conflicting as you produce music.
There are a few key steps to take as part of this process:
Assign controllers to separate MIDI tracks
Most DAWs like Ableton Live, Logic Pro, and Pro Tools have multiple MIDI tracks available for assigning hardware controllers and virtual instruments.
You will want to connect each hardware controller to its own MIDI track, to avoid confusion and allow customization for each unit.
Set MIDI input for each track
Within your DAW’s preferences or MIDI track input settings, choose the specific MIDI channel number that corresponds to each controller’s transmission channel determined previously.
For example, assign Track 1 to Controller 1 on Channel 3, and Track 2 to Controller 2 on Channel 10.
This completes the linkage from the physical controllers to their respective software control surfaces.
Map controllers to software parameters
The final stage is mapping each controller’s knobs, faders, buttons, and pads to parameters within your DAW or plugins.
For example, you might map Controller 1 pads to trigger drum samples, while Controller 2 faders adjust EQ bands on your synth track.
Take time to plan out your intended functionality for each to optimize your hardware control.
Considerations When Using Two MIDI Controllers
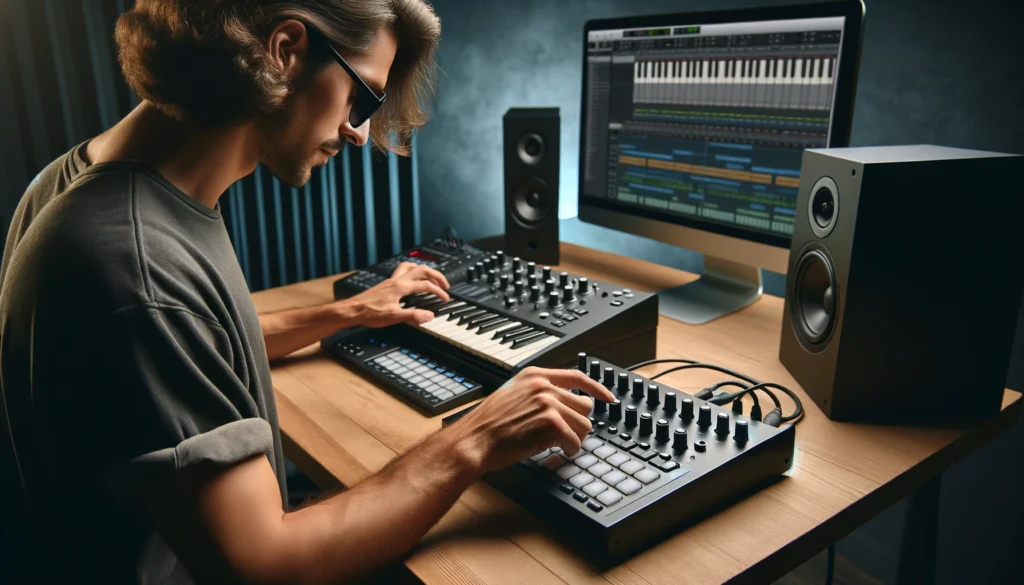
While connecting multiple MIDI controllers to your computer and DAW gives you expanded creative options, there are a few important considerations to keep in mind as you configure your setup:
Watch for conflicting MIDI messages between controllers
If you did not properly assign separate MIDI channels for each controller as outlined above, you run the risk of odd, unintended behavior caused by overlapping MIDI messages being transmitted by both units.
Even small differences like pitch bend or modulation information could build up undesirably if the controllers are not fully isolated.
Sticking to independent channels for each hardware device eliminates this potential.
Carefully manage mixer levels for each controller’s track
When using multiple hardware controllers controlling software instruments or driving internal synth engines within your DAW, things can get loud fast! Be cognizant of track levels to prevent clipping or unintended fluctuations in volume across tracks.
Control loudness for the overall mix using your DAW’s master fader rather than by altering individual track faders automated by the controllers, which could cause balance problems.
Plan out controller parameter assignments thoughtfully
To truly harness the power of multiple MIDI controllers, you will want to map each unit’s controls – knobs, sliders, buttons, pads, etc – to different software functions based on the layout and ergonomics of each piece of gear.
Do not just randomly assign parameters between the two devices.
Instead, think about which controller layouts lend themselves better to specific tasks like drum sequencing versus synth tweaking, and divide up intended functionality deliberately based on playing style and workflow for a natural feel.
Recommended MIDI Controller Pairings
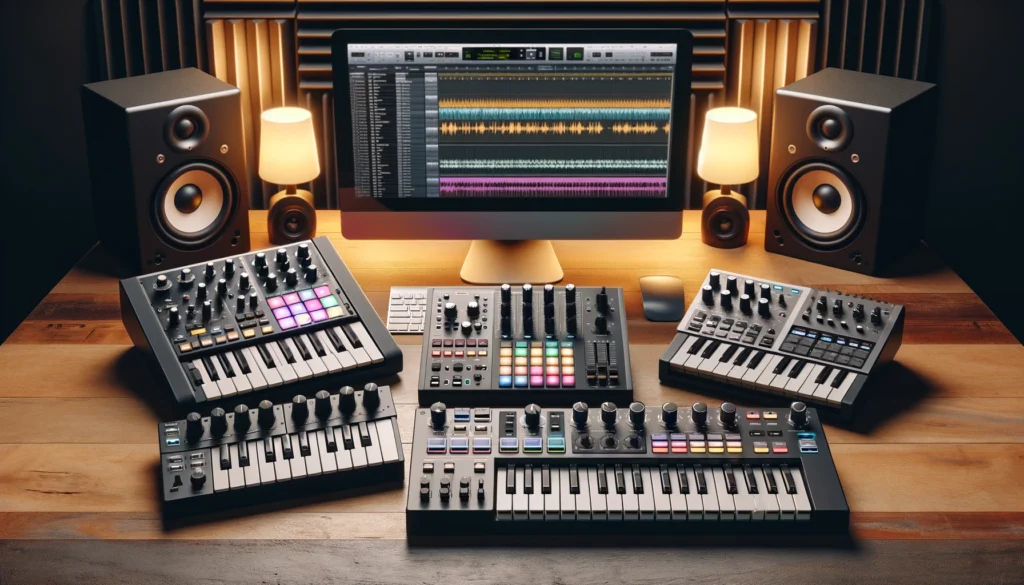
While virtually any two MIDI controllers can be used together successfully with proper DAW configuration, certain pairings tend to work exceptionally well in a complementary fashion during music production thanks to smart functional divides across the joint hardware control surface.
Drum pad controller + Keyboard controller
This is perhaps the most versatile and commonly-used MIDI controller pairing.
The drum pad device specialized buttons and velocity/pressure-sensitive rubber pads for excellent rhythmic sequencing, freeing up the full-size pianostyle keyboard for more expressive melody and harmony creation as well as quick DAW navigation and mixing moves.
Brands like Native Instruments offer both keyboard controllers and drum machines to facilitate this setup.
Synth controller + Generic knobs/faders unit
For producers focused on electronic music creation, pairing a specialized synth control surface with a generic unit of knobs, sliders and buttons can make sound sculpting much easier.
The synth controller provides direct hands-on manipulation of the target synthesizer parameters while the secondary unit accesses additional sound shaping tools or perhaps DAW mixing duties.
This enables deep sound design while keeping other vital controls nearby in a configurable layout not tied to a certain synth product.
Keyboard for chords + Controller for leads
Even keyboard players doing live performance with multiple instruments appreciate having a secondary controller on hand just for soloing, leads, or parameter tweaking.
This allows them to play chord progressions or harmonies on the main keyboard using familiar piano fingering without jumping around the range.
Meanwhile, solo parts can be optimized separately on the second controller – perhaps even using a wind or guitar controller for more authenticity.
The keyboardist can switch more fluidly this way without compromising on either task.
Conclusion
As you can see, utilizing two MIDI controllers together in a music production environment has many creative benefits.
With minimal setup of controller MIDI channels, DAW routing, and parameter mapping, dual controllers enable accessing more physical controls simultaneously, dedicating specific controllers to certain instruments and production tasks, gaining flexibility in live playing situations, and more.
Common pairings like drum machines plus keyboards or synth engines plus generic control boxes demonstrate complementary combinations, yet experimenting with alternative or unfamiliar controllers can lead to novel workflows as well.
If you only use a single MIDI controller currently, consider expanding your hardware control options by connecting a second unit.
