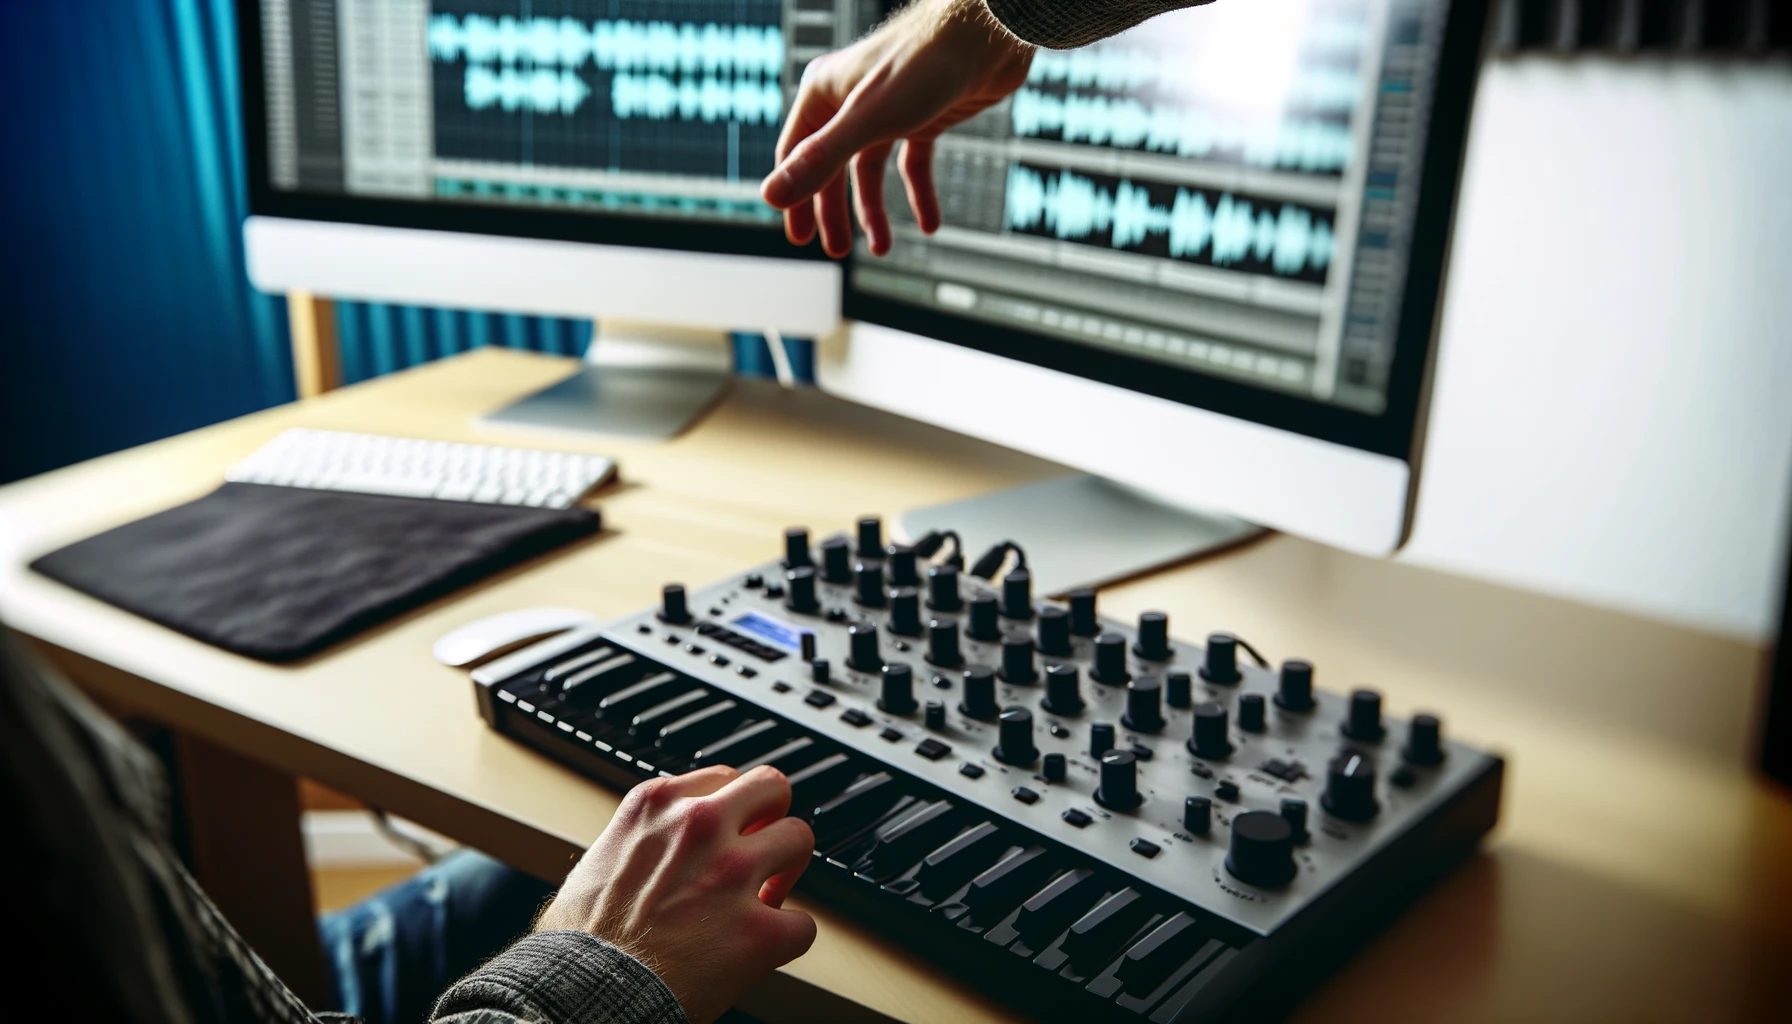
Do your synth patches and drum samples feel stagnant? Learn how connecting a MIDI keyboard unlocks real-time sound manipulation with instant software control.
Let’s explore the essentials of using a MIDI keyboard to shape creative soundscapes via plugin parameter mapping.
How to Use a MIDI Keyboard to Control Plugins in Just a Few Steps
Mapping MIDI controls to audio plugin parameters lets producers shape sound in real-time.
We’ll explore essential connectivity, mapping workflows and creative control assignments inside.
Can I Really Control Plugins with a MIDI Keyboard?
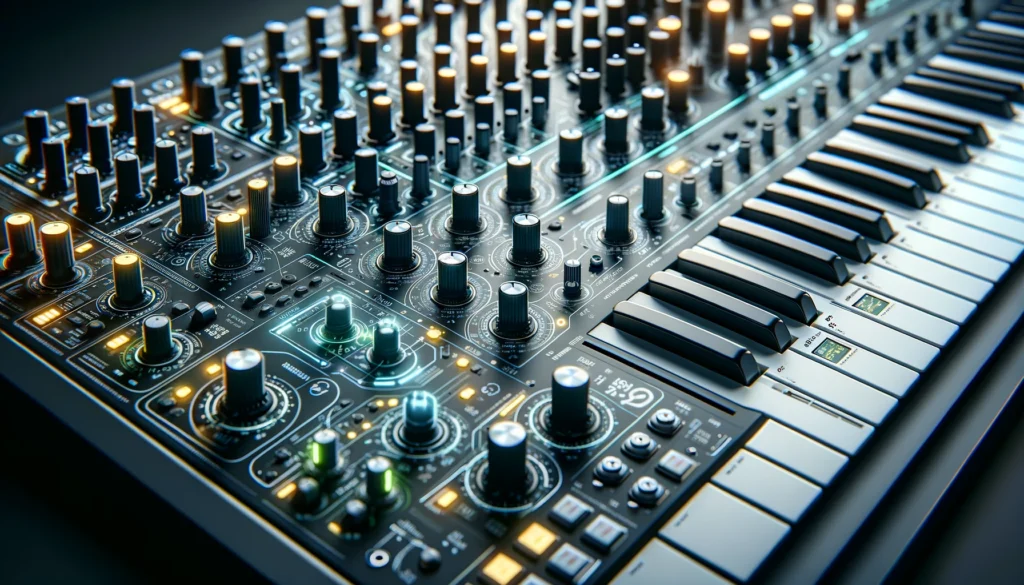
Yes, using MIDI protocol, keyboards transmit performance data to manipulate softsynths, effects and other plugins.
Assign knobs, wheels and more to parameters like filters, envelopes, chorus depth and most anything.
We’ll cover how to setup this powerful creative workflow below.
What is a MIDI Keyboard and What are Plugins?
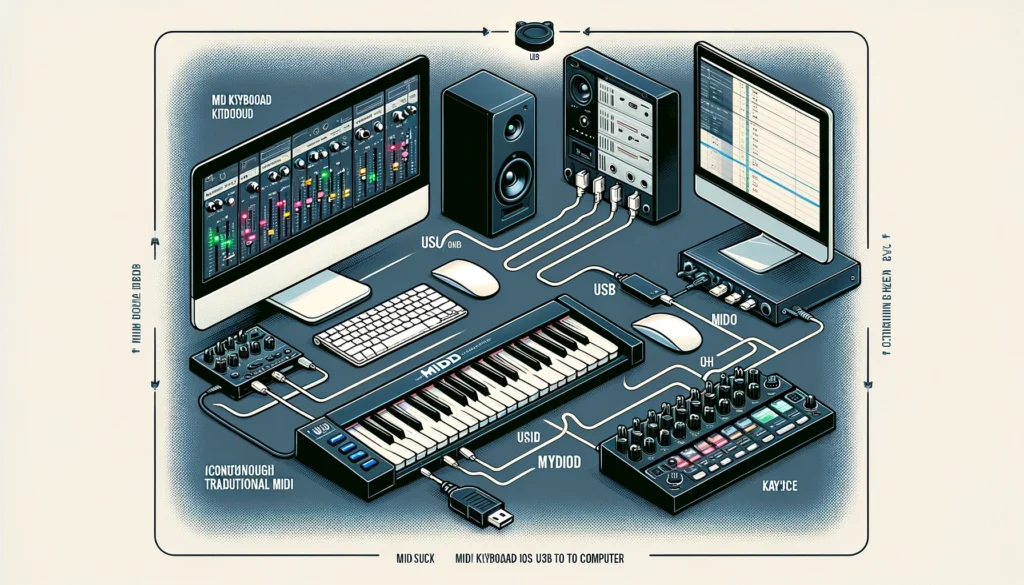
A MIDI keyboard is a type of electronic musical instrument that does not generate its own sound.
Instead, a MIDI keyboard transmits musical performance data to external devices using a protocol called MIDI (Musical Instrument Digital Interface).
This performance data typically includes information like which notes are played, for how long, and with what velocity or force.
MIDI keyboards connect to computers, sound modules, drum machines and more to trigger sounds and control parameters.
Plugins refer to software components that add functionality to digital audio workstation (DAW) software used for music production.
Specifically, audio effect and virtual instrument plugins.
Examples include equalizers, compressors, synthesizers and samplers.
Most plugins adhere to standards like VST (Virtual Studio Technology) and AU (Audio Units), allowing them to integrate with DAWs.
In a typical setup, plugins are inserted into tracks within a DAW session to process, generate or manipulate sounds.
Connecting Your MIDI Keyboard to Your Computer
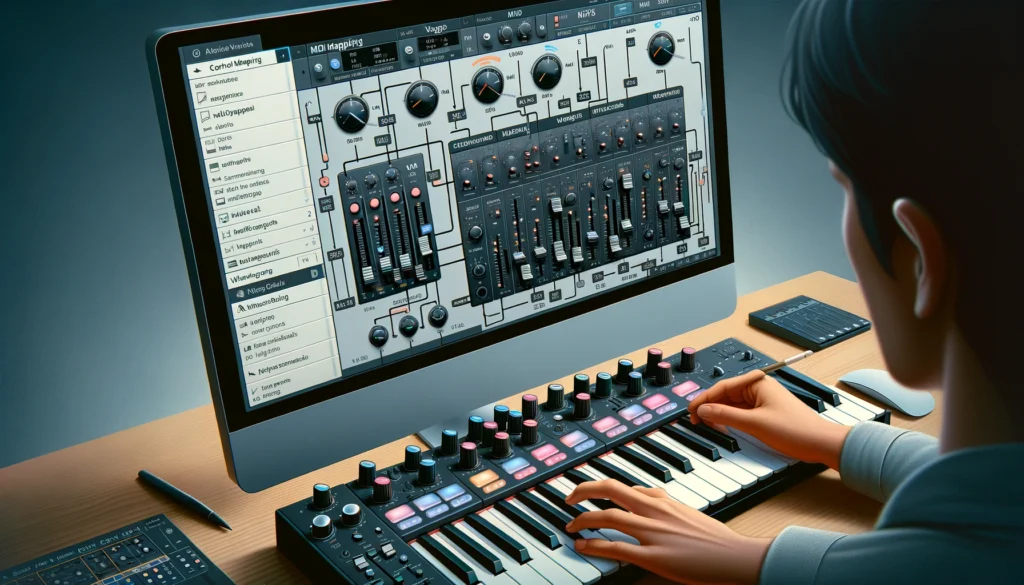
Connecting your MIDI controller keyboard to your computer is the first step in being able to use it to control plugins within your DAW.
There are a couple options for physically getting your MIDI keyboard connected.
Most modern MIDI keyboards connect via USB cable.
Simply plug the USB cable from the MIDI keyboard into an open USB port on your computer.
Some older MIDI keyboards may only have traditional MIDI ports (5-pin DIN connectors).
In this case you would need a MIDI interface to convert the MIDI signal into USB and connect it to your computer.
Once physically connected, you may need to install a driver for the MIDI device to ensure proper functionality.
Most modern MIDI keyboards are plug-and-play though, not requiring any special drivers.
Your computer should automatically detect the device once it’s plugged in.
With the keyboard now connected, the last step is configuring your DAW’s settings to enable communication between the DAW and your MIDI device.
Open your DAW, and within the Preferences/Settings locate the MIDI tab.
Make sure the box next to your keyboard’s name is checked, to enable it for MIDI input to the DAW.
You may also need to set the MIDI input and output channels, and make sure MIDI communication is active globally and on individual tracks.
Mapping MIDI Controls to Plugin Parameters
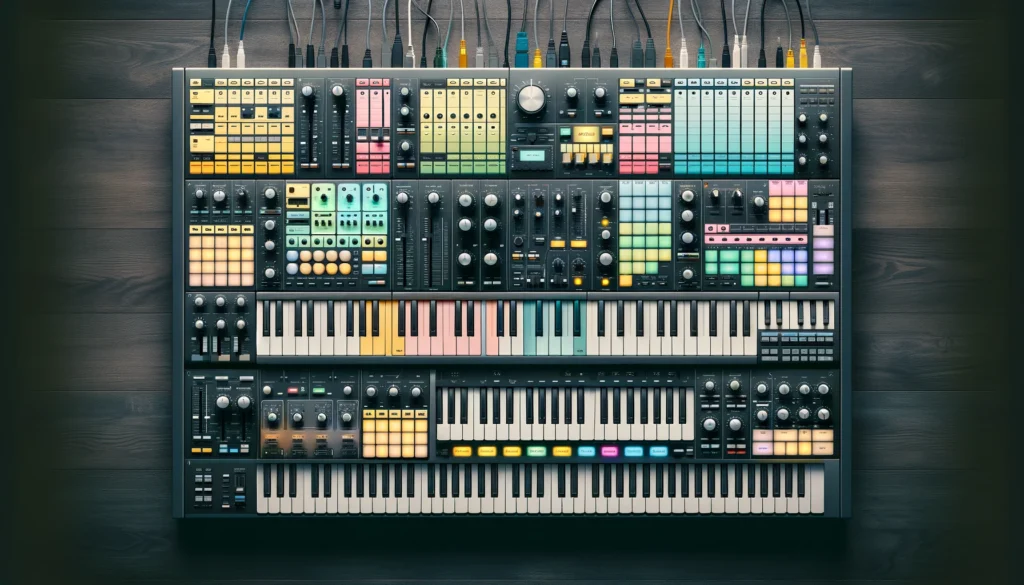
With your MIDI keyboard now properly connected and communicating with your DAW, the next step is mapping the keyboard’s numerous buttons, knobs, faders and other controls to specific parameters within your plugins to allow real-time manipulation.
The standard protocol for mapping MIDI controls to plugin parameters is MIDI Continuous Controller (MIDI CC) messages.
Within your MIDI keyboard and DAW there are 128 assignable CC numbers, each of which can be freely assigned to modulate parameters within a plugin.
For example, you could map CC 1, also called the modulation wheel, to control a filter cutoff or volume or any parameter you’d like to control.
The exact steps for assigning MIDI CCs to parameters varies between DAWs, but the general workflow is: Open the plugin editor window, click on the parameter you wish to control, then move/turn/engage the MIDI control on your keyboard to assign it.
A menu will appear allowing you to save this mapping.
Doing this for various controls will let you shape sounds in real time for creative productions or live performances.
Some useful tips when mapping MIDI controls: Map the most hands-on controls like knobs, faders and wheels first.
Map related parameters near each other, i.e.
filter cutoff and resonance.
Utilize your entire keyboard by splitting and zoning it (see next section).
Leave a few CCs open for ad hoc assignments later on.
Setting Up Keyboard Zones for Multiple Plugins
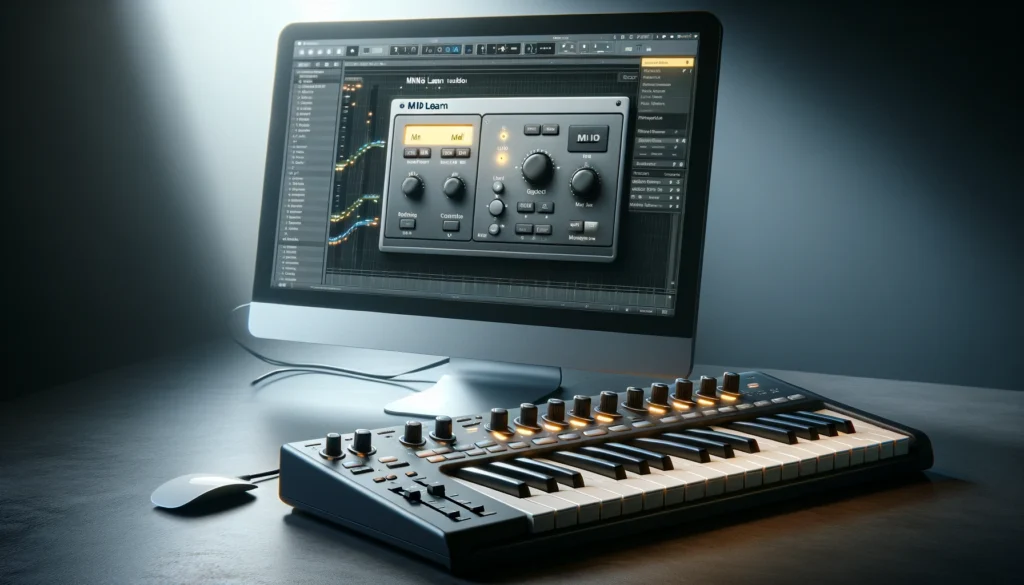
Most MIDI keyboard controllers have the ability to set up keyboard zones, also known as splits and layers.
This allows you to assign specific MIDI channels and thereby specific plugins to certain ranges of your keyboard.
For example, you could configure it so that the left side of the keyboard sends MIDI to a bass synth, while the right side goes to a piano plugin.
Here is how to set up keyboard zones: Open your MIDI interface software for your keyboard (some DAWs feature this natively as well) and locate the zone/split functions.
Create a new zone by defining a MIDI channel number and setting the high/low range of which keys this zone applies to.
Make sure to set the channel number which matches the plugin.
Repeat to layer additional zones with different channel assignments across the desired portions of your keyboard.
Most keyboards can handle 4, 5 or even more zones simultaneously.
Creative ways for using multiple zones include:
– Sustaining string pad on bottom keys, piano on upper.
– Bass synth on left, keys synth sound on right.
– Drum pads/percussion sounds on the very bottom few rows of keys.
The possibilities are endless depending on your choice of synthesizer and sampler plugins layered across your keyboard zones.
Note when playing multiple zones simultaneously to monitor CPU load levels to avoid crackles and glitches in the audio.
MIDI Learn for Real-Time Mapping

In addition to manual MIDI control assignments, most DAWs and plugins also incorporate MIDI Learn functionality that allows for an even faster, more intuitive option for mapping parameters.
The DAW or plugin must have its MIDI Learn mode activated, then it “listens” and detects the specific control moved on your MIDI keyboard, automatically assigning it to the currently selected parameter.
MIDI Learn workflows usually proceed as follows: Open plugin GUI > Select knob/slider to control > Activate MIDI learn mode > Move hardware control.
And just like that you’ve instantly mapped a parameter control without needing to dig into MIDI channel/CC assignment options that standard mapping requires.
Some DAWs also feature native MIDI learn options for their own native plugins.
Benefits of MIDI Learn functionality include:
– Extremely fast, instant mapping of parameters.
– Avoids needing to remember specific CC numbers for controls.
– Often an easier, more standard workflow between various plugin brands.
So whether you opt for manual MIDI CC assignments or real-time MIDI Learn, the key is to spend some time making assignments between your most-used MIDI keyboard controls and the parameters you’d want to shape with musical expression during production or performance.
Top Plugin Controls to Map to Your MIDI Keyboard

When deciding on the parameters to control within your various instrument and effect plugins, you have an immense amount of sonic capabilities at your fingertips.
But where do you start? Here are some of the most essential plugin parameters that can drastically influence sound and are crucial to control in real-time:
– Volume/gain – Control overall loudness and make smooth fades.
– Filter cutoff/resonance – Drastically shape tonal qualities by opening/closing filter over time.
– Effects sends (reverb/delay) – Blend in ambiance and time-based effects.
– Compression ratio/threshold – Tighten up dynamics during busier sections.
– Envelope attack & release – Change the envelope shape by ear for musical expression.
– Pitch bend wheel – Subtly alter pitch for emotive vibratos and builds.
– LFO 1 amount – introduce movement into otherwise static sounds.
Beyond these essential sound shaping controls, also consider mapping controls based on the plugins themselves for creative manipulation…
Synths
– Oscillator wavetype selection
– Sub-oscillator amount
– Unison/voices count
– Distortion drive & tone
Samplers
– Sample start offset
– Slice selections
– Envelope length controls
– Filter type switching
And of course, don’t forget to cater your MIDI mappings to your own personal workflow and style of music production! Have certain ‘go to’ controls handy right under your fingertips for the types of manipulations you find yourself doing on a regular basis.
Custom tailor your mappings around how you like to produce, mix and perform so you can lost in flow state with the power of your MIDI keyboard at your command for limitless real-time sound shaping!
Conclusion
And there you have it! With your MIDI keyboard now seamlessly integrated with your DAW and plugins, an entirely new world of real-time sound design and manipulation awaits.
So break free from static compositions and unleash musical expression through the power of tactile MIDI control over your virtual instruments and studios effects.
Let your creativity run wild!
