
Are you tired of hearing your neighbor’s loud conversations seeping through your concrete walls?
Do you find yourself constantly distracted by the buzz of city life, despite living in a seemingly solid concrete structure? You’re not alone.
Contrary to popular belief, concrete isn’t the all-encompassing solution to soundproofing that many think it is.
While its density does offer some advantages, its limitations are often overlooked, especially when it comes to low-frequency and structure-borne noises.
But don’t worry, soundproofing your concrete walls, floors, and ceilings is entirely feasible—and we’re here to guide you every step of the way.
So, are you ready to turn your noisy space into a sanctuary of silence?
Let’s dive into the ins and outs of soundproofing concrete structures effectively.
What Are the Acoustic Properties of Concrete?
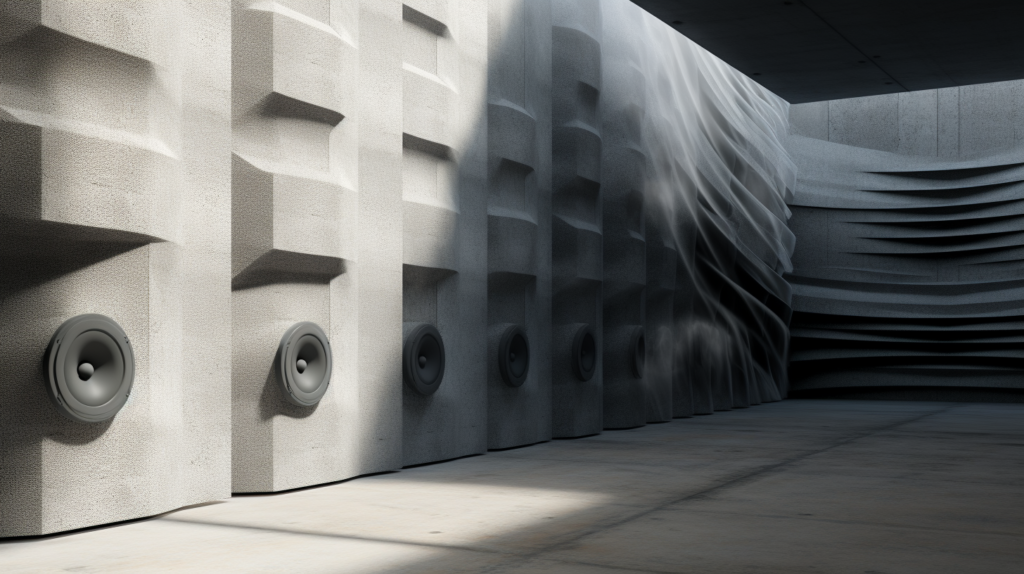
Concrete is commonly perceived as a soundproofing material due to its density and mass.
While it is true that these properties can make it effective at blocking airborne noises such as conversations or traffic, they do not make it universally effective against all types of noise.
For instance, concrete’s rigidity makes it less effective at handling structure-borne or impact noises.
These vibrations can travel through the rigid concrete structure, diminishing its sound-blocking capabilities.
What Are the Limitations of Using Concrete for Soundproofing?
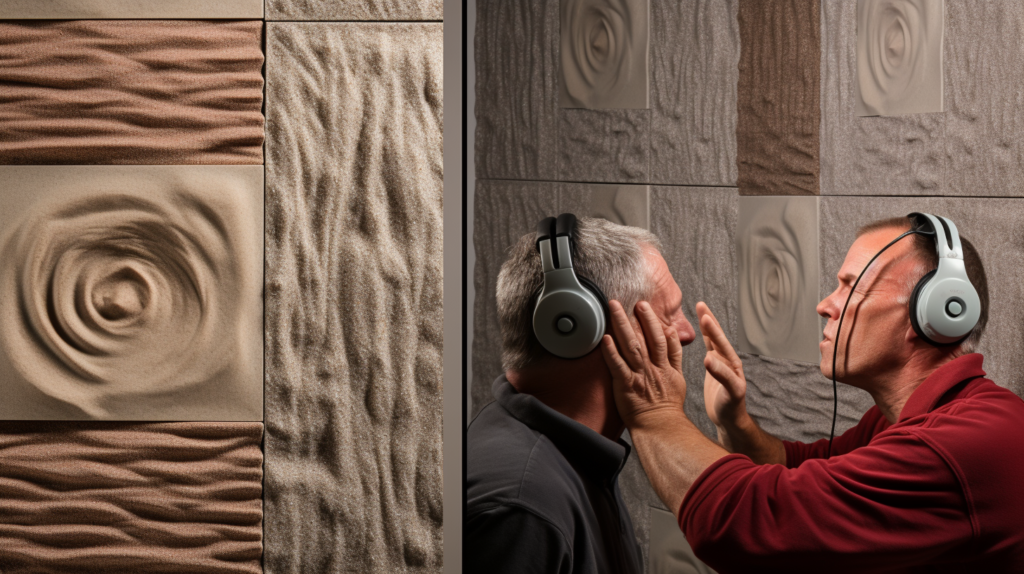
Concrete’s limitations in soundproofing become evident when dealing with different kinds of noise.
While it may be useful for blocking out higher-frequency, airborne noises, it is less effective against low-frequency and structure-borne noises.
These could include the vibrations from industrial machinery, the rumble of underground trains, or the thumping bass of loud music.
Additionally, its hard surface reflects sound, contributing to echo and reverberation issues in enclosed spaces.
Step 1: Conduct a Thorough Assessment
The assessment phase is where you set the foundation for your entire soundproofing project. Start by identifying the types of noise you’re experiencing.
There are primarily two types: airborne noise like voices and music, and impact noise like footsteps or dropped objects.
Use a sound level meter or even a sound meter app on your smartphone to measure the current decibel levels in different areas of your space.
This will serve as a baseline for evaluating the effectiveness of your soundproofing measures later on.
Step 2: Measure Your Space
Understanding the physical dimensions of your space is crucial. Use a tape measure to get accurate measurements of the length, width, and height of the room.
Also, measure the thickness of the existing walls, as this will inform what additional materials you may need.
Sketch out a basic floor plan, noting any potential trouble spots like windows, doors, or air vents, as these areas often require extra attention during the soundproofing process.
How Can You Soundproof Concrete Walls?
Step 1: Prepare All Materials Needed
Before you start, gather all the necessary materials.
This includes wall studs, soundproofing foam (such as mineral wool or fiberglass wool), resilient channels, drywall sheets, acoustic sealant, and fasteners like screws or nails.
Also, prepare the essential tools like a hammer, screwdriver, tape measure, and a saw for cutting the studs and drywall.
Step 2: Inspect and Seal Up Gaps and Cracks
Before building out your wall stud, inspect the existing concrete wall for any gaps, cracks, or holes. Use an acoustic sealant to fill these in.
The sealant is designed to remain flexible even after drying, which helps it absorb sound vibrations more effectively than regular caulk.
Make sure to cover the entire surface area, paying close attention to corners and edges.
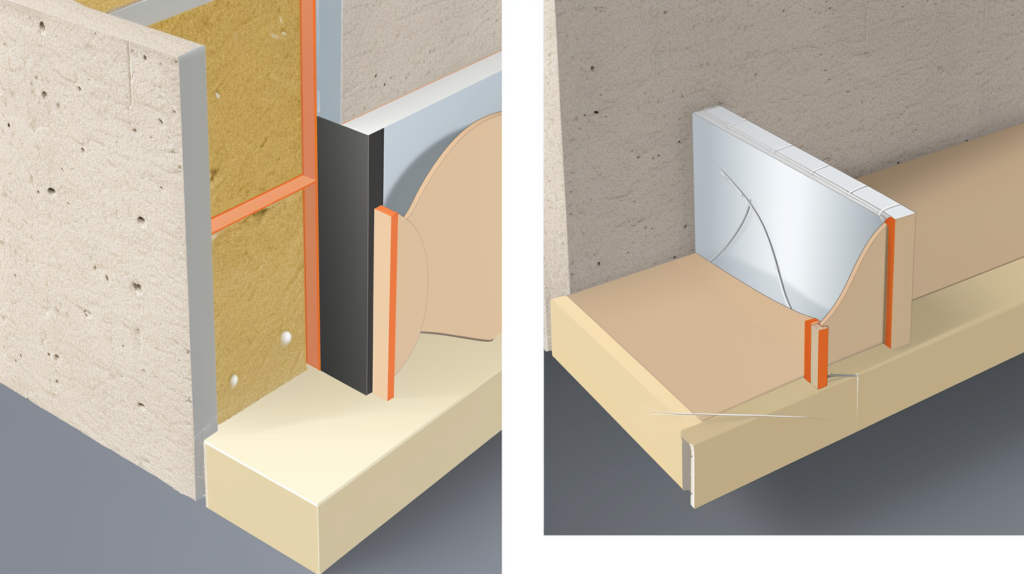
Step 3: Build Out a Hollow Wall Stud
With the gaps and cracks sealed, proceed to build a hollow wall stud frame in front of the existing concrete wall.
Cut the wall studs to fit the height of your wall and space them 16 or 24 inches apart. Secure them to the floor and ceiling using screws or nails.
Ensure the frame is level and sturdy, as it will support additional soundproofing materials.
Step 4: Add Soundproofing Foam Inside the Wall Stud
Next, fill the hollow wall stud with soundproofing foam such as mineral wool or fiberglass wool.
Cut the foam to fit snugly between the studs, filling the entire cavity. This foam will serve as an effective layer for absorbing airborne noise.
Step 5: Install Resilient Channels
Attach resilient channels horizontally across the wall studs.
These channels act as a decoupling layer, reducing the contact between the drywall and the wall studs, thereby minimizing sound transmission.
Space them about 24 inches apart and follow manufacturer guidelines for best results.
Step 6: Seal Up With Drywall
Attach drywall sheets to the resilient channels using screws. Avoid screwing the drywall directly into the wall studs as this would negate the purpose of the resilient channels.
After attaching the drywall, apply acoustic sealant around the edges to fill any remaining gaps.
Step 7: Install Polyester Acoustic Panels
For the finishing touch, install polyester acoustic panels to enhance the room’s aesthetic and add another layer of sound absorption. Measure and mark the locations for each panel.
Use the recommended adhesive or fasteners to secure the panels to the drywall, ensuring full contact for maximum effectiveness.
What Are the Methods to Soundproof Concrete Floors?
For Airborne Noise Soundproofing:
Step 3: Acquire Acoustic Underlay Materials
If you’re tackling airborne noise, gather the materials for your acoustic underlay. This could include rubber or foam underlayments, adhesive, and acoustic tape.
Step 4: Install Acoustic Underlay
Start by clearing the floor area completely. Roll out the acoustic underlay material and cut it to fit your floor dimensions.
Overlap the seams and use acoustic tape to seal them. This ensures that no sound will leak through the seams.
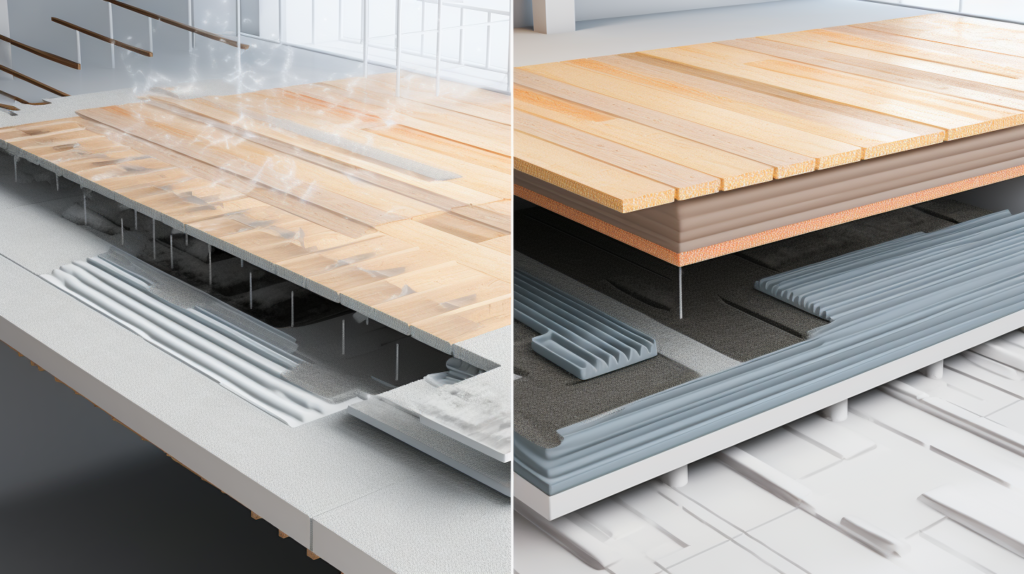
For Structure-Borne Noise Soundproofing:
Step 5: Acquire Floating Floor Materials
If structure-borne noise is your main concern, gather the materials for a floating floor. This includes resilient channels or sound isolation clips, as well as the flooring material you intend to use.
Step 6: Install Floating Floor
Begin by installing resilient channels or sound isolation clips to the existing concrete floor.
These will act as decoupling agents, reducing the direct contact between the new floor and the concrete slab. Once these are securely in place, lay your new flooring material on top.
Step 7: Final Inspection and Testing
Regardless of the method you’ve chosen, it’s crucial to conduct a final inspection. Look for any gaps or seams that might have been missed and seal them.
To test the effectiveness of your soundproofing, you can use a sound level meter to measure noise levels before and after the installation.
How Can You Soundproof a Concrete Ceiling?
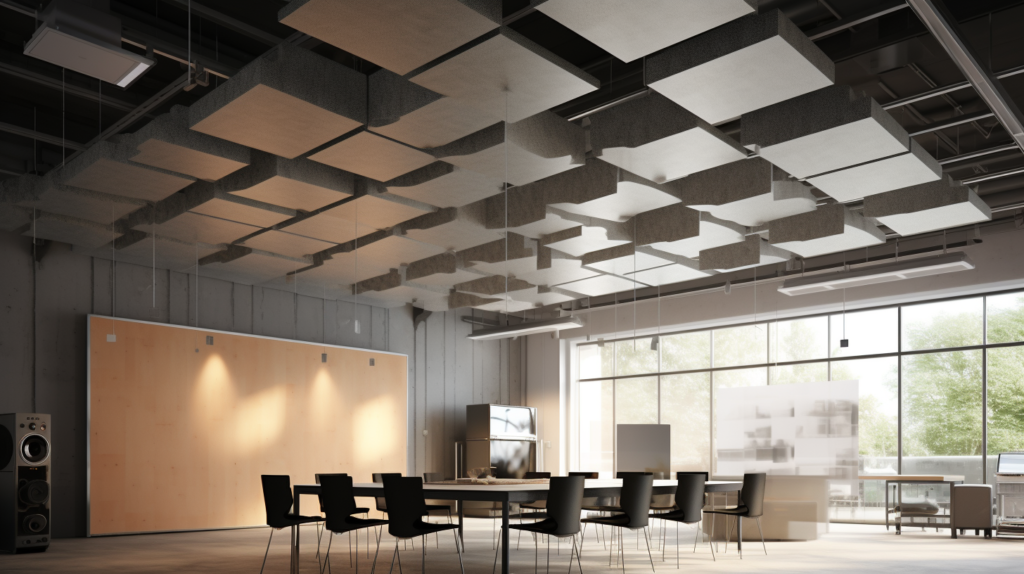
Step 1: Consider a Drop Ceiling
Installing a drop ceiling involves suspending a grid from the existing ceiling and inserting acoustic tiles into the grid.
The air gap between the two ceilings provides an additional layer of sound insulation. Make sure to also include acoustic insulation above the drop ceiling for added effectiveness.
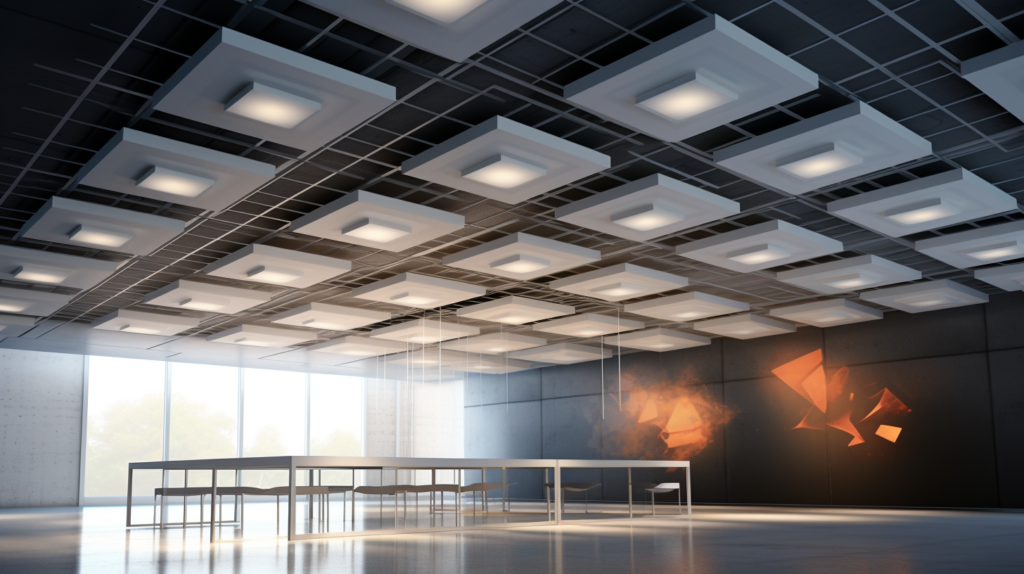
Step 2: Add Acoustic Tiles
If you’ve opted for a drop ceiling, your next step is to add acoustic tiles.
These tiles are engineered to absorb sound waves, further reducing the transmission of noise through the ceiling.
They come in various materials and styles, allowing you to choose those that best fit your space’s aesthetic requirements.
How Do You Measure the Effectiveness of Your Soundproofing?
Knowing whether your soundproofing efforts are effective is crucial for both peace of mind and practical reasons.
One of the most straightforward ways to measure this is by using a sound level meter, a device that quantifies sound intensity.
By taking readings before and after your soundproofing modifications, you can get a clear picture of their effectiveness.
Smartphone apps designed to measure sound levels offer a more accessible, albeit less precise, method of gauging your success.
While not as accurate as dedicated equipment, these apps can provide a quick and easy way to assess noise levels.
If you observe a notable reduction in decibels, you can be reasonably confident that your soundproofing efforts are succeeding.
Personal experience, however, is the ultimate test of soundproofing effectiveness.
If you find that you’re no longer disturbed by street noise, or that your neighbor’s conversations are no longer intelligible, then your soundproofing efforts are likely successful.
This qualitative measure, although subjective, is often the most meaningful indicator of whether your space has become the quiet refuge you desired.
Conclusion
Understanding and addressing the acoustic limitations of concrete is crucial for creating a quieter, more peaceful environment.
Whether you’re looking to mitigate airborne noises like conversations and music or structure-borne noises like footsteps and machinery, the steps outlined in this guide offer a comprehensive approach to soundproofing concrete walls, floors, and ceilings.
From conducting initial assessments and sealing gaps to installing specialized materials like acoustic underlays and polyester acoustic panels, each step plays a vital role in your soundproofing journey.
Remember, the effectiveness of your efforts can be quantitatively measured using sound level meters or even smartphone apps, but the ultimate test is your own comfort and peace of mind.
By following this guide, you’re not just soundproofing a space; you’re enhancing your quality of life. So take the time to assess, measure, and apply these methods. Your ears—and your sanity—will thank you.
Frequently Asked Questions (FAQ)
can you attach acoustic panel to concrete wall?
Yes, acoustic panels can be attached to concrete walls using the right adhesive and preparation. Be sure to thoroughly clean and lightly sand the concrete surface prior to application.
Then apply a quality construction adhesive made specifically for bonding acoustic panels to concrete.
Carefully press the panel in place, using a hand roller or block to evenly adhere the entire surface.
Braces can support the panel while the adhesive cures.
With proper adhesive and installation, acoustic panels adhere well to concrete, effectively absorbing sound for a quieter environment.