Struggling to get your MIDI controller to integrate properly with your music software and hardware?
Connecting a MIDI controller to your computer through a dedicated MIDI interface enables seamless interaction to shape software instruments and manipulate parameters in real-time.
Let’s explore the essential steps to properly setup this powerful music production workflow.
Can I Use a MIDI Controller Through an Interface?
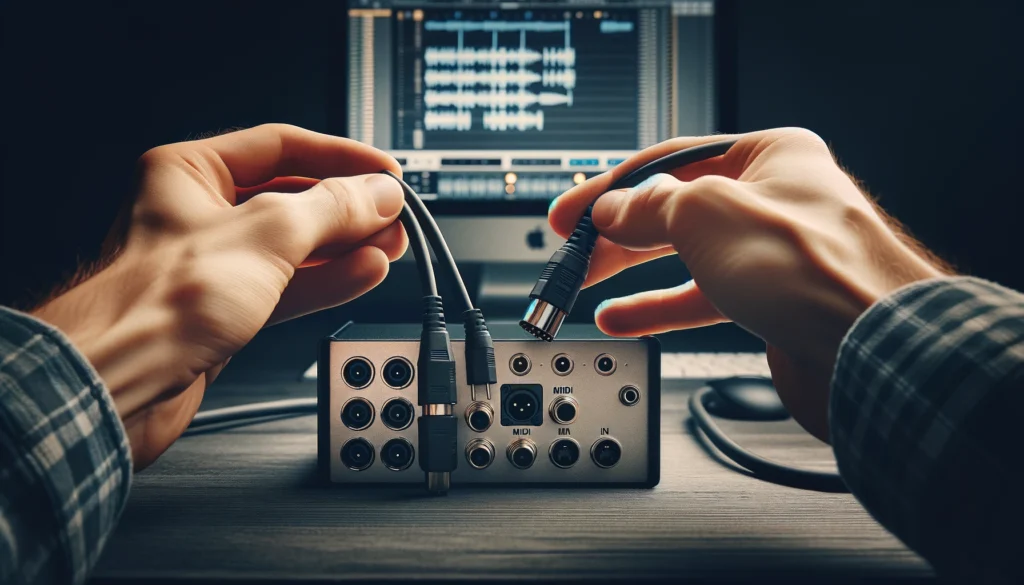
Yes, you can use a MIDI controller through an audio interface! By connecting your hardware controller to a dedicated MIDI interface with MIDI input/outputs, you enable tactile control over any MIDI-equipped music software and instruments.
We’ll explore this setup more below.
What is a MIDI Controller?
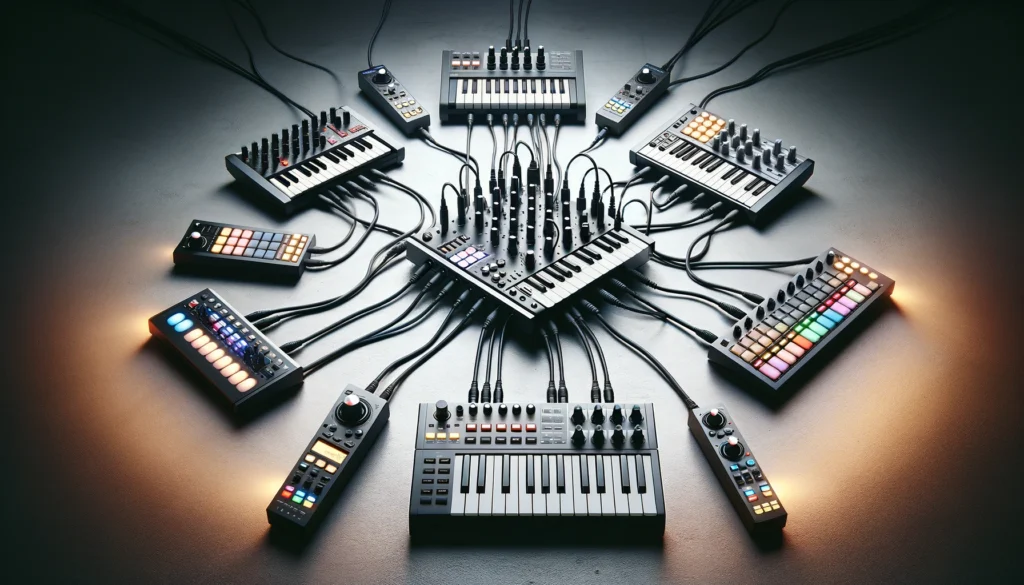
A MIDI controller is an electronic device that generates and sends MIDI data to control software instruments and parameters.
MIDI stands for Musical Instrument Digital Interface.
It is commonly used for music production and live performances.
Some common types of MIDI controllers include keyboard controllers, drum pads, DJ controllers, modular synthesizers, MIDI mixers, MIDI guitars and more.
The most popular MIDI controllers feature faders, knobs, pads, buttons, and keys that can all be mapped to different parameters within computer software and hardware.
The main purpose of a MIDI controller is to give musicians tactile control over their music software and virtually any MIDI equipped device.
They allow for producer to play, manipulate, and shape the sound of software instruments and effects to create their desired sound.
What is a MIDI Interface?
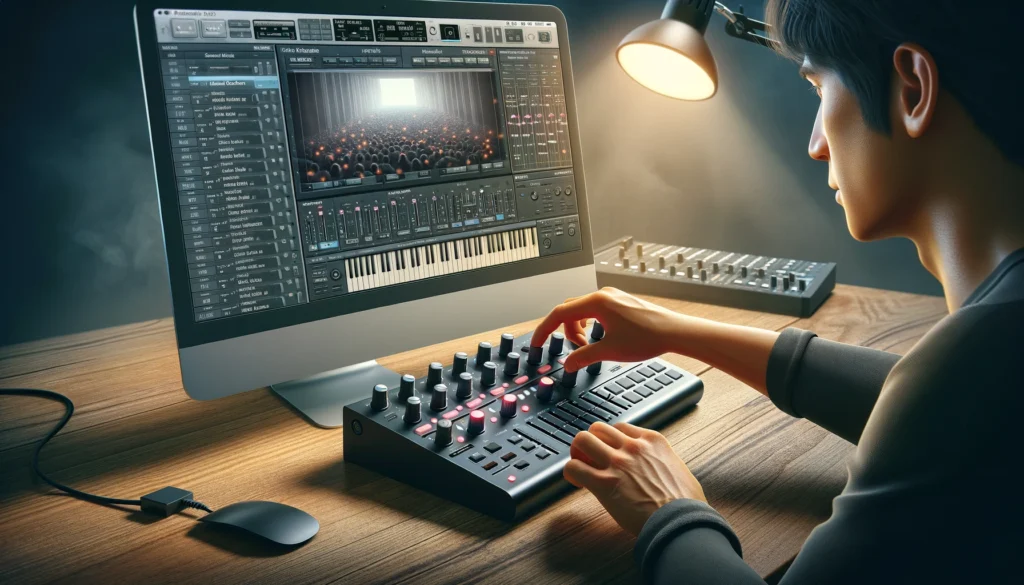
A MIDI interface is an audio interface with MIDI input and output ports that allow a MIDI controller to be connected to a computer and music software.
An audio interface is an external sound card with audio inputs and outputs that connects to a computer, typically via USB or Thunderbolt.
MIDI interfaces feature 1 or multiple MIDI input ports as well as 1 or more MIDI output ports.
The purpose of the MIDI input port is to receive the MIDI data signals coming from your MIDI controllers.
Step-by-Step Setup
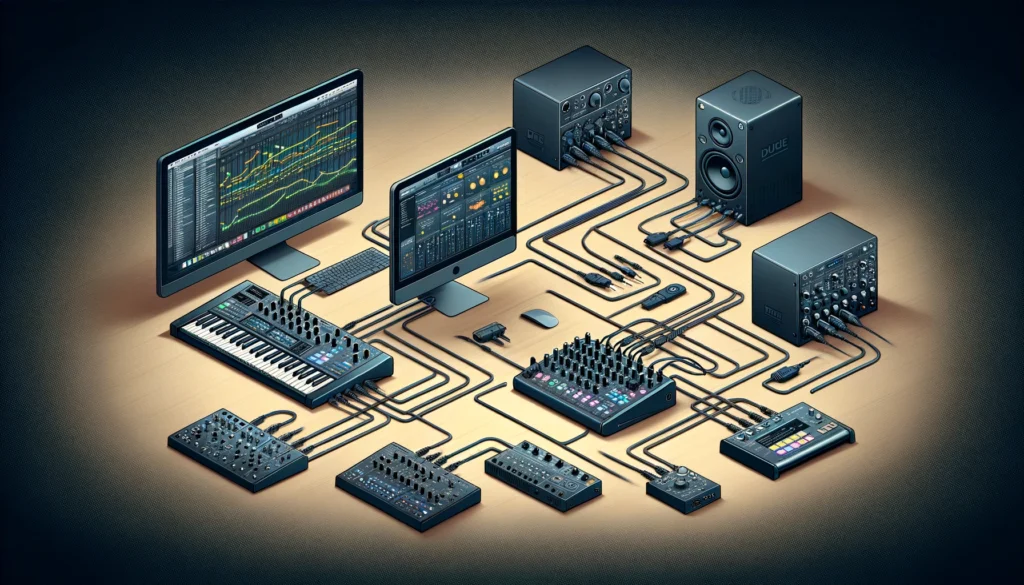
1. Connect MIDI Controller to Interface
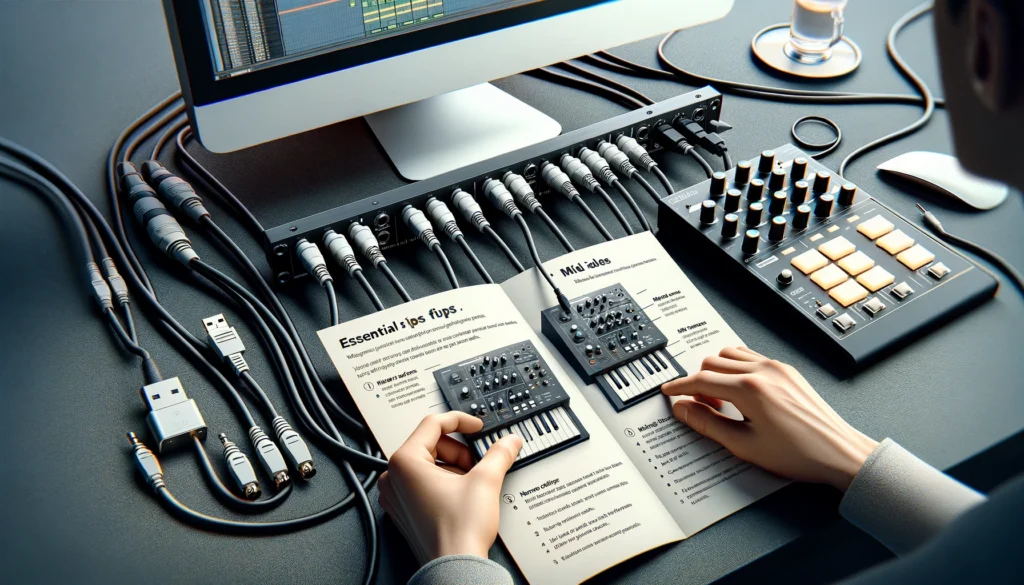
To connect your MIDI controller to a MIDI interface, you will need a MIDI cable.
MIDI cables comes in various lengths and have MIDI Type A or B style connections on each end.
Any standard MIDI cable will work.
Simply connect one end of the MIDI cable to the MIDI output port on your MIDI controller and connect the other end to a MIDI input port on your MIDI interface.
Make sure that your interface has enough MIDI inputs for all of the controllers you wish to connect.
Some interfaces can only handle a single MIDI input.
If your controller does not feature a traditional 5-pin MIDI port, you may need an adapter to properly connect it.
Select an open MIDI input port on the interface.
If there is more than 1 option, it doesn’t matter which one you choose.
Also ensure there are no other MIDI cables or controllers currently connected to the same MIDI input.
2. Install Drivers
Once your controller has been connected to your interface via MIDI, the next step is to install any required drivers that allow your devices to communicate with your computer.
Most audio interfaces include a driver installation CD or require you to download the drivers from the manufacturer’s website.
Install the drivers as directed, then connect your MIDI interface to your computer via USB or Thunderbolt.
Once connected, power on your MIDI controller and interface to ensure both devices are getting power.
MIDI controllers may also require installation of manufacturers drivers or simply be plug and play when connected to an interface.
Consult your devices’ manuals for specifics on driver installation.
Proper driver installation for both interface and controller will ensure maximum functionality and prevent any data transmission issues.
3. Open DAW/Software
The next step is to open your preferred digital audio workstation (DAW) or music software, also referred to as your host software.
Some popular DAW platforms include Ableton Live, Logic Pro, FL Studio, Pro Tools, GarageBand and more.
Your music software is where you will actually control virtual instruments and manipulate parameters using your MIDI controller.
4. Select MIDI Input/Output
Within your DAW or music software’s preferences or settings, there will be options to choose an interface for audio inputs/outputs as well as MIDI input and MIDI output devices.
For MIDI input, select the specific MIDI interface you have your controller connected to.
Some interfaces will show up as the interface name, while some may simply say “Input 1” or something generic.
If you only have 1 MIDI interface connected, select it as the global MIDI input.
For MIDI output, this allows your computer to send MIDI data out through the interface to external sound modules or keyboards.
This step is optional if you only require your controller to send MIDI data into your computer and not vice versa.
5. Start Controlling!
You are now ready to use your MIDI controller to manipulate software instruments and parameters! Play a key, turn a knob, or tap a pad on your controller and you should now see levels and values changing for whatever instrument or plugin the MIDI signal is being routed to.
To assign what controls on your hardware controller affect what parameters on your software instruments, you will need to create a MIDI mapping.
This process differs for every DAW and software plugin.
It usually involves clicking the setting you wish to control on screen, then moving the hardware control.
This “maps” that MIDI signal to control that specific parameter going forward.
Tips
– Make sure the MIDI channels on your interface, MIDI controller, and DAW preferences match.
Use MIDI channel 1 unless you have a specific reason to change it.
– Use quality MIDI cables with secure connections on both ends.
Cheap or defective MIDI cables can cause data transmission issues.
– Consult your device and software manuals if you are having issues getting your MIDI controller to work properly through your audio interface.
Updated drivers and proper MIDI channel assignments are key for full functionality.
The process of connecting a MIDI controller through a MIDI interface enables unmatched hands-on control for music creators.
Whether you are producing tracks or playing keyboard on stage, utilizing external hardware gives you tactile control over the most important component of modern music – software instruments and MIDI technology.
Conclusion
Properly setting up a MIDI controller with a MIDI interface unlocks immense creative potential for shaping software instruments in real-time.
Following the step-by-step connectivity and mapping workflows outlined above, you can now produce music in your DAW using hands-on hardware control.
