
Ever been in the groove of a perfect drum solo, only to be halted by a neighbor’s complaint?
You’re not alone; finding the balance between practice and peace is a challenge many drummers face.
Soundproofing and acoustic treatment, featuring materials like polyester acoustic panels, aren’t just luxuries—they’re essentials for any serious drummer.
Let’s dive in and make those noisy disruptions a thing of the past!
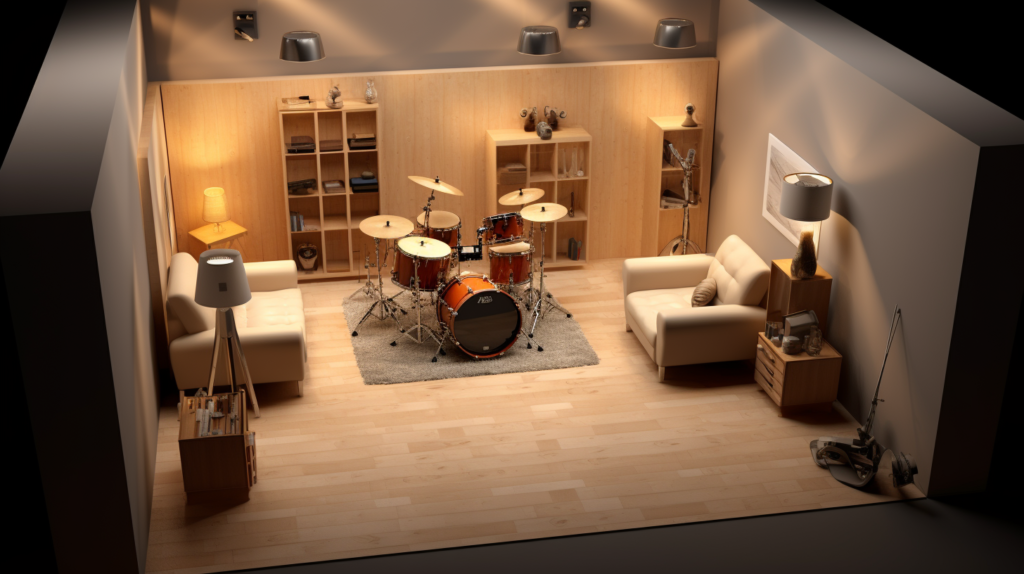
Why Is Soundproofing Essential for Your Drum Room?

Soundproofing is not just a luxury but a necessity for any serious drummer. It ensures that you can practice or record without external noise interference.
At the same time, soundproofing saves you from neighborhood complaints. It helps maintain peace both inside and outside your drum room.
What’s the Difference Between Soundproofing and Acoustic Treatment?
Soundproofing and acoustic treatment are often used interchangeably, but they serve different purposes. Soundproofing prevents sound from escaping the room and entering from outside.
Acoustic treatment, on the other hand, improves the internal sound quality. It makes the sound within the room clearer by reducing echoes and enhancing sound dynamics.
How Can You Soundproof Your Drum Room?

Soundproofing a drum room is not a one-size-fits-all project but rather an intricate endeavor requiring a well-thought-out plan.
This guide aims to arm you with comprehensive insights into each component of soundproofing a drum room, from walls to floors and everything in between.
What Steps Should You Follow To Soundproof Walls in a Drum Room?
Your walls are often the first line of defense against noise leakage. Here’s a detailed step-by-step guide on how to make them more soundproof.
- Locate Weak Spots in Walls: First, examine the walls for any cracks or gaps where sound might escape.
- Apply Acoustic Sealant: Fill in these weaknesses with an acoustic sealant. This provides a baseline level of soundproofing.
- Install Resilient Channels to Wall Studs: Before adding any material between the studs, install resilient channels. These can significantly improve your wall’s ability to block sound.
- Add Soundproofing Foam Between Wall Studs: Cut and place soundproofing foam panels between the studs, over the resilient channels, to further dampen sound.
- Put Up an Additional Drywall Layer: For maximal effectiveness, adding another layer of drywall over the foam can provide an additional sound barrier.
How Should You Utilize Drum Isolation Stands?
Isolation stands serve a crucial role in minimizing floor vibrations. They should be part of your foundational setup for a drum set.
- Select the Right Isolation Stand: Choose an isolation stand that can accommodate your drum set’s size and weight.
- Determine Optimal Placement: The stand should be positioned where it minimizes vibrations—usually, the room’s center is a good starting point.
- Place Drum Set on the Isolation Stand: Finally, place your drum set atop the isolation stand, ensuring it is securely fastened according to the manufacturer’s instructions.
How Can You Make Windows More Soundproof?
Windows can often be the weakest link in your soundproofing chain. Here’s how to fortify them.
- Check for Weak Spots: Identify gaps, cracks, or deteriorating seals that might compromise soundproofing.
- Use Acoustic Sealant: Apply acoustic sealant to these areas to improve sound insulation.
- Invest in Double or Triple-Pane Windows: These windows offer superior sound-blocking capabilities.
- Option for Window Inserts: If a complete window replacement isn’t feasible, installing window inserts can be a practical alternative.
What Detailed Steps Should You Take to Soundproof Doors?
A door’s ability to block sound should never be underestimated. Below is a detailed guide on ensuring your doors are soundproof.
- Examine for Any Gaps: Inspect the door for gaps that sound could slip through, especially around edges and at the bottom.
- Apply Door Seals: Install door seals to fill these gaps, which will effectively reduce sound leakage.
- Utilize Door Bottoms: Add a door bottom to seal off the under-door gap.
- Enhance with Soundproofing Panels: For even better results, add soundproofing panels to densify the door and provide an additional layer of sound isolation.
How Can You Achieve Full Soundproofing for Floors?
Floors can be a silent culprit in undermining your soundproofing efforts. Here are steps to soundproof them effectively.
- Choose Mass Loaded Vinyl (MLV) for Underlay: The best material for acoustic underlay is MLV. This high-density material absorbs a significant amount of sound.
- Install the MLV: Lay the MLV sheets as your first layer on the floor for sound absorption.
- Add Floating Floors: On top of the MLV, install floating floors. These provide an additional layer of soundproofing and further dampen any vibrations.
What Are the Next Steps After Soundproofing Your Drum Room?

Successfully soundproofing your drum room is a milestone, but your journey to create an acoustically perfect space doesn’t end here.
Now that you’ve contained the sound, the next step is to improve the internal sound quality of the room to make your drumming come alive.
This section will guide you through the necessary steps of acoustic treatment, an equally crucial aspect often overlooked.
Why Is Acoustic Treatment Essential After Soundproofing?
After soundproofing, you may notice that while sound doesn’t escape the room, it might still sound ‘dead’ or ‘off’ within the room.
That’s because soundproofing primarily focuses on containment, not quality.
Acoustic treatment enhances the internal sound environment, affecting how sound behaves within the room.
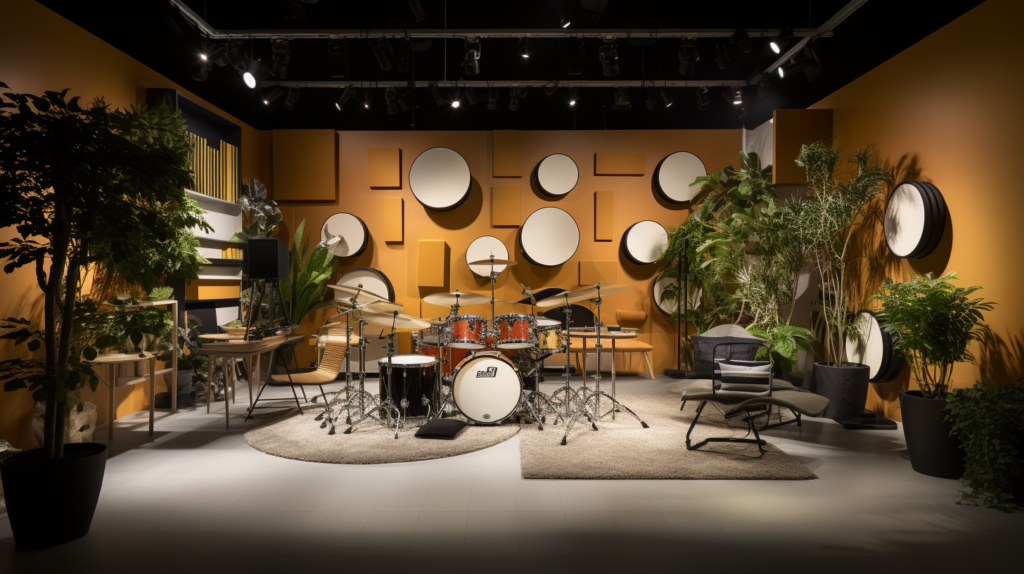
How Do Acoustic Panels Enhance Internal Sound Quality?
Acoustic panels are a game-changer for internal sound quality. They absorb and diffuse sound waves, thereby reducing echoes and making the audio feel more ‘alive.’
Polyester acoustic panels are particularly effective for this purpose.
These panels are highly absorbent and durable, making them a fantastic long-term investment for any serious musician.
What Is the Importance of Regular Maintenance?
Your soundproofing and acoustic treatment efforts are an investment. Like any investment, it requires regular maintenance to ensure its longevity.
Over time, soundproofing materials can degrade. Therefore, make regular checks and replace any materials that show signs of wear and tear to maintain optimal sound quality.
What Are the Best Methods to Soundproof Walls in a Drum Room?
Soundproofing walls in a drum room can be a complex task, but the rewards are well worth the effort.
Walls are the most extensive surfaces in any room, often serving as involuntary amplifiers if not adequately soundproofed.
Before diving into the various methods, it’s important to consider a step-by-step approach to make the project as cost-efficient as possible.
How to Identify the Weakest Surface That Leaks Noise?
The first step in your soundproofing journey is to identify the weakest links. Before making any changes, spend some time playing your drums and listen carefully.
Better yet, have someone else play while you walk around to identify which walls or surfaces leak the most noise.
Once you have pinpointed these weak areas, focus your initial soundproofing efforts there.
Why Tackle Soundproofing Step-by-Step?
Taking a phased approach can be the most cost-efficient way to soundproof your drum room. Start with the areas where noise leakage is most pronounced.
By treating these surfaces first, you can achieve noticeable improvements without breaking the bank.
As you have the budget, continue soundproofing other areas for a more comprehensive result.
What Are the Techniques for Soundproofing Walls?
- Inserting Foam Between Wall Studs: This technique is labor-intensive but offers remarkable results. Soundproofing foam between wall studs acts as an added barrier, effectively reducing noise leakage. This method is akin to building a room within a room, making it highly effective.
- Adding Extra Layers of Drywall: If tearing down walls is not feasible, you can add extra layers of drywall as an alternative. Although not as efficient as foam, this method still offers a noticeable improvement in soundproofing.
How to Budget for Wall Soundproofing?
If budget constraints are not a concern, tackling all the surfaces at once will yield the best results.
However, if you’re working with limited resources, the step-by-step approach allows you to make incremental but impactful improvements.
This way, you can manage costs while gradually making your room a more soundproofed space.
Conclusion
Creating a soundproof drum room is not merely a weekend project; it’s a meticulous endeavor that can significantly enhance your drumming experience.
The road to a fully soundproofed and acoustically treated drum room is one that requires careful planning, a step-by-step approach, and the right materials.
From identifying the weakest noise-leaking surfaces to choosing the most effective soundproofing techniques, each step is crucial in building your dream drum room.
Soundproofing serves the dual purpose of keeping your music in and external noises out, making it essential for any serious drummer.
Yet, the journey doesn’t end at soundproofing. The internal sound dynamics must also be optimized, and this is where acoustic treatment comes into play.
Using effective materials like polyester acoustic panels can significantly improve the internal sound quality, making your drumming sound as good as it feels.
Regular maintenance ensures that your investment in soundproofing and acoustic treatment stands the test of time, offering you an environment where you can practice, create, and enjoy your music for years to come.
By following this comprehensive guide, you’re not just building a room; you’re creating a sanctuary for your art. Happy drumming!