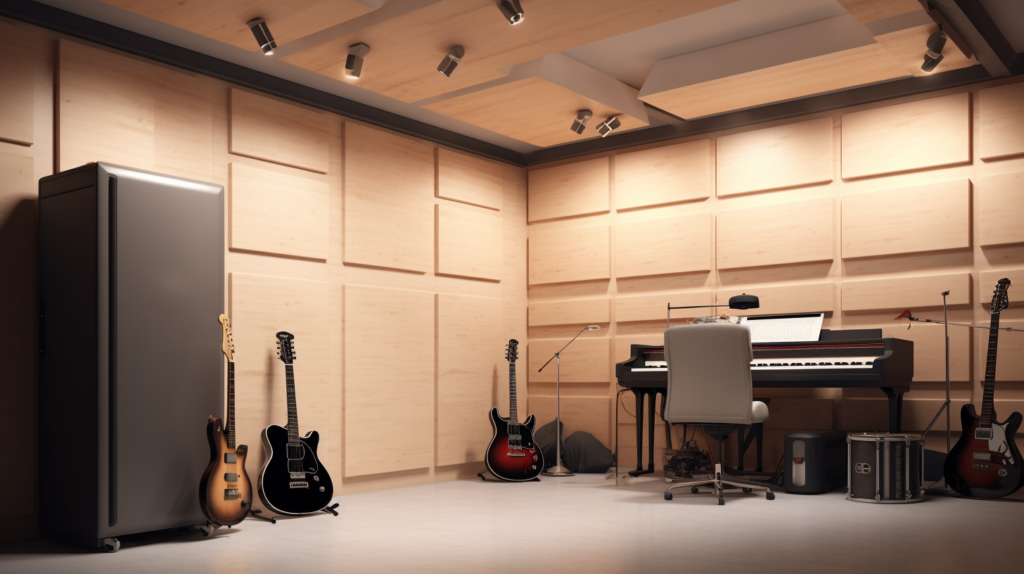
Picture this: Your garage, traditionally a place to park cars or stash away old boxes, transformed into a men’s shed sanctuary, a private workshop, or even a serene yoga space.
However, every hammer’s clang, every guitar strum, and every privasoundproof garagete conversation risks being overheard, disrupting the peace of those around you.
Soundproofing a garage opens up a world of possibilities.
From ensuring privacy for intimate gatherings to crafting without interruptions, a soundproof garage becomes a versatile space tailored to your needs and passions.
Ready to revolutionize your garage and explore its full potential?
Let’s dive into the intricacies of soundproofing and turn that ordinary garage into the ultimate multifunctional space.
Why Soundproofing Your Garage Is Essential
In an increasingly noisy world, finding a quiet corner in our homes is becoming a luxury. For many, the garage represents more than just a storage space for cars or tools.
Musicians seek refuge in their garages to strum their guitars or play their drums. DIY enthusiasts turn to this space to work on their projects, and home-based workers convert it into an office.
For all these activities, noise can be a major distraction. External noises, such as traffic, barking dogs, or loud neighbors, can disrupt your focus.
If you’re the source of the noise, such as playing an instrument or using power tools, you might disturb others.
This is why soundproofing your garage is essential. It provides a peaceful environment for you and also ensures you remain a good neighbor.
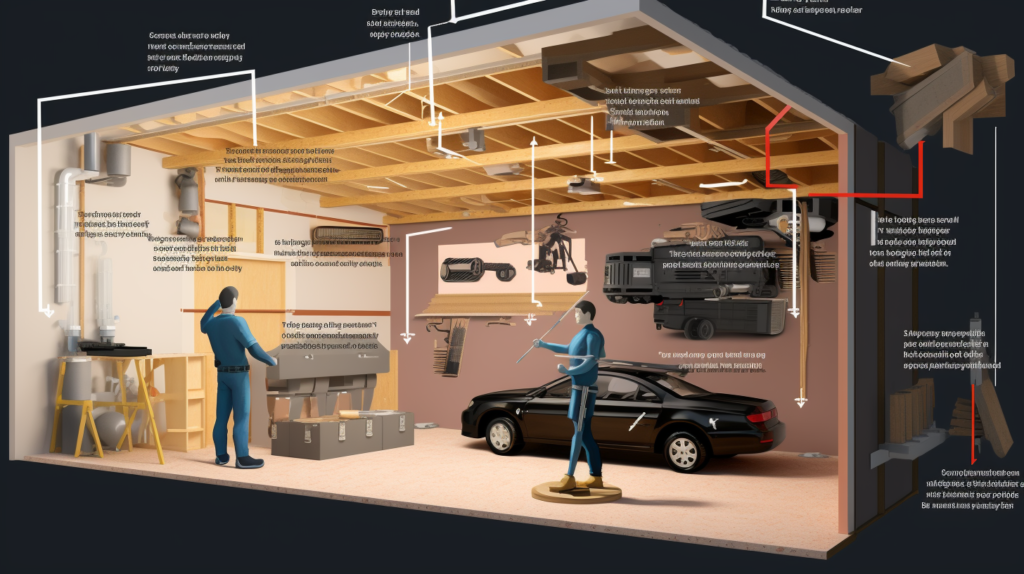
Pre-Assessment: Identifying Sound Leaks

Before embarking on any soundproofing project, it’s essential to understand where you’re starting from. It’s like diagnosing an issue before prescribing a solution.
A visual inspection is a straightforward yet effective method. Walk around your garage, both inside and out, and look for any visible gaps or cracks.
Another method is the “Flashlight Test.” It’s simple. At night, with all the lights off inside the garage, shine a flashlight around doors, windows, and walls.
If you see light seeping through from the outside, it indicates potential spots where sound might be leaking.
In today’s digital age, there’s an app for almost everything, including soundproofing. Decibel meter apps can be downloaded onto your smartphone.
They measure sound levels, helping you identify areas in your garage that might be particularly problematic.
Types Of Sounds You’ll Encounter

For an effective soundproofing strategy, it’s essential to understand the enemy – in this case, noise.
Not all sounds are created equal, and understanding the type of noise you’re dealing with can guide your efforts.
Airborne noise is perhaps the most common. It’s the sound that travels through the air, such as conversations, music, or the noise from passing vehicles.
This type of noise can be tricky as it can seep through the tiniest of gaps.
Then there’s impact noise. Imagine a ball bouncing on a floor or a hammer hitting a nail. This noise is generated by an object striking another object.
In a garage setting, this could be tools dropping or even footsteps.
Structure-borne noise is slightly more complex. It’s the sound that travels through the structural elements of a building.
Think of it as the vibrations caused by machinery or heavy equipment, which can resonate through walls, ceilings, and floors.
Materials Needed For Garage Soundproofing

Choosing the right materials is a critical step in your soundproofing journey. One of the primary materials to consider is soundproofing foam.
It’s designed to absorb sound waves, effectively reducing the amount of noise that can pass through walls or ceilings. This foam is dense, providing a barrier that airborne noise finds hard to penetrate.
Green Glue is another product that has gained popularity among soundproofing enthusiasts. It’s not actually green, but it’s gold when it comes to reducing noise.
This acoustic compound can be sandwiched between layers of drywall or plywood, and it helps to dampen vibrations.
Resilient channels deserve a special mention. These are thin, metal structures that can be fixed to the studs of a wall before the final layer of drywall is added.
They create a break in the path that sound waves might take, reducing the amount of noise that can pass through.
Weatherstripping is an unsung hero in the world of soundproofing. While it’s typically associated with thermal insulation, it’s equally effective at keeping out unwanted noise.
It’s especially useful for sealing gaps around doors and windows, ensuring no sound sneaks through.
Step-by-Step Guide To Soundproof Your Garage

1. Soundproofing The Garage Door
The garage door is often the largest opening in a garage and, as such, represents one of the most significant challenges in a soundproofing project.
A standard garage door is relatively thin and does little to prevent noise from entering or escaping.
One of the most effective ways to soundproof a garage door is by adding mass. This can be achieved by attaching mass-loaded vinyl or even layers of drywall to the door.
The added weight helps to dampen vibrations and reduce the amount of sound that can pass through.
Sealing gaps is equally important. Even a small gap can let in a lot of noise. Weatherstripping can be applied around the garage door to provide a tight seal.
It ensures that airborne noise is kept at bay and offers the added benefit of thermal insulation.
2. Soundproofing Walls
The walls of your garage are like the barriers of a fortress. They’re the first line of defense against external noise. To soundproof walls effectively, you might need to do a bit of construction.
One approach is to expose the wall studs. This can be done by removing the existing drywall. Once the studs are exposed, you can fill the spaces between them with soundproofing foam.
This foam acts as a dense barrier, absorbing a significant amount of airborne noise.
Next, consider installing resilient channels across the studs. These channels help decouple the drywall from the studs, creating a break in the path that sound might take.
It’s an effective method, especially for dealing with structure-borne noise.
Now comes the drywall. Consider adding multiple layers. Each layer adds mass to the wall, making it harder for sound to pass through.
Between each layer, apply a generous amount of Green Glue. This acoustic compound helps dampen vibrations and further reduces noise transmission.
Finally, seal the edges and joints of the drywall with acoustic sealant. This ensures that there are no gaps or cracks through which sound can sneak.
3. Soundproofing The Ceiling With A Suspended Ceiling System
Soundproofing the ceiling follows a similar approach to the walls but with a few tweaks. The first step involves exposing the joists. These are the horizontal structures that support the ceiling.
Once exposed, the spaces between the joists can be filled with soundproofing foam. This foam provides a solid barrier against both airborne and impact noise.
The next step is to install resilient channels. These are fixed perpendicular to the joists.
By creating a separation between the joists and the drywall, these channels help reduce the amount of structure-borne noise that can travel through the ceiling.
Then, apply multiple layers of drywall to the ceiling, using Green Glue between each layer. The drywall adds mass, while the Green Glue dampens vibrations.
As with the walls, finish off by sealing all edges and joints with acoustic sealant. This ensures a tight seal, with no gaps for sound to escape.
4. Floor Soundproofing (Optional)
While many might consider soundproofing the floor of a garage optional, it can make a significant difference in some scenarios.
If your garage is attached to your home or if it’s located beneath living spaces, soundproofing the floor can be beneficial.
A simple approach is to lay down carpet tiles. These soft tiles can absorb a lot of impact noise, providing a quieter environment. They’re also easy to install and can be replaced individually if they get damaged.
Another option is to use acoustic underlayment. This is a layer of material that is placed beneath the main flooring. It’s designed to absorb sound, and it can be particularly effective
at reducing airborne noise.
5. Ventilation And Duct Soundproofing Considerations
While it’s essential to seal your garage tightly to keep out noise, it’s equally important to ensure that the space is well-ventilated.
Without proper ventilation, a garage can become stuffy, and there’s a risk of harmful fumes building up.
If your garage has a ventilation system or ducts, these can be significant sources of noise leakage. The solution? Duct mufflers. These devices can be installed in the ducts to reduce the amount of noise that can travel through them.
Remember, while soundproofing, it’s vital to strike a balance. While you want to keep out noise, it’s essential to ensure that fresh air can still circulate.
6. Soundproofing Windows And Other Openings
Windows can be a weak link in your soundproofing efforts. Standard windows, especially single-pane ones, offer little resistance to noise.
One solution is to install double or triple-pane windows. These windows have multiple layers of glass with gaps in between.
These gaps, often filled with inert gases, act as barriers, reducing the amount of noise that can pass through.
If replacing windows isn’t an option, consider window inserts. These are additional panes of glass or acrylic that can be fitted to the inside of an existing window.
They provide an extra layer of soundproofing without the need for major construction.
Regardless of the approach, ensure that all windows are sealed tightly. Use weatherstripping or acoustic sealant to fill any gaps or cracks.
7. Adding Acoustic Panels Inside The Garage To Remove Echoes And Reverberation
With external noise taken care of, it’s time to turn our attention to the inside of the garage. Activities inside, whether it’s playing an instrument, working with tools, or even just speaking, can create noise.
This noise can bounce off walls, ceilings, and floors, creating echoes.
Acoustic panels are designed to tackle this problem. They’re made of materials that absorb sound waves, reducing reflections and, as a result, echoes.
When installing acoustic panels, placement is crucial. Ideally, they should be placed on walls opposite the source of the noise.
For instance, if you have a speaker or instrument in one corner of the garage, place the panels on the opposite wall.
This ensures that the sound waves from the source hit the panels directly, reducing the amount of sound that’s reflected back into the room.
DIY Vs. Professional Installation
The decision to soundproof your garage yourself or hire professionals is one that depends on several factors. Budget is often the most significant consideration.
DIY is generally cheaper, but it requires time, effort, and a degree of skill.
If you’re confident in your abilities and have the necessary tools, DIY can be a rewarding experience.
You’ll learn a lot along the way, and there’s a sense of satisfaction in knowing that you’ve done the work yourself.
On the other hand, professional installation can be more expensive, but it offers peace of mind. Professionals bring with them years of experience.
They can quickly identify potential issues and know the best solutions. They also have access to specialized tools and materials that might not be readily available to the average DIYer.
In the end, the choice is yours. Weigh the pros and cons and decide on the approach that’s best for your needs and circumstances.
Conclusion
Soundproofing a garage is more than just a home improvement project; it’s an investment in peace, productivity, and privacy.
Whether you’re aiming to create a personal sanctuary for your hobbies or simply wish to coexist harmoniously with neighbors, the steps to soundproofing provide a clear path to achieving that serenity.
The choices between DIY and professional help, the materials to use, and the techniques to apply all come down to individual needs and circumstances.
As you embark on this journey, remember that every bit of effort put into soundproofing not only elevates the quality of your garage space but also enhances the overall living experience in your home.
Embrace the silence, relish the tranquility, and enjoy the newfound oasis that is your soundproofed garage.