Is your noisy home gym disrupting the whole household or even annoying your neighbors? Don’t sweat it – with the right approach, you can transform that distracting space into a peaceful workout oasis.
Properly soundproofing a home gym requires addressing both the equipment itself as well as the surrounding room structures. Careful selection of materials and installation techniques are key to containing noise.
Let’s dive into the critical steps for soundproofing walls, floors, ceilings and more to create the ideal quiet home gym environment.
Soundproofing Home Gym Walls
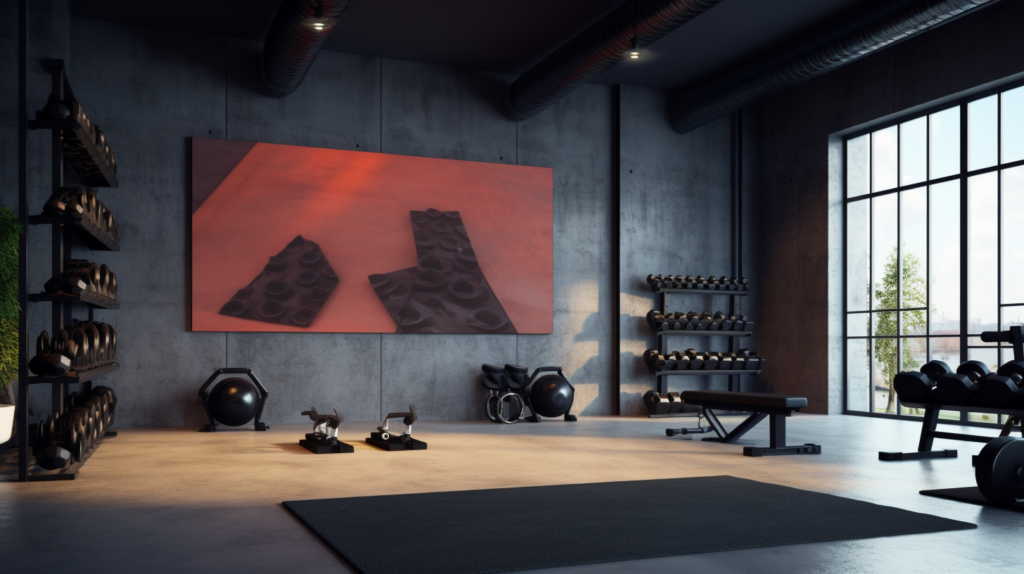
Identifying and exposing all the wall studs in the gym area is a crucial first step for effective soundproofing.
Use an electronic stud finder tool to locate and mark the position of each stud within the walls. Studs act as a direct conduit for transferring noise and vibration from the gym to other parts of the home.
Mark the stud locations clearly at multiple points along each wall with painter’s tape or chalk to create a map.
Having the studs mapped will allow you to strategically target the areas that need soundproofing materials.
Once the studs are mapped, the next step is to fill the open wall cavity completely with sound absorbing insulation.
Mineral wool or fiberglass insulation works best, as they help dampen noise within the wall space through their sound absorption properties.
Cut the insulation to size and tightly pack it into the cavities, ensuring no gaps are left unfilled.
The insulation acts as a noise buffer by absorbing the sound waves rather than letting them reflect freely between the walls.
Properly installed insulation can reduce airborne noise transmission through walls by 50% or more. Take care not to overly compress the insulation which would diminish its sound absorbing effects.
Resilient channels installed horizontally across the wall studs create an isolated decoupled layer that prevents noise transfer through the framing.
The channels provide an air gap between the drywall and the studs, eliminating direct contact that facilitates flanking noise.
Position the channels perpendicular to and spaced evenly across each stud following the manufacturer’s recommended spacing.
Use self-tapping screws to securely fasten the channels while still allowing independent movement between surfaces.
Keeping the screw heads flush will prevent potential protrusions that could re-connect the drywall. Installed correctly, resilient channels can reduce airborne noise by 15 decibels or more.
Applying double layers of drywall adds mass that will significantly block noise transmission through the gym walls.
Stagger the sheets in a brick-like pattern so that the drywall seams do not directly line up between layers.
The staggered seams eliminate any uncovered junctions and provide more overall contact protection. The seams can act as weak points for noise leakage if not offset between layers.
Use thick 5/8″ drywall for maximum sound resistance. Prior to installing the second layer, seal the first layer completely with acoustic sealant.
Apply sealant on every edge, gap and seam, letting it dry fully to maximize acoustic performance when covered.
The dual drywall technique with staggered seams and acoustic sealant can reduce airborne noises by 20 decibels or greater.
Soundproofing Home Gym Ceiling
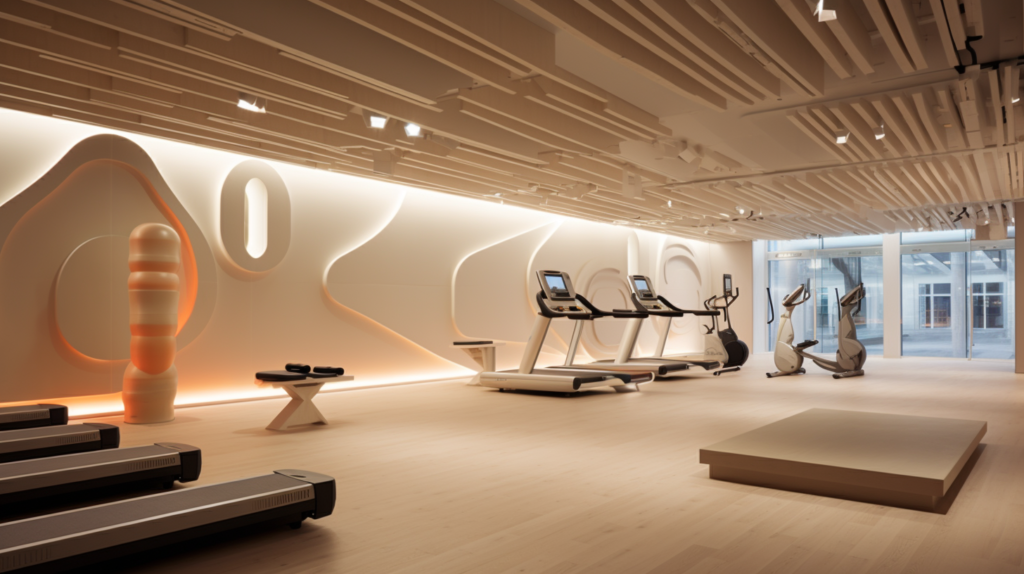
The ceiling is often one of the weakest areas acoustically, providing an open path for noise to radiate upwards.
Adding multiple layers of drywall is an effective solution, as the increased mass blocks sound escaping through the ceiling surface.
Double or triple drywall application is recommended, installed similarly to the wall layers with staggered seams between sheets.
Offset each layer so that seams do not directly contact those above or below them. The air gap created by the staggered drywall prevents noise flanking between layers.
5/8″ drywall will again provide the highest noise resistance. Prior to adding the next ceiling layer, seal all seams and edges completely with acoustic sealant just as with the wall layers.
When installed correctly, multi-layer drywall can reduce ceiling noise transmission by 20 decibels or more.
In addition to the layered drywall, it is critical to fill the ceiling cavity itself with sound absorbing insulation.
Fiberglass or cellulose insulation work well for this purpose, helping dampen noise within the cavity space.
Blow the insulation in at the specified density to completely fill the cavity, eliminating any air gaps. The insulation prevents echo buildup and absorbs noises in the cavity before they radiate out through the ceiling.
Ensure insulation does not become compressed or settle over time. Properly installed insulation alone can reduce noise by 8 decibels or more.
Combine with the multi-layer drywall to maximize soundproofing.
All drywall edges, gaps around fixtures, and penetrations through the ceiling must be thoroughly sealed with acoustic sealant.
Air leaks allow noise to easily escape, greatly minimizing other soundproofing efforts. Apply a continuous bead of sealant and tool to create an airtight seal.
Cover all electrical boxes, recessed lights, vents, borders and anywhere the drywall layers meet surrounding framing. Vigilant sealing contains noise and is essential for effective ceiling soundproofing.
Soundproofing Home Gym Floors
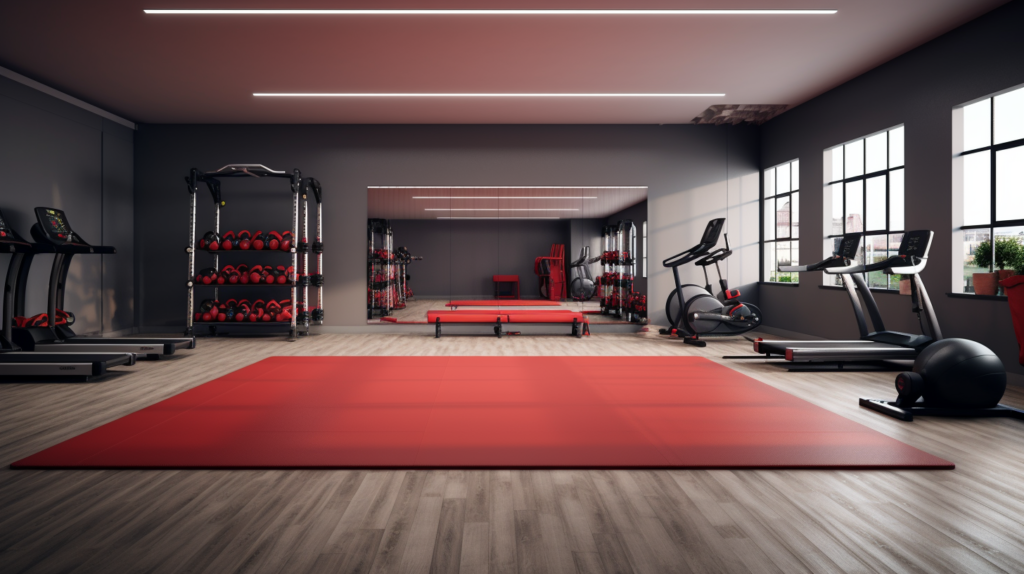
Hard surface floors provide minimal resistance to noise transmission, easily radiating impact sounds like dropped weights or heavy footfalls.
Installing a layer of dense underlayment over the subfloor is recommended as the first step in soundproofing gym floors.
Materials such as cork or mass loaded vinyl (MLV) work well thanks to their high density and damping properties that block impact noise.
Unroll the material wall-to-wall if possible and secure at edges with acoustic caulk. The seams should butt tightly together to prevent noise intrusion underneath.
Underlayment under a gym floor can reduce impact noises by 20 decibels or more.
A floating floor system over the underlayment is ideal for decoupling the finish floor from the subfloor. The floor essentially “floats” independently, isolated from direct contact with the structural floor.
This prevents vibration transfer, footfall noise and airborne noises between floors. Build the floating floor by laying down a layer of closed cell foam, followed by a second underlayment layer such as cork.
Over this, install the finish flooring surface while maintaining a perimeter gap from walls. The foam and underlayment layers work together to dampen noise.
Floating floors can reduce airborne noise by 20 decibels or more.
Gym floor mats placed over the floating floor provide additional acoustic isolation as well as safety cushioning.
Use thick mats specifically designed for free weights areas, manufactured from dense materials that will absorb noise and shock from drops.
Seam tape or borders between mats will ensure noise does not escape from gaps between them. Mats containing recycled rubber provide good sound dampening.
Layer mats for multiplied acoustic and shock-absorbing performance. Thick, quality gym mats can reduce impact noise by 25 decibels or more.
Isolating treadmills, exercise bikes and other vibration-inducing equipment from the floor using foam platforms, dense rubber mats or suspended risers will prevent noise transfer through the floor.
This isolates the mechanical vibrations to prevent them resonating through the structure.
Support equipment on thick foam mats rated for the machine’s static weight to provide acoustic and vibration insulation.
For heavier equipment, a dense rubber platform performs better for noise isolation. Ensuring equipment rests only on the isolated base and does not touch surrounding floor directly maximizes effectiveness.
Soundproofing Home Gym Windows
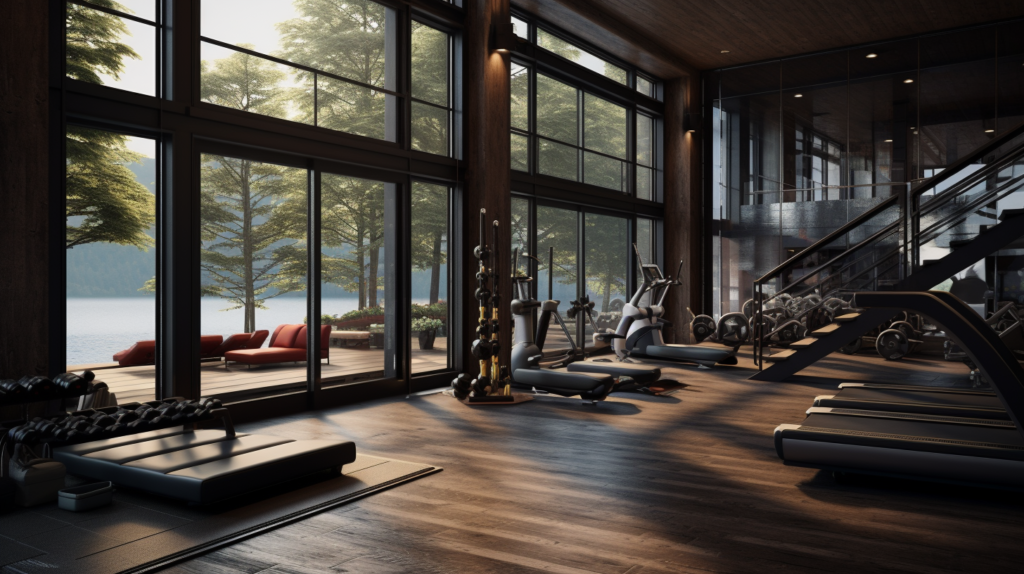
One of the most effective window soundproofing solutions is to replace existing windows with new ones specially designed for noise reduction.
Well-sealed double or triple pane windows with staggered glass panes and improved frame construction outperform normal single pane windows in preventing noise transmission.
The additional windowpanes increase acoustic insulation, while quality seals and frames prevent flanking around the perimeter.
Choose window materials such as acrylic, laminated glass or polycarbonate for noise blocking performance.
Professionally installed, new high-performance windows can reduce outside noise by 25 decibels or more.
If replacing the windows entirely is not feasible, adding secondary interior window panels to existing windows can also improve sound insulation.
DIY acrylic or laminate panels can be mounted on the window frame using sealant around the edges to create an air gap between the existing glass and the new panel.
Ensure the seal is continuous and airtight for the air cavity to be effective. The spaced layers work together to absorb and block noise similarly to double paned glass.
For larger windows, adding cross-bracing between panels boosts rigidity and performance. Sound reductions of 15 decibels or more are possible when interior window panels are properly installed.
Window curtains and drapes with sound dampening properties are another solution to reduce noise intrusion through gym windows.
Using heavy, dense fabrics such as velvet, wool or quilted materials will provide noise absorption compared to lighter curtains.
Blanket-like mass loaded vinyl curtains offer excellent noise blocking for problematic windows. Layering thick curtains also improves acoustic performance.
Ensure curtains form an airtight seal across the window length when fully drawn to contain noise. Overlapping curtains at center will help eliminate noise gaps.
Properly installed soundproofing curtains can achieve 10 decibel noise reductions or more.
Sealing all windows thoroughly to eliminate air gaps is equally important to contain noise. Use high quality caulk, sealant tape and weatherstripping products to seal the window frames and sashes completely around each edge. Maintain the window seals seasonally and repair any new air leaks that could compromise the acoustic isolation. Keeping windows properly sealed year-round ensures outside noise does not infiltrate through overlooked openings. Thorough window sealing can reduce street noise by 15 decibels or more.
Choosing Quieter Gym Equipment
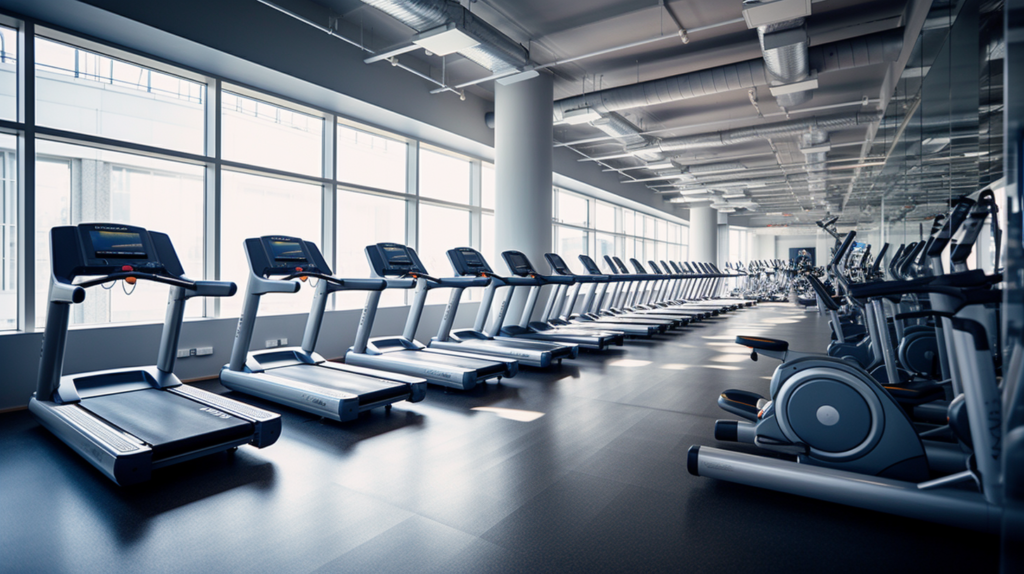
Selecting exercise equipment and machines that operate quietly will minimize noise issues from the source.
Treadmills, ellipticals, exercise bikes and other cardio machines that utilize smooth belt drives are much quieter than those relying on loud chain drives.
The rubber belt muffles most operational noise, while chain drives clatter noisily during use. Give preference to equipment using belt drives whenever possible for a quieter gym.
Also check that fans, motors and other components are properly enclosed and insulated for low noise.quiet
Supporting gym equipment on thick foam mats or rubber vibration dampening feet will prevent excess noise transfer through the floor during use.
The more cushioning between the machine and the floor, the less mechanical and operational noise will transmit to surrounding areas.
Dense neoprene rubber pads specifically designed to isolate vibrations and noise work best. Check mats and pads periodically for compression and replace as needed.
Isolating noisy gym systems such as ventilation improves their soundproofing up to 20 decibels or more.
Regular maintenance and lubrication will minimize noise from squeaking, rattling or grinding caused by loose parts or components.
Tighten any fasteners that have loosened over time contributing to unnecessary noise during operation. Replace worn out chains, belts, bearings and pulleys that degrade and cause extra noise.
Keep all joints and contact points properly lubricated to prevent squeaking as they move. Following equipment maintenance guidelines ensures gym machines continue running quietly for years.
Conclusion
With some strategic planning and the right materials, it is possible to effectively soundproof a home gym space.
Focus on containing noise at the source through equipment selection and isolation.
Then address the surrounding structures using mass, absorption, decoupling and vigorous sealing to minimize acoustic weaknesses.
A successfully soundproofed home gym allows freedom to workout without time restrictions or noise complaints.
Just be sure to follow best practices and do not overlook any flanking paths where distracting noise can still intrude. With persistence, your home gym can become an oasis of peaceful focus and achievement.
