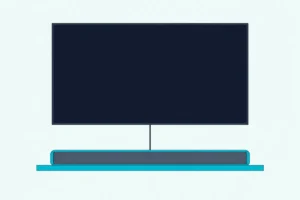
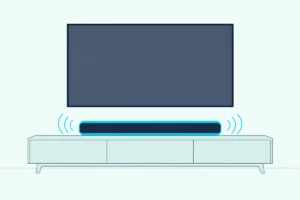
How to Mount a Soundbar on the Wall, by the Makers’ Manuals
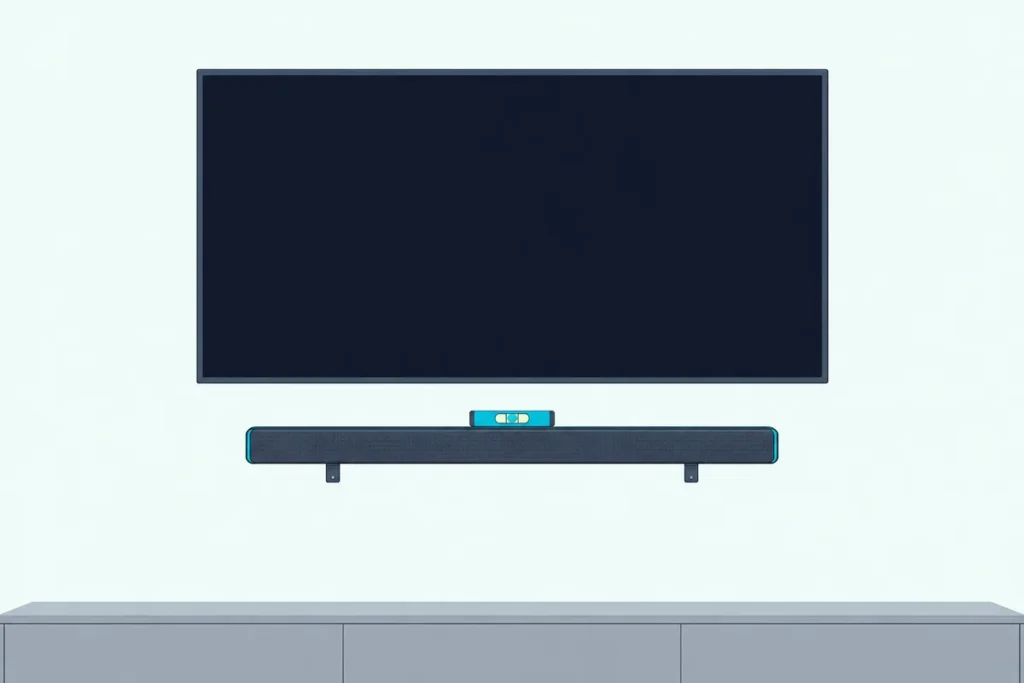
Knowing how to mount a soundbar on the wall starts with the box: the Samsung, Vizio, LG and Sony bars checked here include a template, most add brackets, and none includes the screws for your wall.
Guess at the hardware and the bar can hang crooked, pull loose from a crumbly wall, or sit so close to the TV that the screen blocks an Atmos bar’s sound on its way to the ceiling.
Match the hardware to your wall, leave the gap your maker asks for and connect the cables first, and the bar hangs level and centered with nothing dangling below it.
The steps below come from the makers’ own manuals: studs and anchors, the gap under the TV, Atmos clearance and the power rules for cables.
First comes the box, since what shipped with your bar decides what you still need to buy.
What Comes in the Box When You Mount a Soundbar?
That box check takes a minute, and it sorts the bars checked here into a few clear groups. Some bars ship with brackets and a paper template, others hang on keyholes or threaded sockets, and Sonos and Bose sell their wall mounts separately, while the screws that go into your wall are usually yours to buy.
Samsung’s HW-Q990D shows the bracket group at work: the box holds a paper Wall Mount Guide, two holder screws and two brackets that fix to the bar, but Samsung tells you to buy M5 wall screws 35 mm or longer for your wall type (Samsung). Here’s how the bars checked for this guide compare, from their own manuals:
| Soundbar | How it hangs | Template | Screws for the wall | Minimum gap below the TV |
|---|---|---|---|---|
| Samsung HW-Q990D | Two brackets, in the box | Paper Wall Mount Guide | Not supplied: M5, 35 mm or longer | 5 cm (2 in) |
| Sonos Arc Ultra | Arc Ultra Wall Mount, sold separately | Positioning guide, with the mount | 6 screws and 6 anchors, with the mount | 4 in (10 cm) |
| Sonos Ray | Ray wall mount kit, sold separately | The bracket marks the holes | 2 screws and 2 anchors, with the kit | 2.5 in, bracket to TV |
| Bose Smart Soundbar | Bose Soundbar Wall Bracket only, sold separately | Not covered in the owner’s guide | Not covered in the owner’s guide | 4 in (10 cm) |
| Vizio V-Series 5.1 (V51x-J6) | Two brackets, in the box | Wall mount template | Not included: 3.5 mm, 1.63 in or longer | Not given |
| LG S90TR | Wall bracket, in the box | Wall bracket installation guide | Not supplied: LG suggests Hilti HUD-1 6 x 30 plugs | 10 cm (3.9 in) |
| Sony BRAVIA Theatre Bar 7 | Two brackets, supplied | Paper template | Not supplied: 4 mm, 30 mm or longer | 120 or 200 mm, by TV depth |
| Sony BRAVIA Theatre Bar 5 | Keyhole-shaped holes on the back | Paper template | Not supplied: 4 mm, 30 mm or longer | 70 mm (2 7/8 in) |
| Polk Signa S4 | Keyholes on the back, plus spacers | Template | Not included: 5 to 6 mm self-tapping | 50, 102 or 191 mm, by TV depth |
| Roku TV Wireless Soundbar | Mounting hardware, in the box | Template | Hardware included | Not given |
| Roku Streambar | M6 sockets for a universal mount | Not mentioned | M6 screws, often with the mount | Not given |
Read the table as a shopping list, because anything marked “not supplied” or “not included” means a hardware-store trip before you drill. The template matters more than it looks, since it puts the holes exactly where the brackets or keyholes need them.
Sonos even warns that the Arc Ultra’s positioning guide can look like packing material, so check the carton before it goes out with the recycling.
Which Mounting Style Does Your Soundbar Use?
Those boxes point to four mounting styles, and a look at the back and underside of your bar tells you which one you have. A bar hangs on maker brackets, on keyholes over two screws, on threaded sockets that take a universal mount, or, with no holes at all, on a universal bracket that holds it from below.
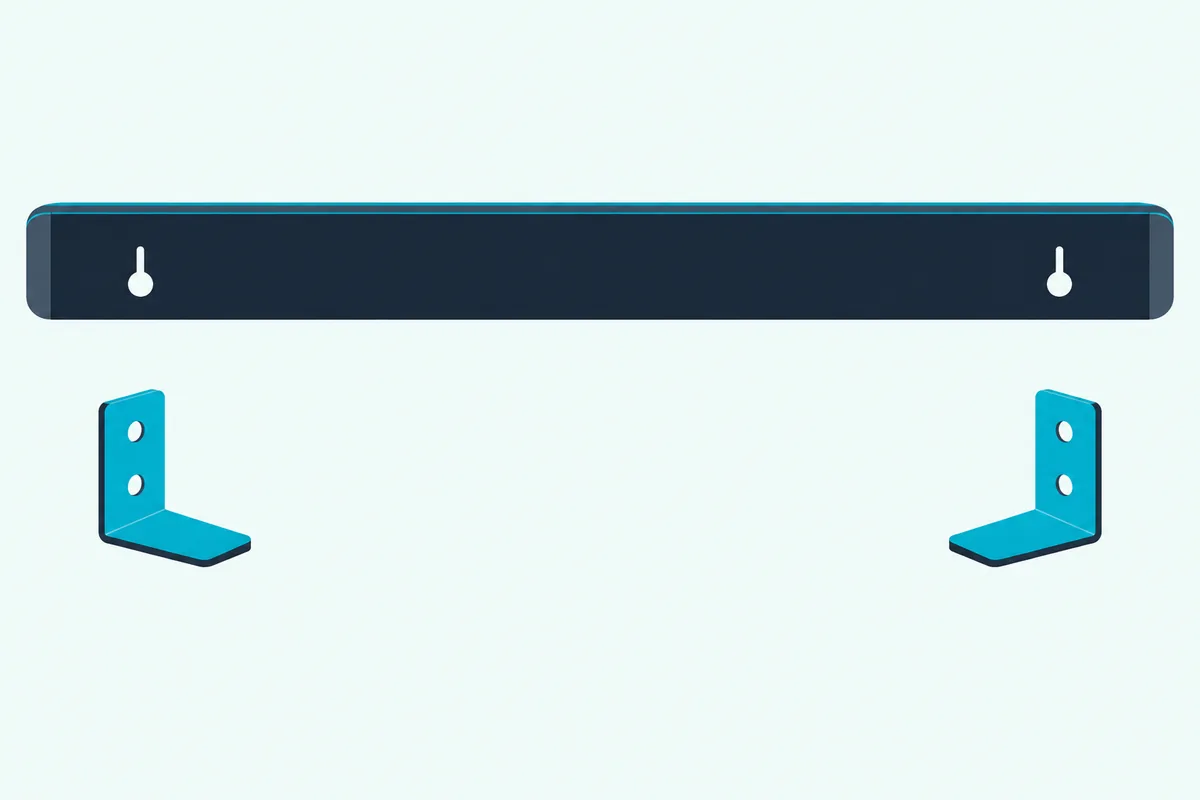
Maker brackets are the most common style in the table: Samsung, Vizio, LG and Sony’s Theatre Bar 7 put two small brackets between the wall and the bar’s underside, fixed to the bar with hardware from the box. Sony warns against hanging the Theatre Bar 7 straight on the wall without its brackets, because the temperature inside the bar can rise considerably.
Polk’s Signa S4 and Sony’s Theatre Bar 5 hang from keyhole-shaped holes in the back instead, so the bar drops over two screws left sticking out of the wall. Sony spaces those screws 630 mm (24 3/4 inches) apart with 13.5 to 14.5 mm of each left proud, and Polk adds spacers that leave room for cords behind the bar.
Threaded sockets are Roku’s approach: the Streambar has M6 sockets 250 mm apart, and the Streambar Pro and Roku Smart Soundbar take 1/4-20 screws 12.6 inches apart, with the bracket left to a universal mount you buy separately. The Streambar SE has no sockets at all, and Roku says it can only go up on a universal mount that holds at least 2 pounds.
A fifth option skips the wall and hangs the bar from the TV’s own mount, which our guide to mounting a soundbar to the TV itself covers. Everything below assumes the bar goes on the wall.
For a bar that shipped without a bracket, the ECHOGEAR Soundbar Wall Mount is the universal soundbar mount to buy.
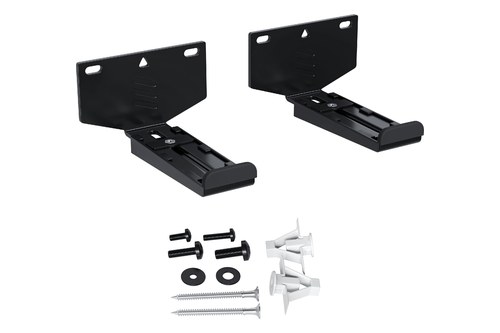
the ECHOGEAR Soundbar Wall Mount
EchoGear rates it for bars up to 20 pounds on drywall or wood studs, and its arms can hold a bar up to 6.6 inches from the wall so an Atmos bar’s top speakers aren’t tucked under the TV. Bars with threaded inserts on the bottom fasten on with the included M4, M5 or M6 hardware, and bars without them sit on it shelf-style.
Get Studio Tips Weekly
Join 5,000+ creators getting acoustic treatment advice every week.
No spam. Unsubscribe anytime.Should You Screw Into a Stud or Use Drywall Anchors?
Whichever style your bar uses, its wall fixings still have to grip something solid. Use a stud wherever a hole lands on one and a rated anchor everywhere else, which is how Samsung puts it: fix the screws into studs if possible, and use anchors or mollies where the marks miss them.
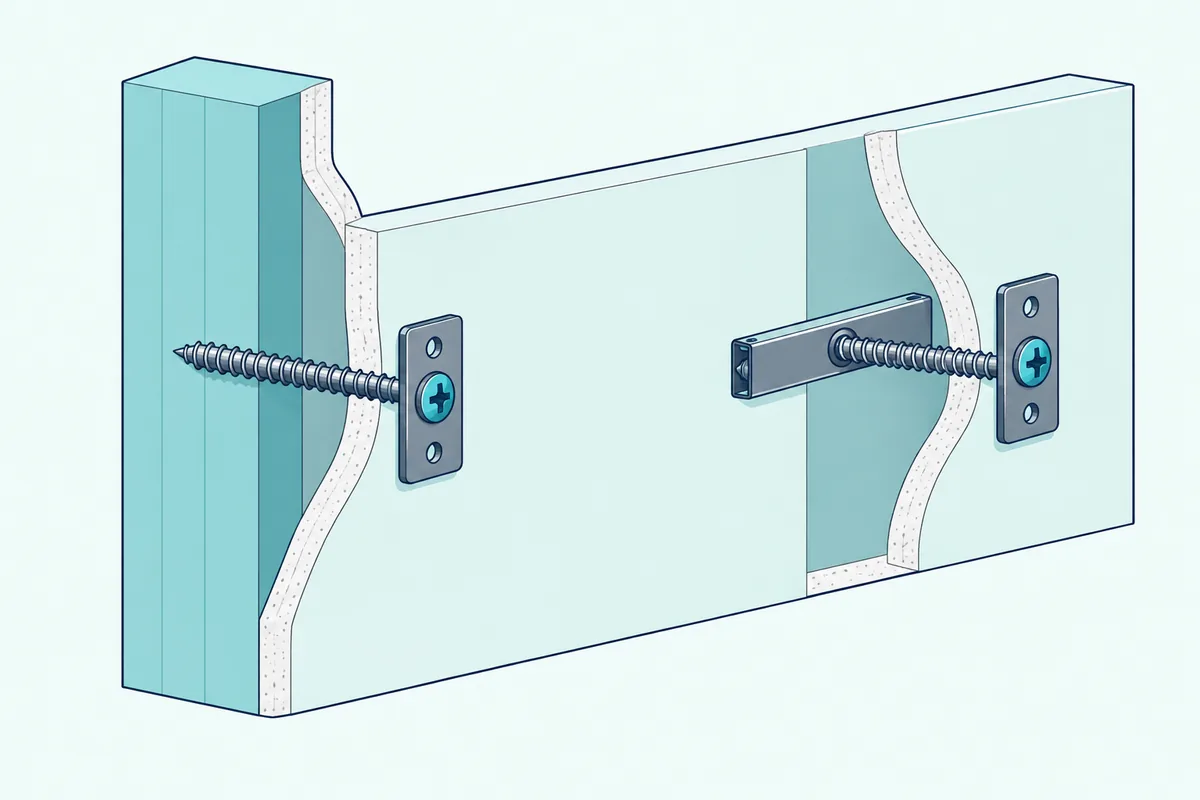
Sonos draws the same line with drill sizes: a 1/8-inch (3 mm) pilot hole for a wood stud, and a 5/16-inch (8 mm) hole plus the included anchor for drywall, plaster, concrete or brick (Sonos). It also tells you not to use the anchors if you’re drilling into wood.
A bar’s two mounting points won’t always line up with studs, so check each mark on its own. Sony’s Theatre Bar 7 template puts its two holes 786 mm (31 inches) apart, which is why one hole can hit wood while the other needs an anchor.
Bose’s TV Speaker guide adds a warning about what hides behind the drywall: don’t mount over concealed hazards such as electrical wiring or plumbing. A stud finder helps with both, and Franklin Sensors’ instructions add a useful test: scan up and down over the mark, because the lights stay steady on a stud but light only sporadically over pipes, wires or texture.
To find those studs, the Franklin Sensors ProSensor M150 shows a whole stud in one pass.
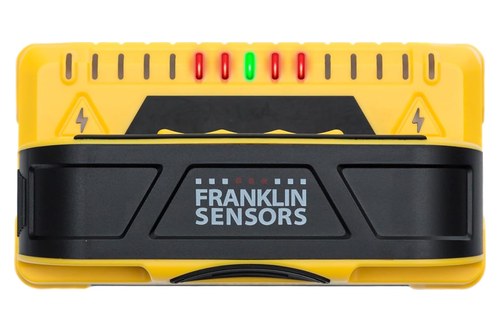
the Franklin Sensors ProSensor M150
Its lights mark the center and both edges of a stud at once, it needs no calibration, and it reads up to 1.5 inches deep. Franklin also tells you to turn off gas, water and electric power before drilling, since the sensor detects changes in density without saying what they are.
How Much Weight Can Drywall Anchors Hold?
Those anchors carry the bar wherever a screw misses a stud, so their ratings deserve a closer look. A heavy-duty toggle such as TOGGLER’s SnapToggle BA lists 238 pounds of ultimate pull-out in half-inch drywall, and TOGGLER says industry standards recommend a quarter of the ultimate figure as the working load, about 60 pounds per anchor (TOGGLER).
TOGGLER’s FAQ adds the catch: its figures are for objects held close to the wall, and anything that sticks out from the wall raises the effective weight. Brackets set limits of their own on top of the anchor’s, so EchoGear’s universal bracket stays at 20 pounds whatever the wall.
Most soundbars are light by comparison: Sonos lists the Arc Ultra at 13 pounds (5.9 kg) and the Ray at 4.29 pounds, and Roku says its Wireless Soundbar needs a mount rated for at least 5.1 pounds. Yamaha’s installation advice says most bars weigh little enough that drywall anchors are usually safe, but match the anchor to the screw size your manual lists, as LG does by naming the Hilti HUD-1 6 x 30.
The wall matters as much as the weight. Polk warns against mounting on materials that crumble easily, such as mortar or decorative plywood, because a screw can pull out and drop the bar.
How High Should You Mount a Soundbar?
With the hardware settled, height is the next measurement, and it starts with your ears rather than the TV. Mount the bar as close as you can to seated ear height, which Yamaha puts at about 42.5 inches off the floor; by Yamaha’s count that spot is below the TV in about 95% of real homes.
Roku’s mounting guidance says the same in two words, ear level, and adds two rules: center the bar on the TV, and keep it clear of the TV’s remote sensor along the bottom of the screen. Dolby asks for ear level or slightly above for Atmos bars, and never so low that you’re looking down on the top of the bar.
Those three sources agree closely enough to give you one quick test. Sit where you watch, and if your eyes look down onto the top of the bar, it’s mounted too low.
For placement beyond the wall, from TV stands and shelves to fireplaces, see Burton Acoustix’s soundbar placement guide.
How Far Below the TV Should the Soundbar Go?
Ear height sets the target, but the gap under the TV is where each maker draws a hard line. Leave at least the gap your manual names: 5 cm (2 inches) for Samsung’s Q990D, 70 mm (2 7/8 inches) for Sony’s Theatre Bar 5, and 4 inches (10 cm) for the Sonos Arc Ultra and the Bose Smart Soundbar.
LG’s S90TR asks for 10 cm (3.9 inches) because it has speakers on top, and Sonos gives bracket figures too: the top of the Arc Ultra’s bracket goes 5.5 inches (14 cm) below the TV, and the Ray’s bracket at least 2.5 inches below it. That difference between the bracket and the bar is easy to miss, so measure from the part your manual names.
The templates help with the arithmetic. LG’s guide has a “TV Bottom Line” to hold against the bottom of the screen, and Sony’s has a “BAR SPEAKER TOP LINE” that you set at the gap you measured.
Vizio’s V-Series 5.1 manual and Roku’s articles give no minimum, and Roku’s only spacing rule is to keep the TV’s buttons, connections and remote sensor clear.
Why Do Dolby Atmos Soundbars Need Extra Clearance?
Those minimum gaps grow on bars with up-firing speakers, because the TV itself can stand in the way of sound aimed at the ceiling. Dolby’s setup guide says an Atmos bar’s upward-firing drivers need a clear line of sight to the ceiling, and Sony and Polk turn that into a gap that grows with the depth of your mounted TV (Sony).
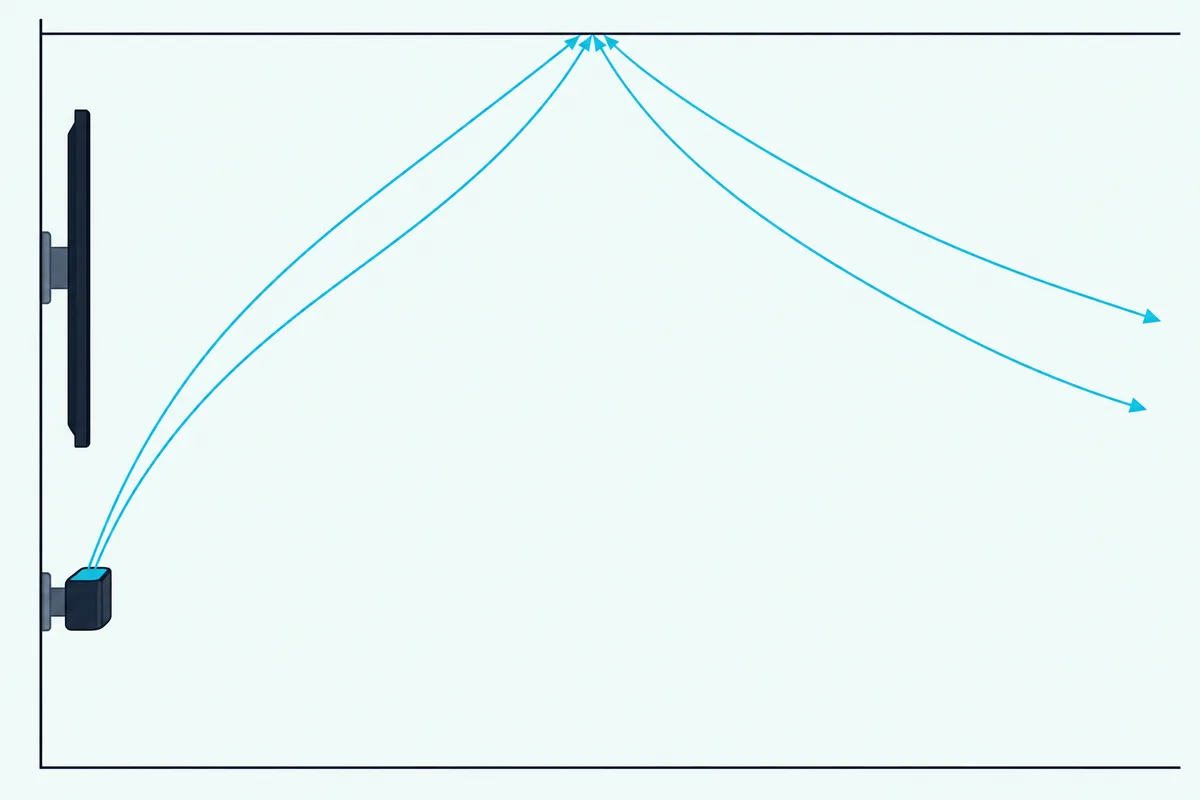
Here are the two makers’ tables side by side:
| Soundbar | Depth of the mounted TV | Space between the TV and the bar |
|---|---|---|
| Sony BRAVIA Theatre Bar 7 | Under 85 mm (3 3/8 in) | 120 mm (4 3/4 in) or more |
| Sony BRAVIA Theatre Bar 7 | 85 mm or more | 200 mm (7 7/8 in) or more |
| Polk Signa S4 | Under 64 mm | More than 50 mm |
| Polk Signa S4 | 64 to 102 mm | More than 102 mm |
| Polk Signa S4 | Over 102 mm | More than 191 mm |
Measure the mounted depth from the wall to the front of the screen, mount included. Yamaha notes that an articulating mount can push a TV up to 6 inches off the wall, which would put Sony’s bar in the 200 mm row.
Dolby also warns against mounting an Atmos bar in a cabinet or under a soffit, and Bose says to keep the Smart Soundbar’s up-firing and side-firing speakers unblocked. Sonos adds a foot (30 cm) of clear space at each end of the Arc Ultra.
A universal bracket can buy depth as well, since EchoGear designed its wall mount to pull a bar up to 6.6 inches out so the top speakers aren’t buried under the TV.
How to Mount a Soundbar on the Wall, Step by Step
That gap is the last measurement, and from here the manuals checked share a basic order: plan, mark, drill, then hang. Sonos’s tool list for the Ray covers a pencil, a Phillips screwdriver, a power drill, a measuring tool, a level and an optional stud finder, and Sony requires two people to lift its Theatre Bars.
- Plan the cable route. Decide where the power cord and HDMI cable will run before any drilling, as Yamaha’s installers do.
- Tape the template level and centered. Line up its center mark with the middle of the TV and its top line with your maker’s minimum gap.
- Check every mark for a stud. Scan up and down with the stud finder, and turn off power before you drill, as Franklin Sensors’ instructions say.
- Mark the holes, then remove the template. Samsung has you push a pen tip through the marks on its Wall Mount Guide.
Those four steps decide where the holes go. The rest is drilling and hanging:
- Drill to suit the wall. Drill a small pilot hole for a stud (1/8 inch for Sonos) or an anchor-sized hole for drywall (5/16 inch for Sonos’s anchors), then insert the anchors.
- Fix the bracket or the keyhole screws. Check the bracket with a level as you tighten it, or leave keyhole screws proud by the amount your manual gives.
- Connect the cables, then hang the bar. Plug the HDMI cable and power cord into the bar while you can reach the ports, attach the brackets or knobs, then lift it onto the wall hardware and slide it down until it seats, as Samsung’s and Sonos’s steps describe.
- Lock it and check it. Fit any locking hardware your manual supplies, firmly but without forcing it, since LG warns that loose screws let a bar tilt and too much force wears out the screw joint.
Bose adds one more step after mounting: hold the remote’s Mute button for 5 seconds so the Smart Soundbar adjusts its sound for the wall.
Which Cables Should You Connect Before the Bar Goes Up?
That cable step deserves its own plan, since a mounted bar leaves little room behind it. Connect the power cord and HDMI cable to the bar before you hang it, and plug the other end into the TV’s HDMI eARC or ARC port, as Sonos specifies for the Arc Ultra.
Samsung’s Q990D and LG’s S90TR manuals both put cable connection ahead of mounting. Sony’s Theatre Bar 5 steps fit it in between removing the template and hanging the bar.
Plan the route at the same time. Yamaha’s advice is to check where power and cables will run before drilling any holes, so no cable hangs between the TV and the bar.
Polk adds a safety point: fix the cables to the wall so nobody can trip on them or pull the bar down. Samsung’s wall-mount page warns about children pulling on the cables of a wall-mounted bar for the same reason.
Can You Run the Soundbar’s Power Cord Inside the Wall?
Those cables split into two kinds once they head for the outlet, and the power cord is the one with rules. No: Legrand’s FAQ for its Wiremold CMK70 kit says it’s an NEC code violation to install flexible cord in a wall, which is why that kit runs listed NM cable inside the wall and keeps its extension cord outside (Legrand).
Treat the soundbar’s own power cord the same way, and its signal cables with care too. Bose says the cables it ships with its TV Speaker aren’t approved for in-wall installation and tells owners to check local building codes for the right type.
The HDMI cable is the easier one, since Legrand describes HDMI as a low-voltage cable that its kit lets you run inside the wall. Power has three honest routes: a cord cover on the wall’s surface, a listed in-wall power kit, or an outlet behind the bar, which Yamaha suggests along with power extenders.
For the surface route, the Legrand Wiremold CordMate II kit covers the run from the bar to the outlet.
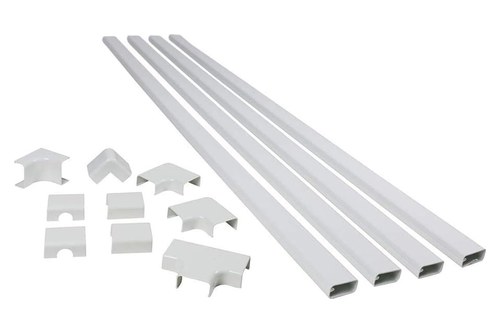
the Legrand Wiremold CordMate II kit
Its listing gives 120 inches of channel in a 12-piece kit and says each channel holds up to three cords and cables, enough for the bar’s power cord and an HDMI cable. Nothing goes inside the wall, so the code question never comes up.
For the in-wall route, the ECHOGEAR dual-outlet in-wall kit brings power to the back of the TV without any wiring.
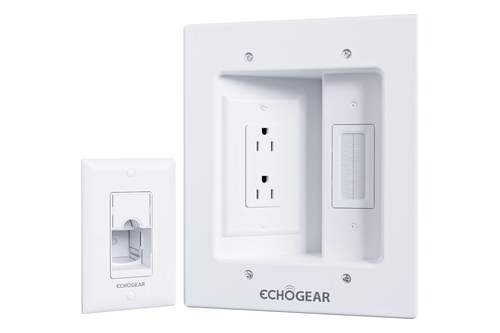
the ECHOGEAR dual-outlet in-wall kit
EchoGear’s top box powers two devices and passes three low-voltage cables through a brush opening, and the kit plugs into an existing outlet with its 6-foot extension cord. EchoGear also makes a version with a separate soundbar box (EGAV-CMIWSB), but its Amazon listing showed no stock or price on 14 October.
If the goal is a cleaner look overall, our page on keeping the cords out of sight covers what each maker allows behind and around the TV.
Should the Soundbar Hang From the TV Instead?
All of that assumes the bar goes on the wall, and two setups argue for something else. If your TV sits on an articulating arm, Yamaha says to connect the bar to the arm below the TV, so the bar moves with the screen.
That’s the job of the TV-mounted brackets mentioned earlier. Roku, for one, lists TV-mount options from EchoGear and Sanus alongside its wall mounts for the Streambar Pro.
The other case is a wall with no room under the screen. Sonos and Bose both allow their bars above the TV, though both prefer below, and our guide to mounting a soundbar above the TV weighs that trade-off.
What Goes Wrong After a Soundbar Is Mounted?
Once the bar is up, a few problems only show up when you sit down and use it. Check the TV remote first: Roku warns that a mounted bar can block the TV’s infrared receiver, which usually sits along the bottom edge of the screen.
Controls come next, since Sonos asks you to leave room to reach the Ray’s touch controls and to mount the Arc Ultra with its controls facing up. Roku also asks for space to reach any buttons or connections along the TV’s bottom edge.
The sound itself can change on the wall. Bose’s Smart Soundbar needs its wall setting turned on after mounting, and the same 5-second Mute hold puts it back to normal if the bar ever comes down.
Finally, recheck the hardware now and then, because Polk asks owners to periodically confirm the bar is still mounted solidly. A loose screw caught early is an easy fix, and a bar on the floor isn’t.
The Bottom Line
Start with your bar’s own manual, because it names the bracket, the template, the screw size and the minimum gap, and most leave the wall fixings to you.
Fix into studs where you can and into rated anchors where you can’t, give an Atmos bar the extra gap its maker lists, connect the cables before the bar goes up, and keep the power cord on the wall’s surface or in a listed kit.
Frequently Asked Questions
Do soundbars come with wall mounts?
Some do. Samsung’s HW-Q990D, Vizio’s V-Series 5.1, LG’s S90TR and Sony’s BRAVIA Theatre Bar 7 ship with brackets and a template, and Roku says its TV Wireless Soundbar comes with a mounting template and hardware. Sonos and Bose sell their wall mounts separately, and Bose tells Smart Soundbar owners to use only the Bose Soundbar Wall Bracket. Polk’s Signa S4 and Sony’s Theatre Bar 5 skip the bracket entirely and hang from keyhole-shaped holes. Even when a bracket is included, the screws that go into the wall usually aren’t, so check your manual for the size before you shop.
Can drywall hold a soundbar?
Yes, with anchors rated for the job or with screws into a stud. Sonos includes six wall anchors with its Arc Ultra mount and has you drill 5/16-inch holes for them in drywall, and Samsung calls for anchors or mollies wherever its marks miss a stud. TOGGLER lists its SnapToggle BA at 238 pounds of ultimate pull-out in half-inch drywall and says to plan on a quarter of that. Yamaha says most bars weigh little enough for drywall anchors, so a soft or crumbling wall is the bigger risk, which is why Polk warns against mortar and decorative plywood.
Do soundbars have mounting holes?
Most do, in one of three forms. Samsung, Vizio, LG and Sony’s Theatre Bar 7 have screw holes on the underside for their brackets, Polk’s Signa S4 and Sony’s Theatre Bar 5 have keyhole-shaped holes on the back, and Roku’s Streambar and Streambar Pro have threaded sockets (M6 and 1/4-20) for universal mounts. Roku’s Streambar SE has none, so it needs a universal mount that holds the bar without screwing into it.
Do you need a professional to mount a soundbar?
Not always, but several makers suggest one. Sony asks for its Theatre Bars to be installed by a Sony dealer or licensed contractor, with two people to lift the bar. Polk says it’s best to hire a contractor, and Vizio suggests a professional installer if you’re unfamiliar with power tools or the layout of the wiring in your walls. Bose suggests a qualified installer if you’re unsure about its bracket, and says to install the bracket in line with local building codes.
Can the subwoofer go on the wall too?
The wall-mount sections of the manuals checked here cover the bar and, at most, the rear speakers. Samsung’s HW-Q990D manual covers wall mounting for the bar and for the surround speakers, which need separately bought mounts rated for more than 8.0 kg and a 1/4-20 threaded insert, but says nothing about wall-mounting its subwoofer. Follow the same rule for any system and mount only the parts your manual shows on a wall.